PCB 阻抗计算器 — 微带线、带状线与共面波导指南
可控阻抗为什么重要
当信号沿变得足够快 — 大约 100 MHz 以上、上升沿 1 ns 以内 — PCB 走线就不再像一根铜线,而是像传输线。如果走线特性阻抗和驱动器、接收器期望的值不匹配,就会出现反射、EMI、串扰,最后眼图关闭。可控阻抗就是同时校准三件事:走线宽度、叠层介质、铜厚,让 50Ω 驱动器看到 50Ω 走线。本指南梳理三种最常见的几何结构,哪些标准要求哪种阻抗目标,并介绍如何用 pcbviewer.app/tools/impedance 免费计算器在几秒内完成走线尺寸设计。
计算器具体在算什么
走线阻抗是传输线稳态下电压与电流的比值。微带线(信号走线在参考平面上方、上表面接触空气)的阻抗由走线宽度 W、铜厚 T、走线到平面的介质高度 H、PCB 基板的介电常数 Er 决定。带状线把信号夹在两个参考平面之间,空气不参与,有效 Er 等于基板 Er。共面波导(CPW)在走线两侧加地铺铜,走线到地的间距 S 作为额外变量。计算器求解各几何结构的 IPC-2141/Wadell 闭式方程,返回阻抗(Ω),同时报告传播延迟、有效介电常数、损耗 — 在给走线设计 50Ω 的同时就能看到延迟是否符合时序预算。
这个计算器支持什么
- 三种几何结构 — 微带线、带状线、接地共面波导。一个下拉切换,输入字段自动重命名(微带线只要 H,CPW 加入 S,带状线用两个 H)。
- 单端和差分 — 算 Zo(通常 50Ω)或 Zdiff(USB 2.0 的 90Ω,以太网/HDMI/PCIe/DDR 的 100Ω)。差分模式共用走线宽度但可独立设置间隙。
- 材料预设 — FR-4(Er 4.3)、Rogers RO4350B(Er 3.48)、Megtron 6(Er 3.4)、Isola I-Tera(Er 3.45),加一个自定义 Er 字段。损耗角正切参与衰减计算,方便直接对比材料。
- 感知铜厚 — 0.5 oz、1 oz、2 oz 选项自动调整走线厚度 T。更厚的铜会让有效走线变宽(梯形蚀刻因子),把阻抗往下压 2–4Ω。
- 频率相关损耗 — 输入信号频率,计算器报告介质损耗(dB/in)加趋肤效应导体损耗。同一叠层下对比 1 GHz USB 3 和 10 GHz PCIe 4 时很有用。
- 瞬时 — 无登录、无 WASM 下载、无服务器往返。每次输入变化都重算,10 个宽度扫描毫秒级。页面载入后可离线运行。
五步设计走线尺寸
- Open the impedance calculator — 打开工具,选匹配叠层的几何结构(外层信号、上表面接空气用微带线;内层夹在平面之间用带状线;RF 或强地铺铜用 CPW)。
- 输入介质高度 H。即信号走线到最近参考平面之间的半固化片或芯板厚度,可从工厂叠层文档查到。1.6 mm FR-4 四层板典型值:内层 H ≈ 0.2 mm,外层 H 是你指定的半固化片(通常 0.15–0.25 mm)。
- 选介电常数(材料预设或自定义 Er)。实际 FR-4 根据树脂含量和玻璃编织在 4.1–4.7 区间 — 用工厂指定的值,不是教科书 4.5。Rogers 或 Megtron 叠层时工厂给出工作频率下的精确 Er。
- 调整走线宽度 W 直到阻抗字段读到目标值(单端多数信号 50Ω,以太网/PCIe/HDMI 差分 100Ω)。差分对还要设间距;间距越窄,同样 Zdiff 走线越宽。注意报告的有效 Er 和传播延迟 — 告诉你走线的电气长度。
- 把最终 W、S、H、目标 Z 交给工厂;靠谱的工厂会用自己的求解器,结合实际玻璃编织和镀铜重跑,建议微调。关键网络(PCIe Gen4+、DDR5、RF)要求可控阻抗叠层,并要求随板提交 TDR 报告。
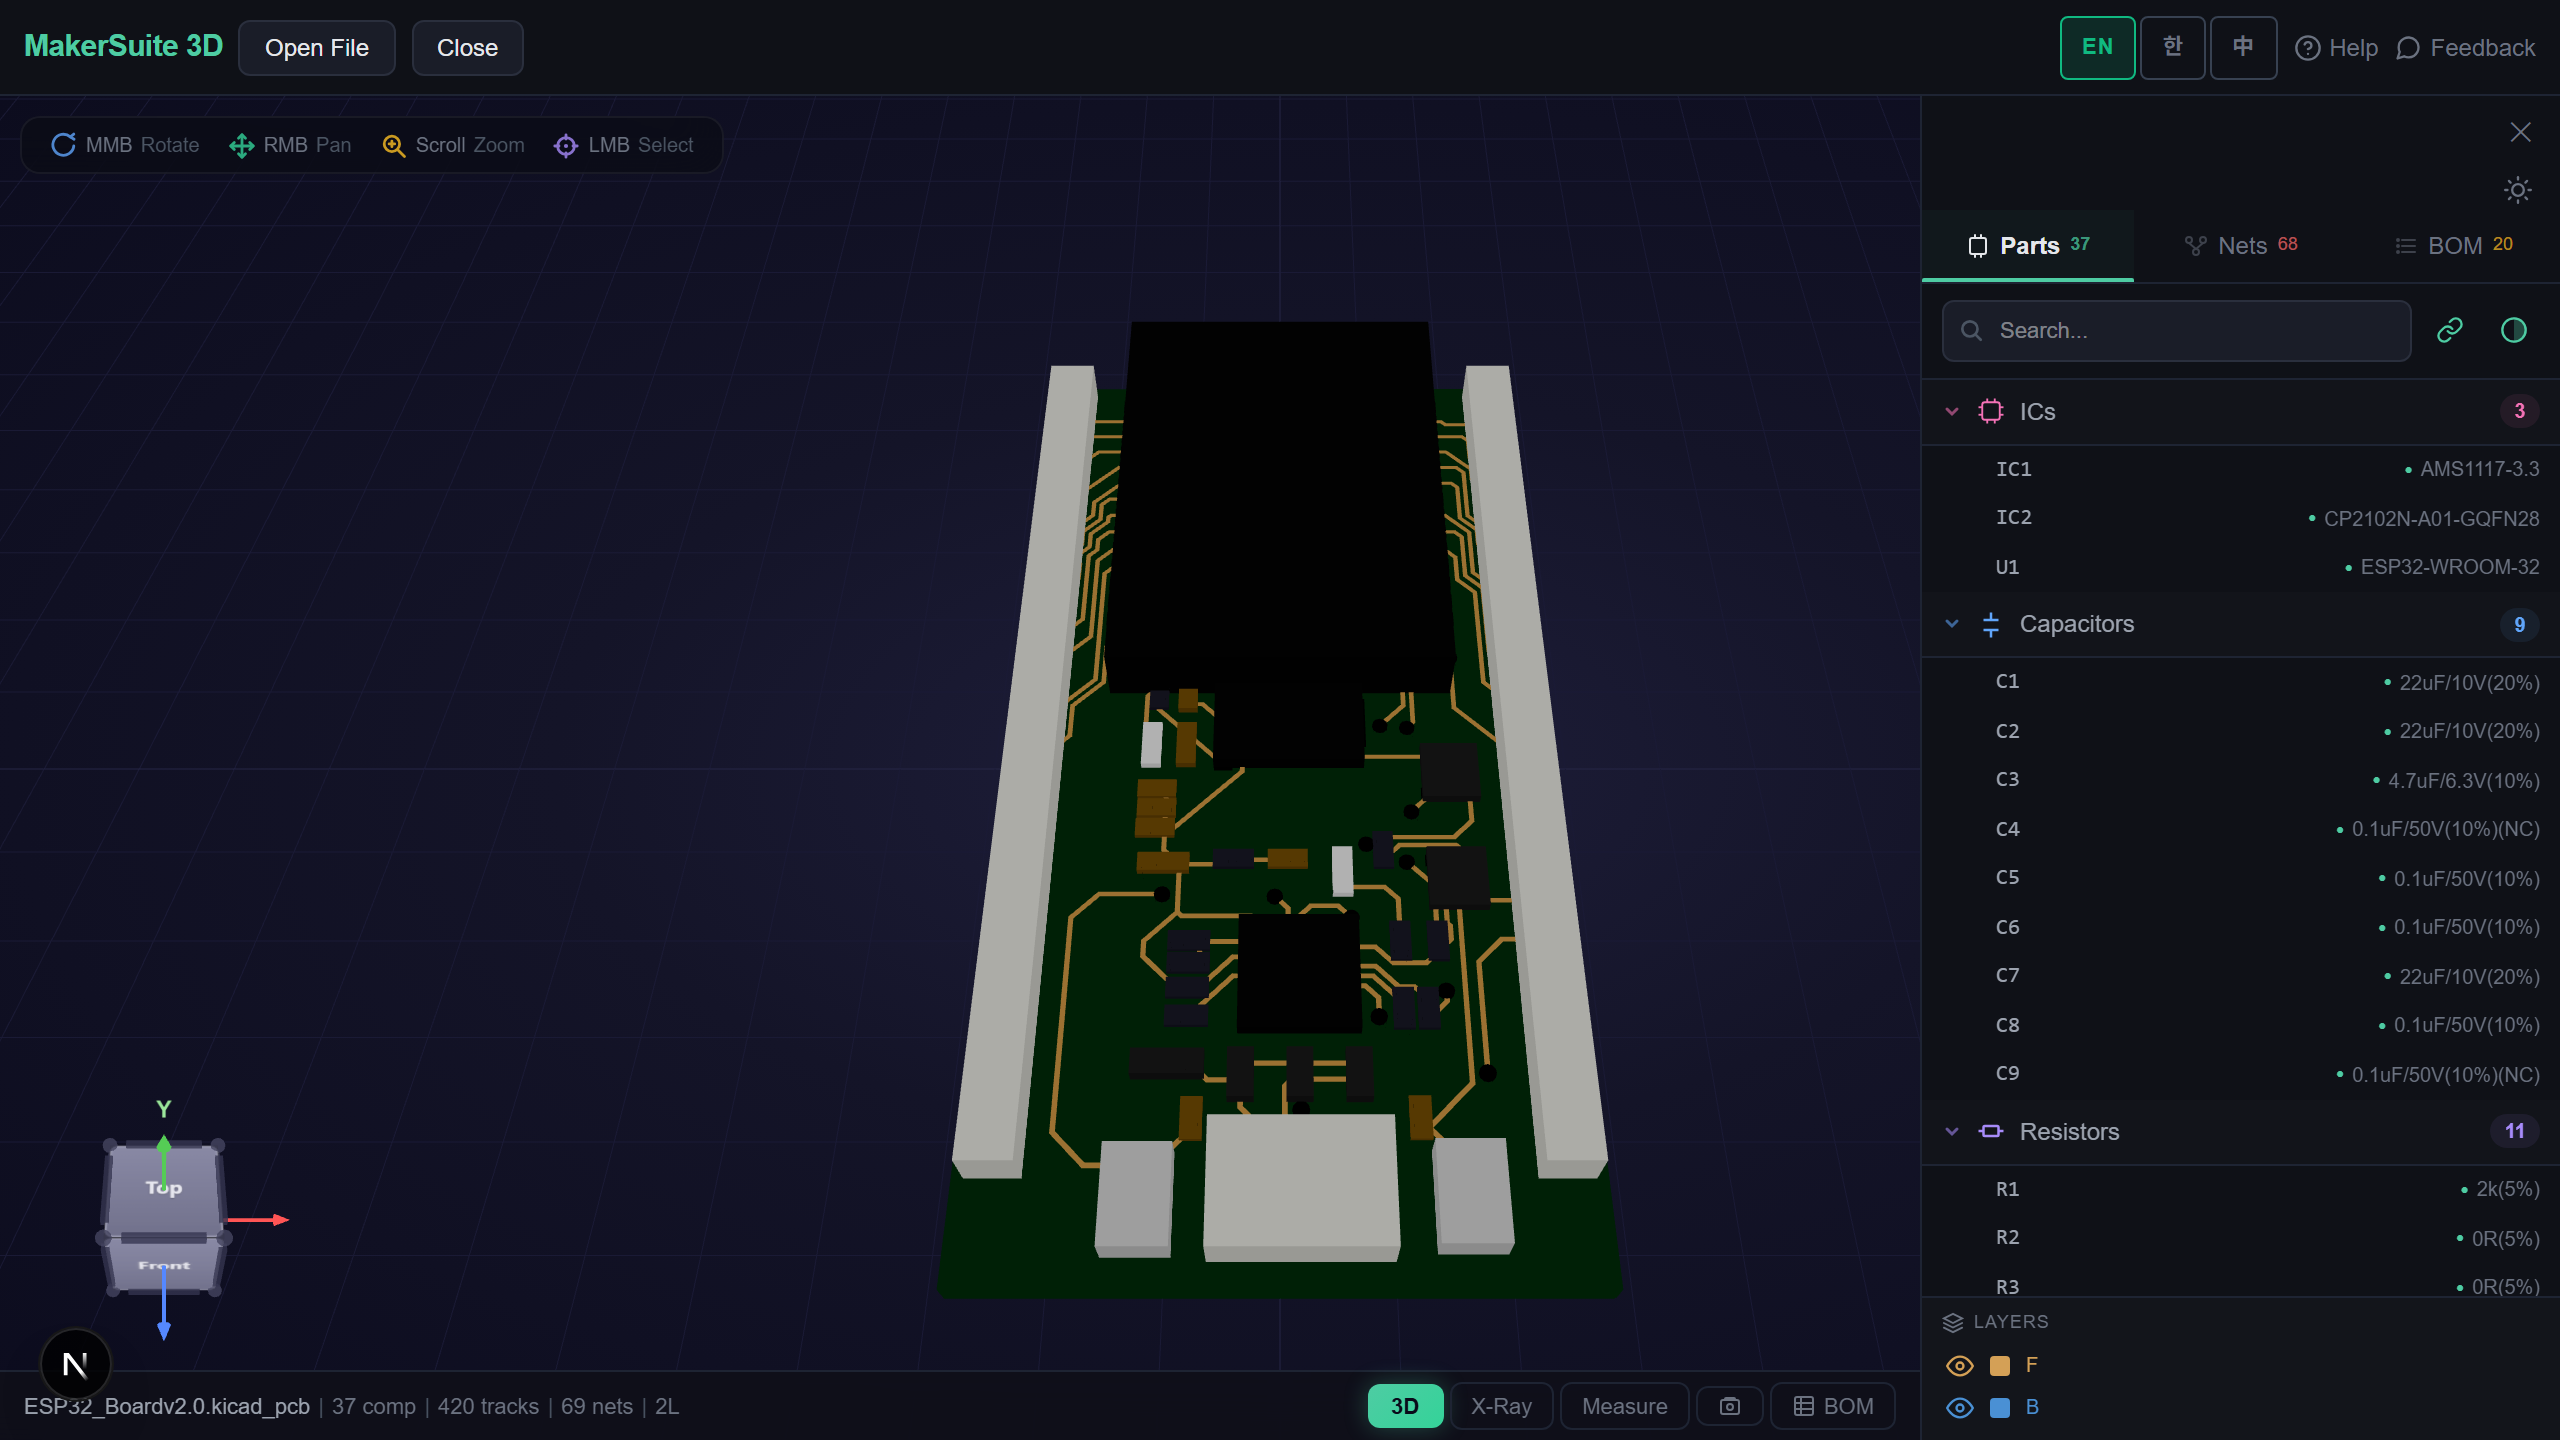
算出走线宽度后,在真实板子上验证 — 把 KiCad 或 Gerber 文件拖到 MakerSuite 3D,确认路由器在扇出和过孔周围也保留了这个宽度。
免费试用 MakerSuite 3D阻抗算错要花的钱
10% 阻抗不匹配 — 比如 50Ω 做成了 55Ω — 按电压约 5% 反射。足以让 USB 3.2 Gen 2(10 Gbps)眼图违规、干掉快速 SO-DIMM 上 DDR4 写入余量、让 FCC Class B 辐射发射测试失败。更麻烦的是阻抗误差很少在原型测试里露脸;它在第二、第三批量产时工厂玻璃编织发生偏移时才冒出来。送板前花十分钟用这个计算器成本为零;后面返工修一条 52Ω USB 走线会搭进一个月日程加上 NRE 费用。大约 500 Mbps 以上时可控阻抗不是选项,计算器让你没有借口。
各标准的典型目标阻抗
- USB 2.0 — 差分 90Ω(D+/D- 对),微带线或带状线都行。±15% 的容差要覆盖线缆 + 连接器 + PCB 整个通道,预算很紧
- USB 3.x / HDMI 2.x / PCIe Gen3+ — 差分 100Ω。5 Gbps 以上强烈推荐带状线 — 微带线顶面开放会引发模式转换
- 以太网 10/100/1000BASE-T — 差分 100Ω。1 Gbps 微带线够用,10G SFP+ 要带状线
- DDR3/DDR4/DDR5 — 单端 40–50Ω(各家不同),选通差分 80–100Ω;现代标准要求长度匹配在 ±5 mil 以内
- RF(Wi-Fi、蓝牙、蜂窝) — 50Ω 单端微带线或 CPW。2.4 GHz 以上用 Rogers 或低损耗 FR-4,把介质损耗压在每英寸 0.5 dB 以下
发板前先在板子上验证
计算器的数学只有在路由器真的把这个宽度贯彻到每一段时才成立。路由器经常在过孔、焊盘扇出、密集 BGA 扇出区域收窄。把 .kicad_pcb 或 Gerber .zip 拖到 MakerSuite 3D,切换铜层可见度,放大每一对差分线 — 看到明显的宽度变化,就必须要求工厂提交 TDR 报告,而不是可选项。整个验证在浏览器里完成,你家私有叠层不会离开本机。
常见问题
What trace impedance do I need for USB 2.0 vs USB 3.0?
USB 2.0 uses 90Ω differential for the D+/D- pair at 480 Mbps. USB 3.x (SuperSpeed at 5 Gbps and above) moves to 100Ω differential because the higher data rate is more sensitive to return-path discontinuities and the 100Ω standard matches the rest of the high-speed ecosystem (PCIe, HDMI, DisplayPort). If your design needs both, route each pair to its own target — the board can't share a single trace width between them and still pass eye-diagram testing.
Do I really need controlled impedance on every board?
No. Controlled impedance only matters when the signal's electrical length becomes comparable to its rise time — roughly when the trace length exceeds 1/10 of the wavelength at the highest frequency of interest. For slow signals (I2C, SPI under 10 MHz, UART, button GPIO), the trace behaves as a lumped wire and impedance doesn't affect signal integrity. The cutoff is roughly 500 Mbps or a rise time faster than 2 ns — below that, use normal routing rules; above that, spec controlled impedance with your fab and run the calculator.
Microstrip or stripline — when should I pick which?
Microstrip wins for cost and debuggability — it's on an outer layer, so you can probe it, solder on test points, and see it in a 3D viewer. It's the default for one- to four-layer boards. Stripline wins for signal integrity — the return path is defined on both sides, there's no air-gap variation, and EMI radiation is dramatically lower. For anything above 5 Gbps or any board that has to pass Class B emissions tightly, push the critical traces to internal stripline layers and use outer layers for slow control signals. Cost difference is usually just two extra layers, which is often already needed for dense boards.
Why is my measured impedance different from the calculator's prediction?
Three common reasons. First, actual Er of FR-4 varies from the spec value — glass weave direction, resin content, and moisture can shift Er by 5–10%. Your fab's TDR measurement is the real number. Second, copper etching is trapezoidal, not rectangular — real trace cross-section is narrower at the top than the bottom, and calculators vary in how they model this. Third, plating adds copper thickness unevenly, especially on fine pitch. For 5% accuracy you need your fab's actual stackup parameters. For 10% accuracy the calculator is usually fine.
Can I trust an online calculator versus paid tools like Polar SI9000?
For standard geometries (microstrip, stripline, coplanar waveguide) at typical PCB frequencies, the Wadell-family equations all online calculators use produce identical results to within 1–2%. Polar and similar paid tools add value in three areas: 2D field-solver accuracy for asymmetric or unusual geometries, vendor-calibrated material libraries with measured Er curves over frequency, and auditable reports that satisfy customer compliance requirements. For hobbyist and small-team work, an online calculator plus your fab's TDR report is enough. For high-speed production work under tight SLAs, the paid solver pays for itself in one avoided respin.
相关文章
给下一块板的走线定尺寸 — 免费、浏览器里
打开阻抗计算器