Gerber 转 PDF 教程 — PCB 文档化工作流
为什么 Gerber 转 PDF 还重要
Gerber RS-274X 是通用 PCB 工厂交付格式 — 地球上每个工厂都收。但 Gerber 是给激光绘图仪和机器看的 CAM 格式,不是给人看的。PDF 是你发给硬件评审、附在工厂确认邮件里、按 1:1 比例打印来跟实物对照阻焊开窗的东西。Gerber 转 PDF 把图层艺术保留为矢量 PDF(每层一页或所有层叠成一页),按任何比例打印都清晰,在 Acrobat 或 Illustrator 里还能编辑。本指南讲四种真正的转换路径 — KiCad 内置 plot-to-PDF、gerbv 命令行、在线查看器、MakerSuite 3D — 加上让团队失误的坑(线宽膨胀、颜色映射、钻孔对齐)。
Gerber 和 PDF 实际存的是什么
Gerber RS-274X(Ucamco 规范)是描述 PCB 图层艺术的 2D 矢量格式 — 光圈(形状)、绘制(线条)、闪光(单形状放置)、多边形区域。每层一个 Gerber 文件(顶铜、底铜、顶阻焊、底阻焊、顶丝印、底丝印、板外形,加 Excellon 钻孔文件)。PDF 是分页矢量文档格式,含文本、图像、矢量图形 — 灵活到能把 Gerber 艺术表示为每页填充矢量区域。转换把 Gerber 的光圈和绘制取出,光栅化或矢量化后写到 PDF 里作为填充路径。做得好,PDF 完整保留几何;做得差,线宽出问题 — 因为转换器忘了 Gerber 的描边绘制需要按宽度感知渲染。
每条转换路径处理的事
- KiCad PCB Editor — File > Plot,输出格式 PDF,每层一个 PDF 或所有层一个 PDF。线宽、钻孔标记、元件外形都对。有 .kicad_pcb 源就最佳。
- gerbv 命令行 — gerbv -x pdf -o out.pdf top_copper.gbr bottom_copper.gbr drill.drl。开源(gEDA 项目),不管 Gerber 来自哪个 CAD 都跑。Linux/macOS 原生,Windows 用 WSL。
- GerbView(免费 Ucamco 查看器)— File > Print to PDF。Gerber 规范作者的参考实现,渲染规范化。仅 Windows。 —
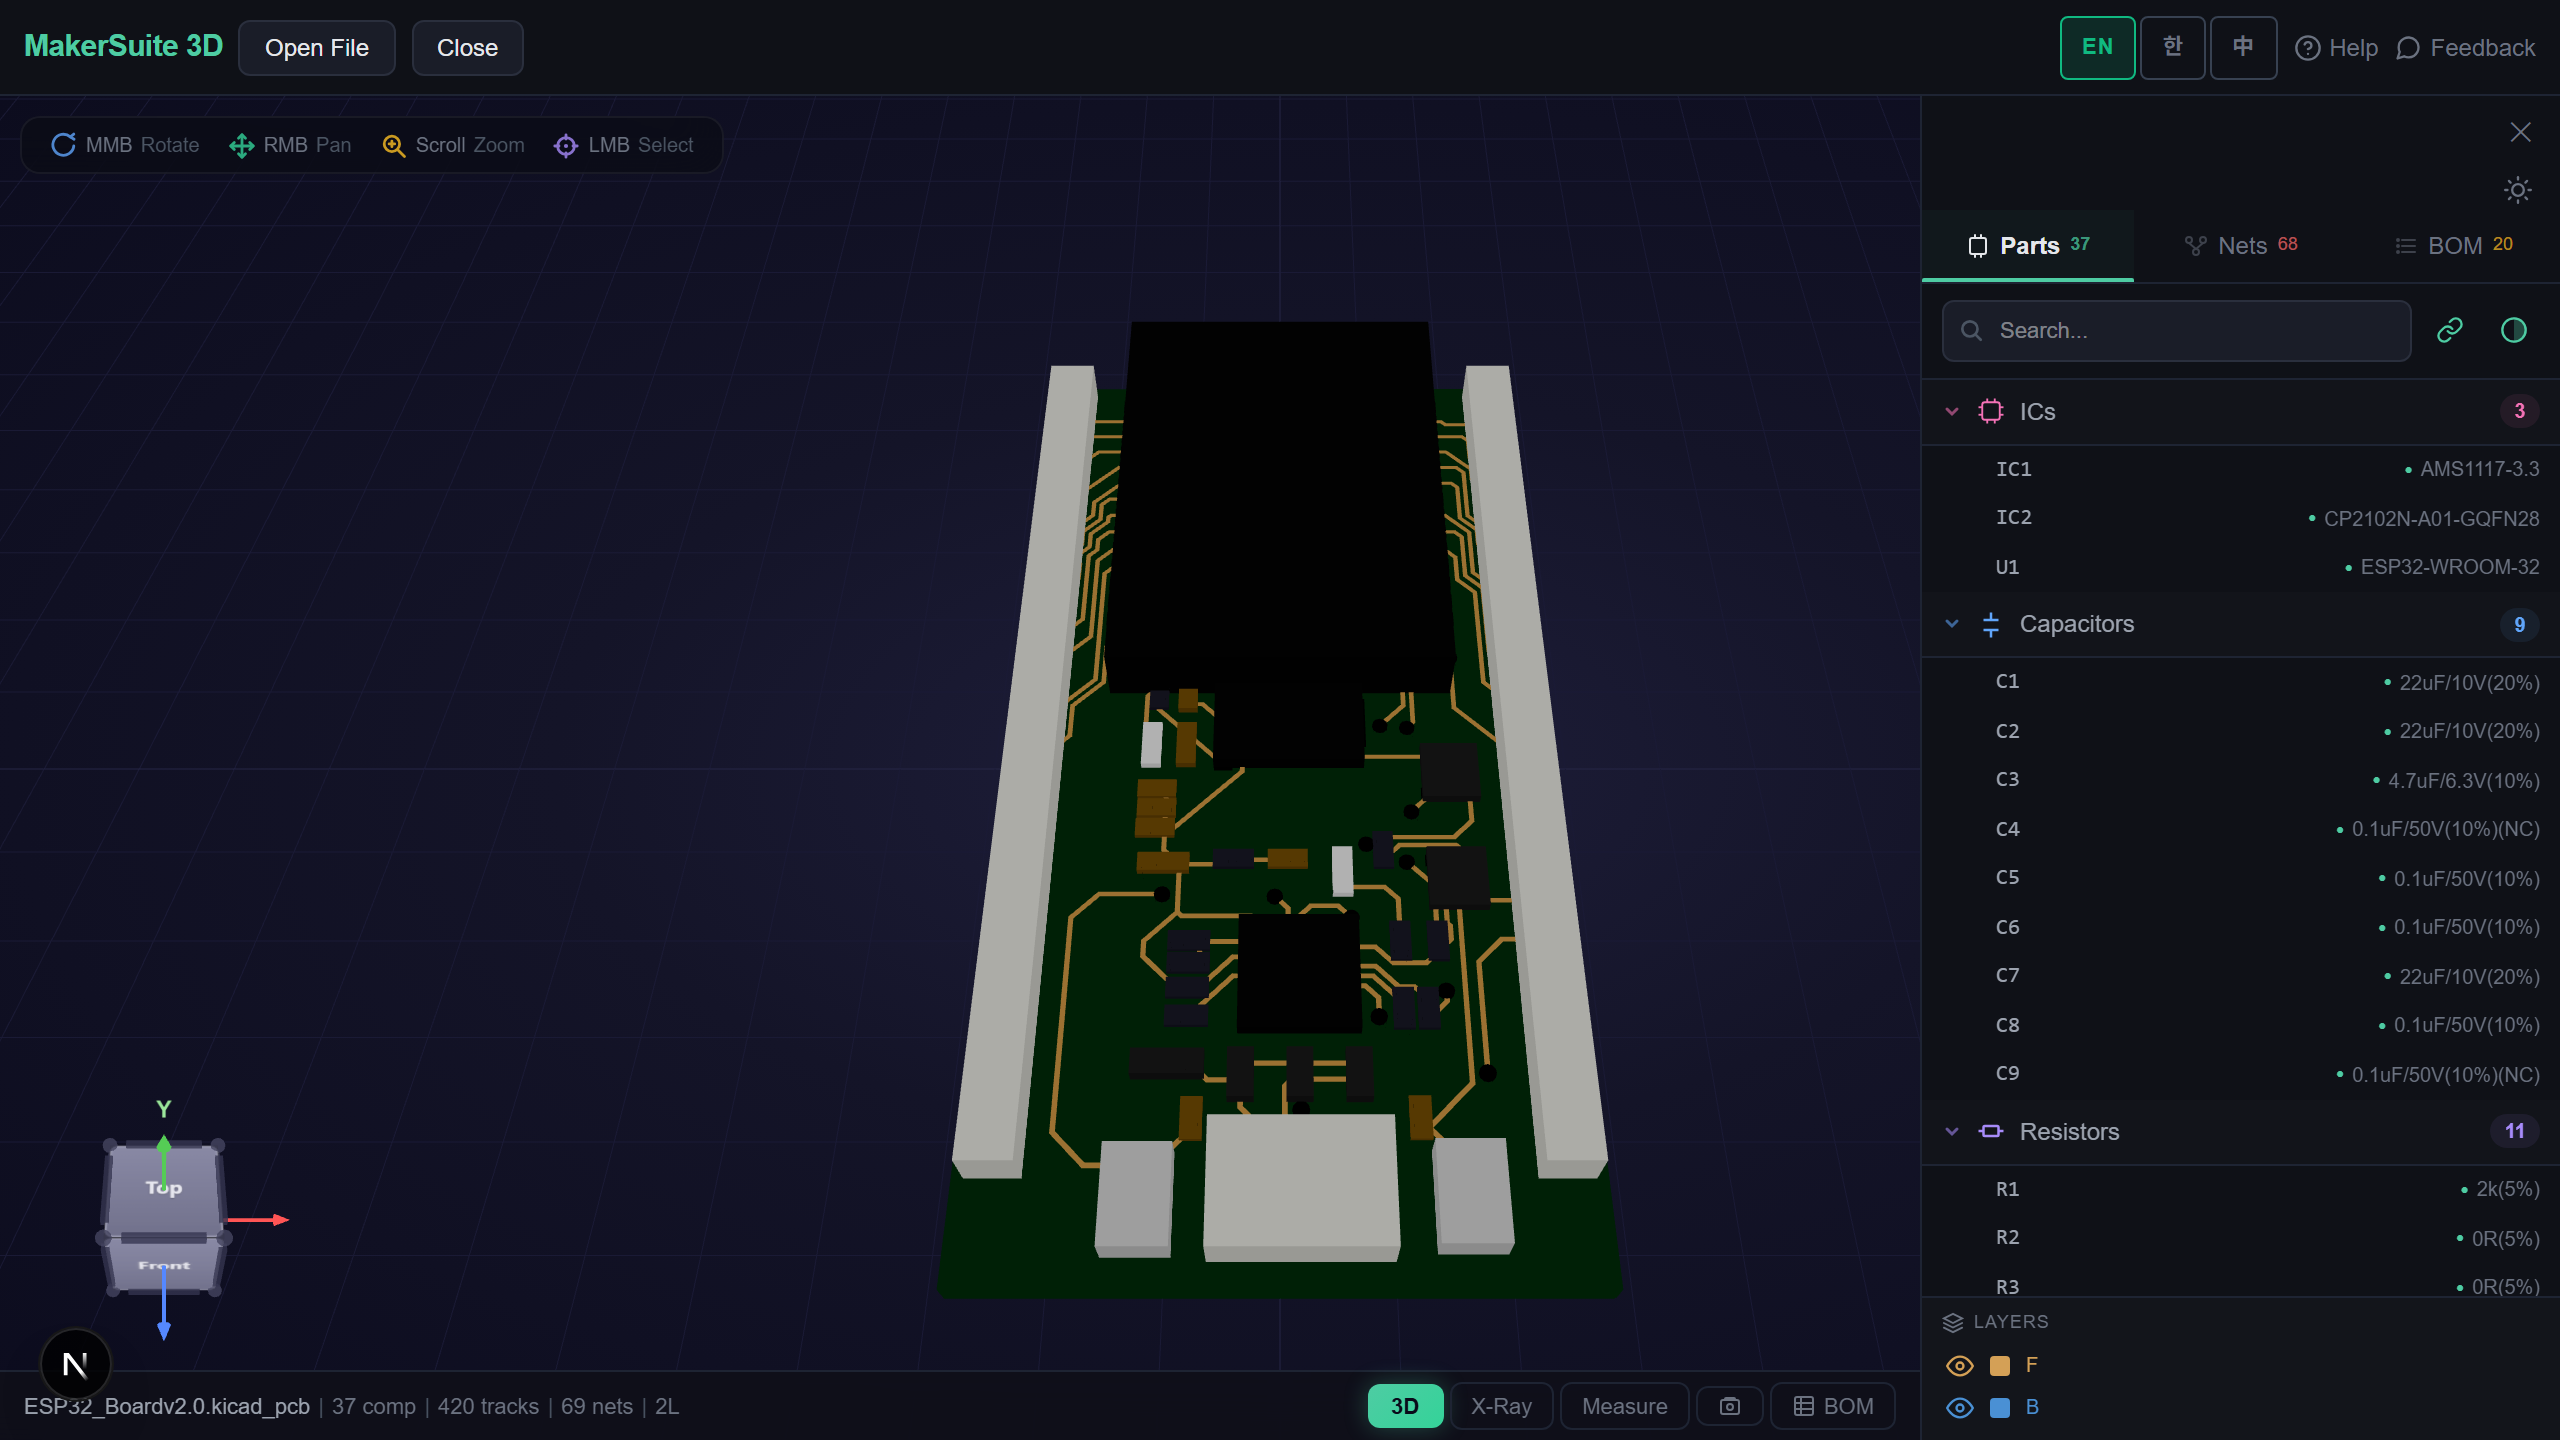
- MakerSuite 3D — 拖个 Gerber zip,浏览器里点 Print/Save,选 Print to PDF。用驱动 3D 视图的同一个解析器做浏览器端渲染,图层对齐自动。
- 图层选择 — 设计评审一般想要顶铜 + 顶丝印 + 外形一页,底铜 + 底丝印 + 外形另一页。工厂确认要每层单独签字。
- 比例和分辨率 — 拿打印件对实物零件验证装配时按 1:1(100% 比例)打印。PDF 是矢量任何比例都清晰,但打印对话框不能自动缩放到页面。
五步把 Gerber 转成 PDF
- Open pcbviewer.app — 先把 Gerber zip 拖到 MakerSuite 3D。验证所有图层干净解析、对齐正确。MakerSuite 渲染得出板子,PDF 也出得来。
- 切换图层可见 — 关掉不想进 PDF 的图层。典型设计评审:顶铜、顶丝印、顶阻焊、板外形、钻孔。关掉底层和内层。
- 用浏览器打印对话框(Ctrl+P / Cmd+P),目标选 Save as PDF。比例设 100%(不是 'fit to page' — 那破坏 1:1 验证)。全出血用边距 None。
- 分图层 PDF(工厂确认流程)用 KiCad 或 gerbv。KiCad 的 File > Plot 用一致的线条粗细每层写一个 PDF — 工厂签字文档的标准。
- 屏幕和纸面都验证 PDF。100% 比例打印,把真实接插件或 BGA 放到封装上,确认焊盘对齐。在 500 美元工厂跑之前抓住阻焊开窗错误。
导 PDF 之前先看看 Gerber 图层 — 把 Gerber zip 拖到 MakerSuite 3D,切换图层,在问题进入 PDF 确认文档之前抓住。
免费试用 MakerSuite 3D为什么 Gerber 转 PDF 在每个 PCB 工作流里
PCB 制造靠签字 PDF 确认 — 工厂回一摞图层图,工程师签每张,制造开工。这套流程从 90 年代起没变也不会消失,因为 PDF 普世可读、可归档、可签。内部设计评审同套:硬件负责人评审板子的 PDF,标记问题,再交回。光看 Gerber 太低层级;KiCad/Altium 原生文件要求每个人装源 CAD。PDF 是通用语,正确转 Gerber 到 PDF(对的线条粗细、对的颜色、对的对齐)让确认循环跑得快。坏 PDF(72 DPI 光栅化、比例错、缺图层)触发邮件来回,给工厂日程加几天。
Gerber 转 PDF 是正解的场景
- 工厂确认 — 工厂在开模前把图层图作为 PDF 送回签字,每个 PCB 工厂跑这循环
- 设计评审 — 硬件负责人在不装 KiCad/Altium 的情况下逐层标记 PDF
- 1:1 装配检查 — 100% 打印顶铜 + 顶丝印,对实焊接插件或 BGA 验证焊盘对齐
- 归档交付 — 工程交付包包含 Gerber zip + 签字 PDF 作为人类可读记录
- 供应商 RFQ — 工厂报价要板子图,PDF 是每个邮件客户端和采购门户都通用的附件
在浏览器里转换,不上传
Gerber 文件是 PCB IP。在线 Gerber 查看器(Gerblook、PCBWay 查看器、EasyEDA 在线)能生成 PDF 但要把 Gerber zip 传到他们服务器,在那儿缓存。NDA 板子或未发布产品直接出局。MakerSuite 3D 在浏览器里通过 JavaScript 解析 Gerber,浏览器原生打印对话框本地处理 PDF 生成 — 不走服务器、不上传、不让第三方留副本。生成 PDF、保存、通过你信任的渠道分享。
矢量 vs 光栅:审批 PDF 为何两者都要
大多数廉价转换器输出光栅化 PDF — 把 Gerber 平整化为 300 DPI 位图,嵌入 PDF 包装器,发货。对快速视觉审查没问题,但对 1:1 装配检查无用 — 在那里您把顶铜层按 100% 比例打印并贴到物理连接器上。光栅化 PDF 在每个缩放步骤丢失精度。正确工具路径是 gerbv → 矢量 PDF 或 KiCad → Plot to PDF,两者都把原始形状轮廓保留为 PDF 矢量命令。PDF 在任何比例下都干净打印并在 Acrobat 1000% 缩放下保持可读。
层颜色映射是另一个重复陷阱。工厂期望特定颜色约定 — 顶铜红色、底铜蓝色、丝印白色、阻焊绿色或透明。通用 Gerber 转 PDF 转换器经常输出工厂检验员看不懂的默认彩虹调色板。KiCad 的 plot 对话框允许在导出前设置每层颜色,标准颜色集在 IPC-D-356 reference 文档化。用它。颜色正确的 PDF 第一次审查就批准;彩虹色的回来时带着困惑的问题。
常见问题
Can I print a Gerber PDF at 1:1 scale?
Yes, and you should — for fitment checks, this is the whole point. Open the PDF in any reader, hit Print, set Scale to 100% (Acrobat: Actual Size; browser: 100%, NOT 'Fit to Page'). Margin settings should be None or Custom: 0 to avoid auto-shrinking. Print on a normal sheet, then hold a real connector or BGA over the printed footprint — pad alignment will match exactly. Off-by-1mm errors caught here cost you a printer cartridge; off-by-1mm errors caught at fab cost a respin.
Why does my Gerber PDF have wrong line widths?
Bad rasterizer. Gerber's draws are stroked lines with a defined aperture (width). A correct converter renders the line as a filled path with the aperture's geometry. A naive converter rasterizes to a hairline, ignoring the aperture, which makes every trace look as thin as the printer's minimum stroke width. Use KiCad's File > Plot > PDF or gerbv's PDF export — both honor aperture widths correctly. Avoid converters that show 'lines' in the output preview; you want filled regions.
Do I need a PDF for every layer or all layers on one page?
Both, for different audiences. Fab approval workflow uses one PDF per layer — top copper, bottom copper, top mask, bottom mask, top silk, bottom silk, plus drill — because the fabricator signs off each layer separately. Internal design review uses combined views — top copper + top silk + outline on one page, bottom equivalent on another — because the engineer needs to see the relationship between layers, not isolated artwork. KiCad's Plot dialog has checkboxes for both modes.
How do I add color to a Gerber PDF?
Color the layers when generating the PDF. KiCad's Plot dialog lets you set a color per layer (red top copper, blue bottom copper, white silk on dark background — the standard 'PCB review' look). gerbv stores layer colors in its UI; print to PDF preserves them. Black-on-white is the canonical fab approval look (matches a print plot). Dark background with bright traces is the canonical screen review look. Pick whichever matches your audience's expectation; your team has a convention even if nobody wrote it down.
Should I include the drill file in the PDF?
Yes, as a separate page or merged into a copper layer view. Drills go on the same coordinate system as copper, but Excellon (.drl) is a separate file from Gerber. Most converters merge the drill hits onto a designated layer — typically rendered as small circles on the copper PDF — which lets the reviewer see drill alignment relative to pads. KiCad's Plot dialog has a 'Plot drill marks' checkbox that overlays drill positions onto each layer PDF.
相关文章
拖入 Gerber zip — 浏览器里生成 PDF,零上传
打开 PCB 查看器