PCB 패널라이제이션 가이드 — SMT용 스텐실 레디 패널
단일 보드에서 프로덕션 패널까지
단일 보드 PCB는 취미 프로젝트에 잘 작동, 그러나 프로덕션 런과 SMT 어셈블리는 패널라이제이션 필요 — 어셈블리 머신이 효율 픽스처·배치할 수 있는 단일 패널에 배치된 다중 보드. 패널라이제이션이 v-cut vs mouse bite 결정·fiducial 배치·툴링 홀 컨벤션·레일 폭·팹별 특이사항 다룸. 이 가이드는 KiCad·Altium·EasyEDA의 표준 기법과 JLCPCB·PCBWay의 직접 팹사이드 패널라이제이션 다룸.
패널라이제이션이 해결하는 것
SMT 머신이 신뢰성 있는 픽스처링에 최소 패널 크기 요구(일반 50×50mm). 그 아래는 패널이 갱 필요. 패널라이제이션이 또한 다중 보드에 패널당 처리 비용 분산 — JLCPCB가 보드당 아닌 패널당 고정 비용 부과, 25 보드 패널이 5× 카운트지만 5 단일 보드의 약 2.5× 가격. 배송 효율(많은 작은 패키지 vs 큰 하나) 추가하면 패널라이제이션이 취미 수량 넘는 모든 PCB의 표준. 패널라이제이션이 또한 SMT 어셈블리 더 효율 — 머신이 각 보드 별도 픽스처 시간 잃지 않음.
이 가이드 다루는 것
- V-cut 패널 — 사용 시기·깊이 컨벤션·스냅 분리 vs 길로틴 분리.
- Mouse bites — 드릴 패턴 간격·잔여물 정리·엣지 불규칙성.
- Tab routing — 브리지 탭 배치·라우터 폭·엣지 청결.
- Fiducial과 툴링 — 세 코너 배치·NPTH 홀 스펙·SMT 머신 비전 정렬.
- 레일 폭 — 5~10mm 레일·필요 시기·전 엣지 vs 두 엣지 컨벤션.
- 도구 — KiKit(KiCad)·Altium 네이티브·EasyEDA Embedded Board·GerberPanelizer.
패널라이즈드 설계 검증 방법
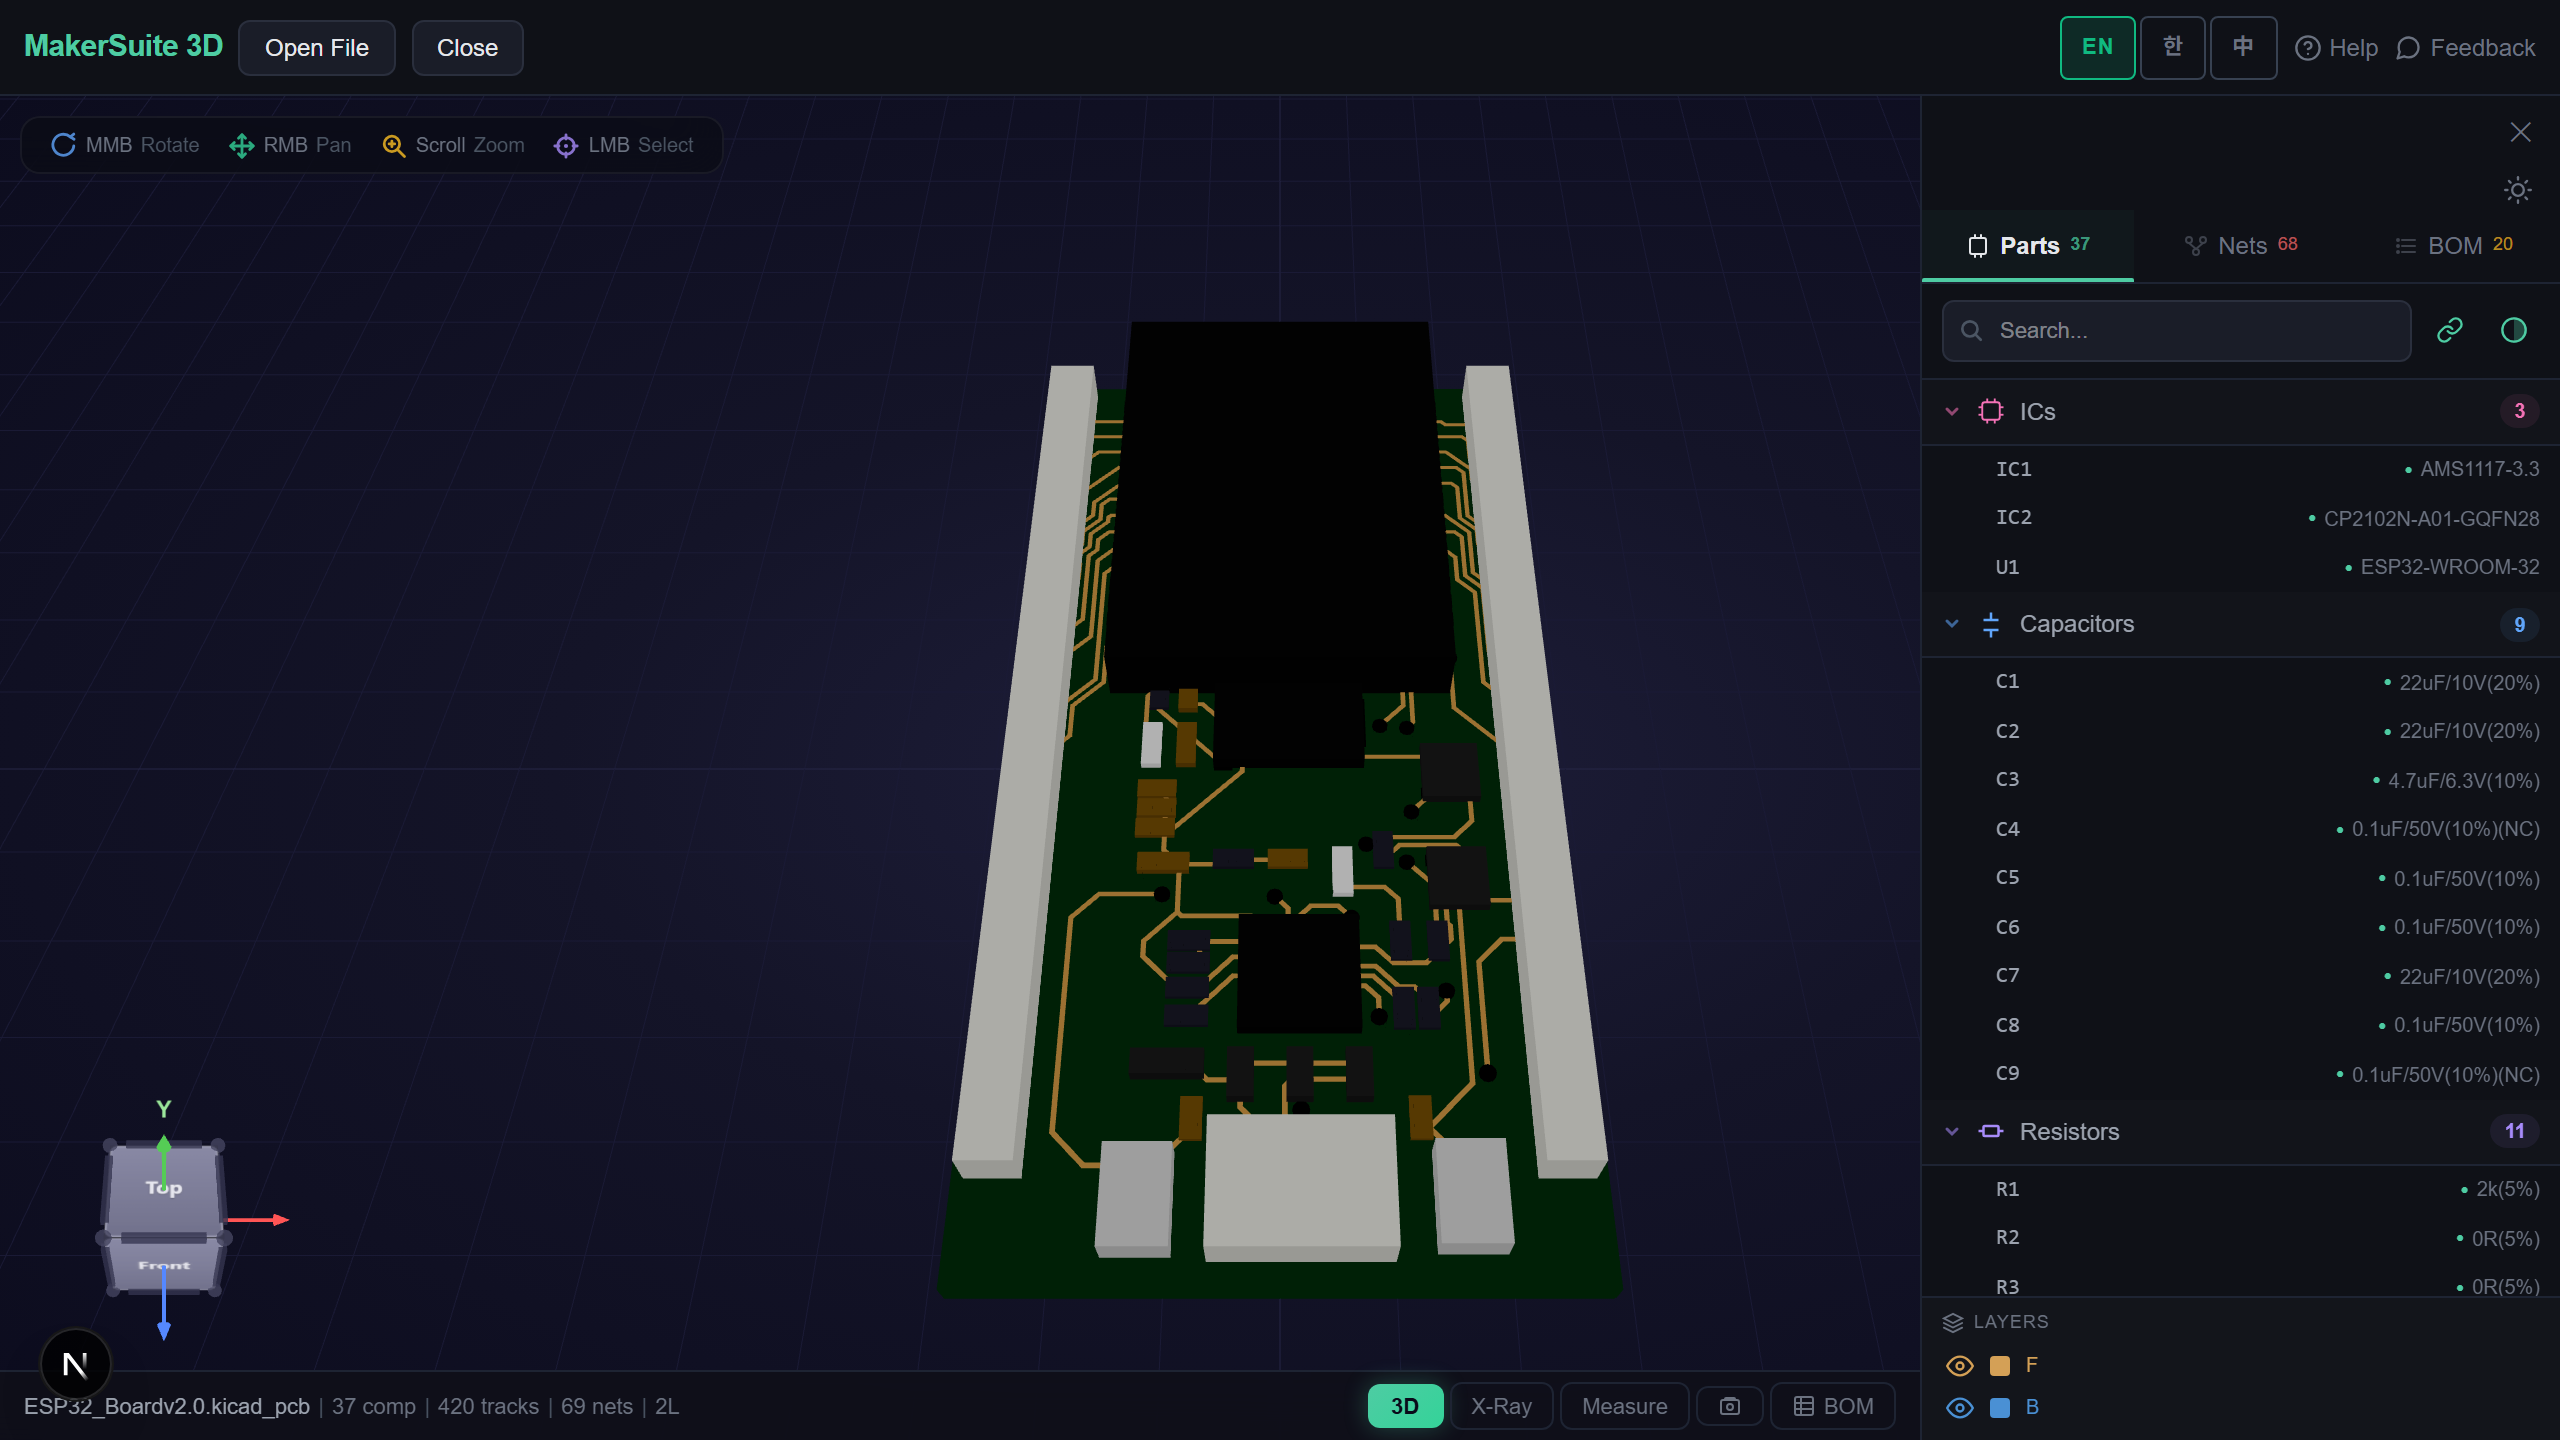
- Open pcbviewer.app 하고 패널라이즈된 .kicad_pcb 또는 패널라이즈된 Gerber zip 드롭.
- 레일이 기대 폭(일반 5~10mm)에 기대 엣지에 존재 검증.
- Fiducial이 세 패널 코너(개별 보드 아님)에 배치 확인.
- 툴링 홀(NPTH·3~4mm)이 패널 코너에 있고 트레이스·패드 없는지 확인.
- V-cut 또는 mouse-bite 분리선 검사 — 개별 보드의 트레이스나 부품 패드 가로지르면 안 됨.
SMT 제출 전 패널 검증 — 패널라이즈된 파일 드롭하고 레일·fiducial·분리부 검사.
MakerSuite 3D 무료로 써보기왜 패널 설계 에러가 비싼가
패널 에러가 전체 패널 폐기. Fiducial 잘못이면 SMT 머신 정렬 못함 — 재패브리케이션. 툴링 홀이 트레이스 치는 곳 배치되면 전체 패널 불량. V-cut 깊이 잘못이면 패널이 분리 안 되거나 배송 중 사전 분리. 단일 보드 검증에서 캐치 안 됨, 에러가 패널 레벨. 제출 전 3D 뷰어에서 패널 검증이 0 비용으로 이 에러 캐치; 팹에서 발견하면 며칠과 추가 패브리케이션 비용 추가.
패널라이제이션 필수 시기
- 작은 보드 SMT 어셈블리 — 50×50mm 미만 일반 패널라이제이션 필요
- 프로덕션 런 — 단일 피스 vs 패널라이제이션 보드당 비용 극적 하락
- 멀티 디자인 패널 — 엔지니어링 평가용 한 패널에 여러 변형 테스트
- 스트레스 테스트 — IPC 인증용 의도적 결함 패턴 패널
- 배송 효율 — 취미 수량에서도 한 패널이 많은 느슨한 보드보다 쉽게 배송
브라우저 측 파싱, 업로드 없음
패널 레이아웃이 민감 제품 엔지니어링 공개 — 패널당 보드 카운트가 기대 프로덕션 볼륨 공개·패널라이제이션 스타일이 제조사 관계 공개. MakerSuite 3D는 패널라이즈된 PCB 파일을 브라우저에서 완전 파싱; 서버 업로드 없음, 캐시 사본 없음. 패널 지오메트리·fiducial 위치·개별 보드 레이아웃이 머신에 남음.
자주 묻는 질문
Why panelize PCBs?
Three reasons. First, SMT assembly machines need a minimum panel size (typically 50×50mm) for fixturing — small boards must be panelized to be assembled efficiently. Second, panel ordering is cheaper per unit than single-piece ordering at most fabs because the fab's processing cost is per-panel, not per-board. JLCPCB charges $2 for 5 single 100×100mm boards but $5 for 25 panelized 50×50mm boards (5× the count for 2.5× the price). Third, panels survive shipping better — the rigid panel resists bending that would crack solder joints on individual boards.
V-cut vs mouse bites vs tab routing — which to use?
V-cut: best for rectangular boards with straight edges; the fab cuts a V-groove that lets you snap the panel apart by hand. No edge irregularities, but limits panel layout to grid arrangements. Mouse bites: small drilled holes along a routed slot let you snap panels apart; works for any board shape including curves. Leaves small bumps on the edge — sandable but visible. Tab routing: full router cuts with bridge tabs at strategic points; cleanest result but most complex panel design. For rectangular hobby boards, v-cut is fastest. For odd-shaped or production boards needing clean edges, mouse bites or tab routing.
How do I panelize in KiCad?
KiCad doesn't have native panelization, but the kikit plugin (free, open source) handles it. Install via Plugin and Content Manager. Then use Tools > External Plugins > KiKit Panelize. KiKit supports v-cut, mouse bites, tab routing, and frame rails. Output is a separate .kicad_pcb file with the panel that you submit to fab. Alternative tools: PCBNew Panel script, GerberPanelizer (Therac), PcbPanelize (online). For Altium and EasyEDA, panelization is built-in via the Embedded Board feature. For Eagle, use the panel.ulp script.
What about adding fiducials and tooling holes?
Required for SMT assembly. Fiducials: three small round copper-on-soldermask-removed marks (1mm diameter) at three corners of the panel, used by the SMT machine's vision system to align the panel. Place at panel corners, not on individual boards (one set per panel suffices). Tooling holes: 3-4mm diameter NPTH (non-plated through hole) at panel corners, used by the assembly fixture to register the panel. Most fabs require both for SMT panelization. JLCPCB will skip both if you don't include them and instead use board-edge alignment, which is less accurate.
Should I include rails and how wide?
Rails are extra strips of FR4 along the panel edge that don't contain any boards. They're required if the assembly machine clamps the panel by the edge (most do). Standard rail width: 5-10mm on each long edge. Some fabs require rails on all four sides; others only on the two long edges. JLCPCB's panelization service handles rails automatically when you select the panel option during ordering — they add 5mm rails on the appropriate edges. For self-panelized DIY panels submitted as Gerber, include 5mm rails on at least the top and bottom of the panel orientation that will go into the SMT machine.
관련 글
패널라이제이션 검증 — 패널라이즈된 PCB 파일 드롭하고 레일·fiducial 검사
MakerSuite 3D 열기