PCB 拼板指南 — SMT 用钢网就绪面板
从单板到量产面板
单板 PCB 适合业余项目,但量产与 SMT 装配需要拼板 — 多块板按面板布置,让装配机能高效夹持与贴装。拼板涉及 v-cut vs mouse bite 决定、基准点放置、定位孔约定、工艺边宽度,以及每家厂的特性。本指南覆盖 KiCad、Altium、EasyEDA 的标准技法以及 JLCPCB 与 PCBWay 直接厂家拼板。
拼板解决什么
SMT 机有最小面板尺寸要求(一般 50×50mm)以可靠夹持。低于这个就得拼。拼板还把每面板处理成本摊到多块板上 — JLCPCB 收费按面板而非按板,25 板面板花费约为 5 块单板的 2.5 倍但板数是 5 倍。再加上运输效率(一个大包 vs 很多小包),拼板是任何超过业余数量的 PCB 标准。拼板还让 SMT 装配更高效 — 机器不必为每块板分别夹持。
本指南覆盖
- V-cut 面板 — 何时用、深度约定、掰断 vs 切刀分离。
- Mouse bites — 钻孔间距、毛刺清理、边缘不规则。
- Tab routing — 桥接 tab 放置、铣刀宽度、边缘清洁。
- 基准点与定位 — 三角放置、NPTH 孔规格、SMT 机视觉对位。
- 工艺边宽 — 5-10mm 工艺边、何时需要、四边 vs 两边约定。
- 工具 — KiKit(KiCad)、Altium 原生、EasyEDA 嵌入板、GerberPanelizer。
如何验证拼板设计
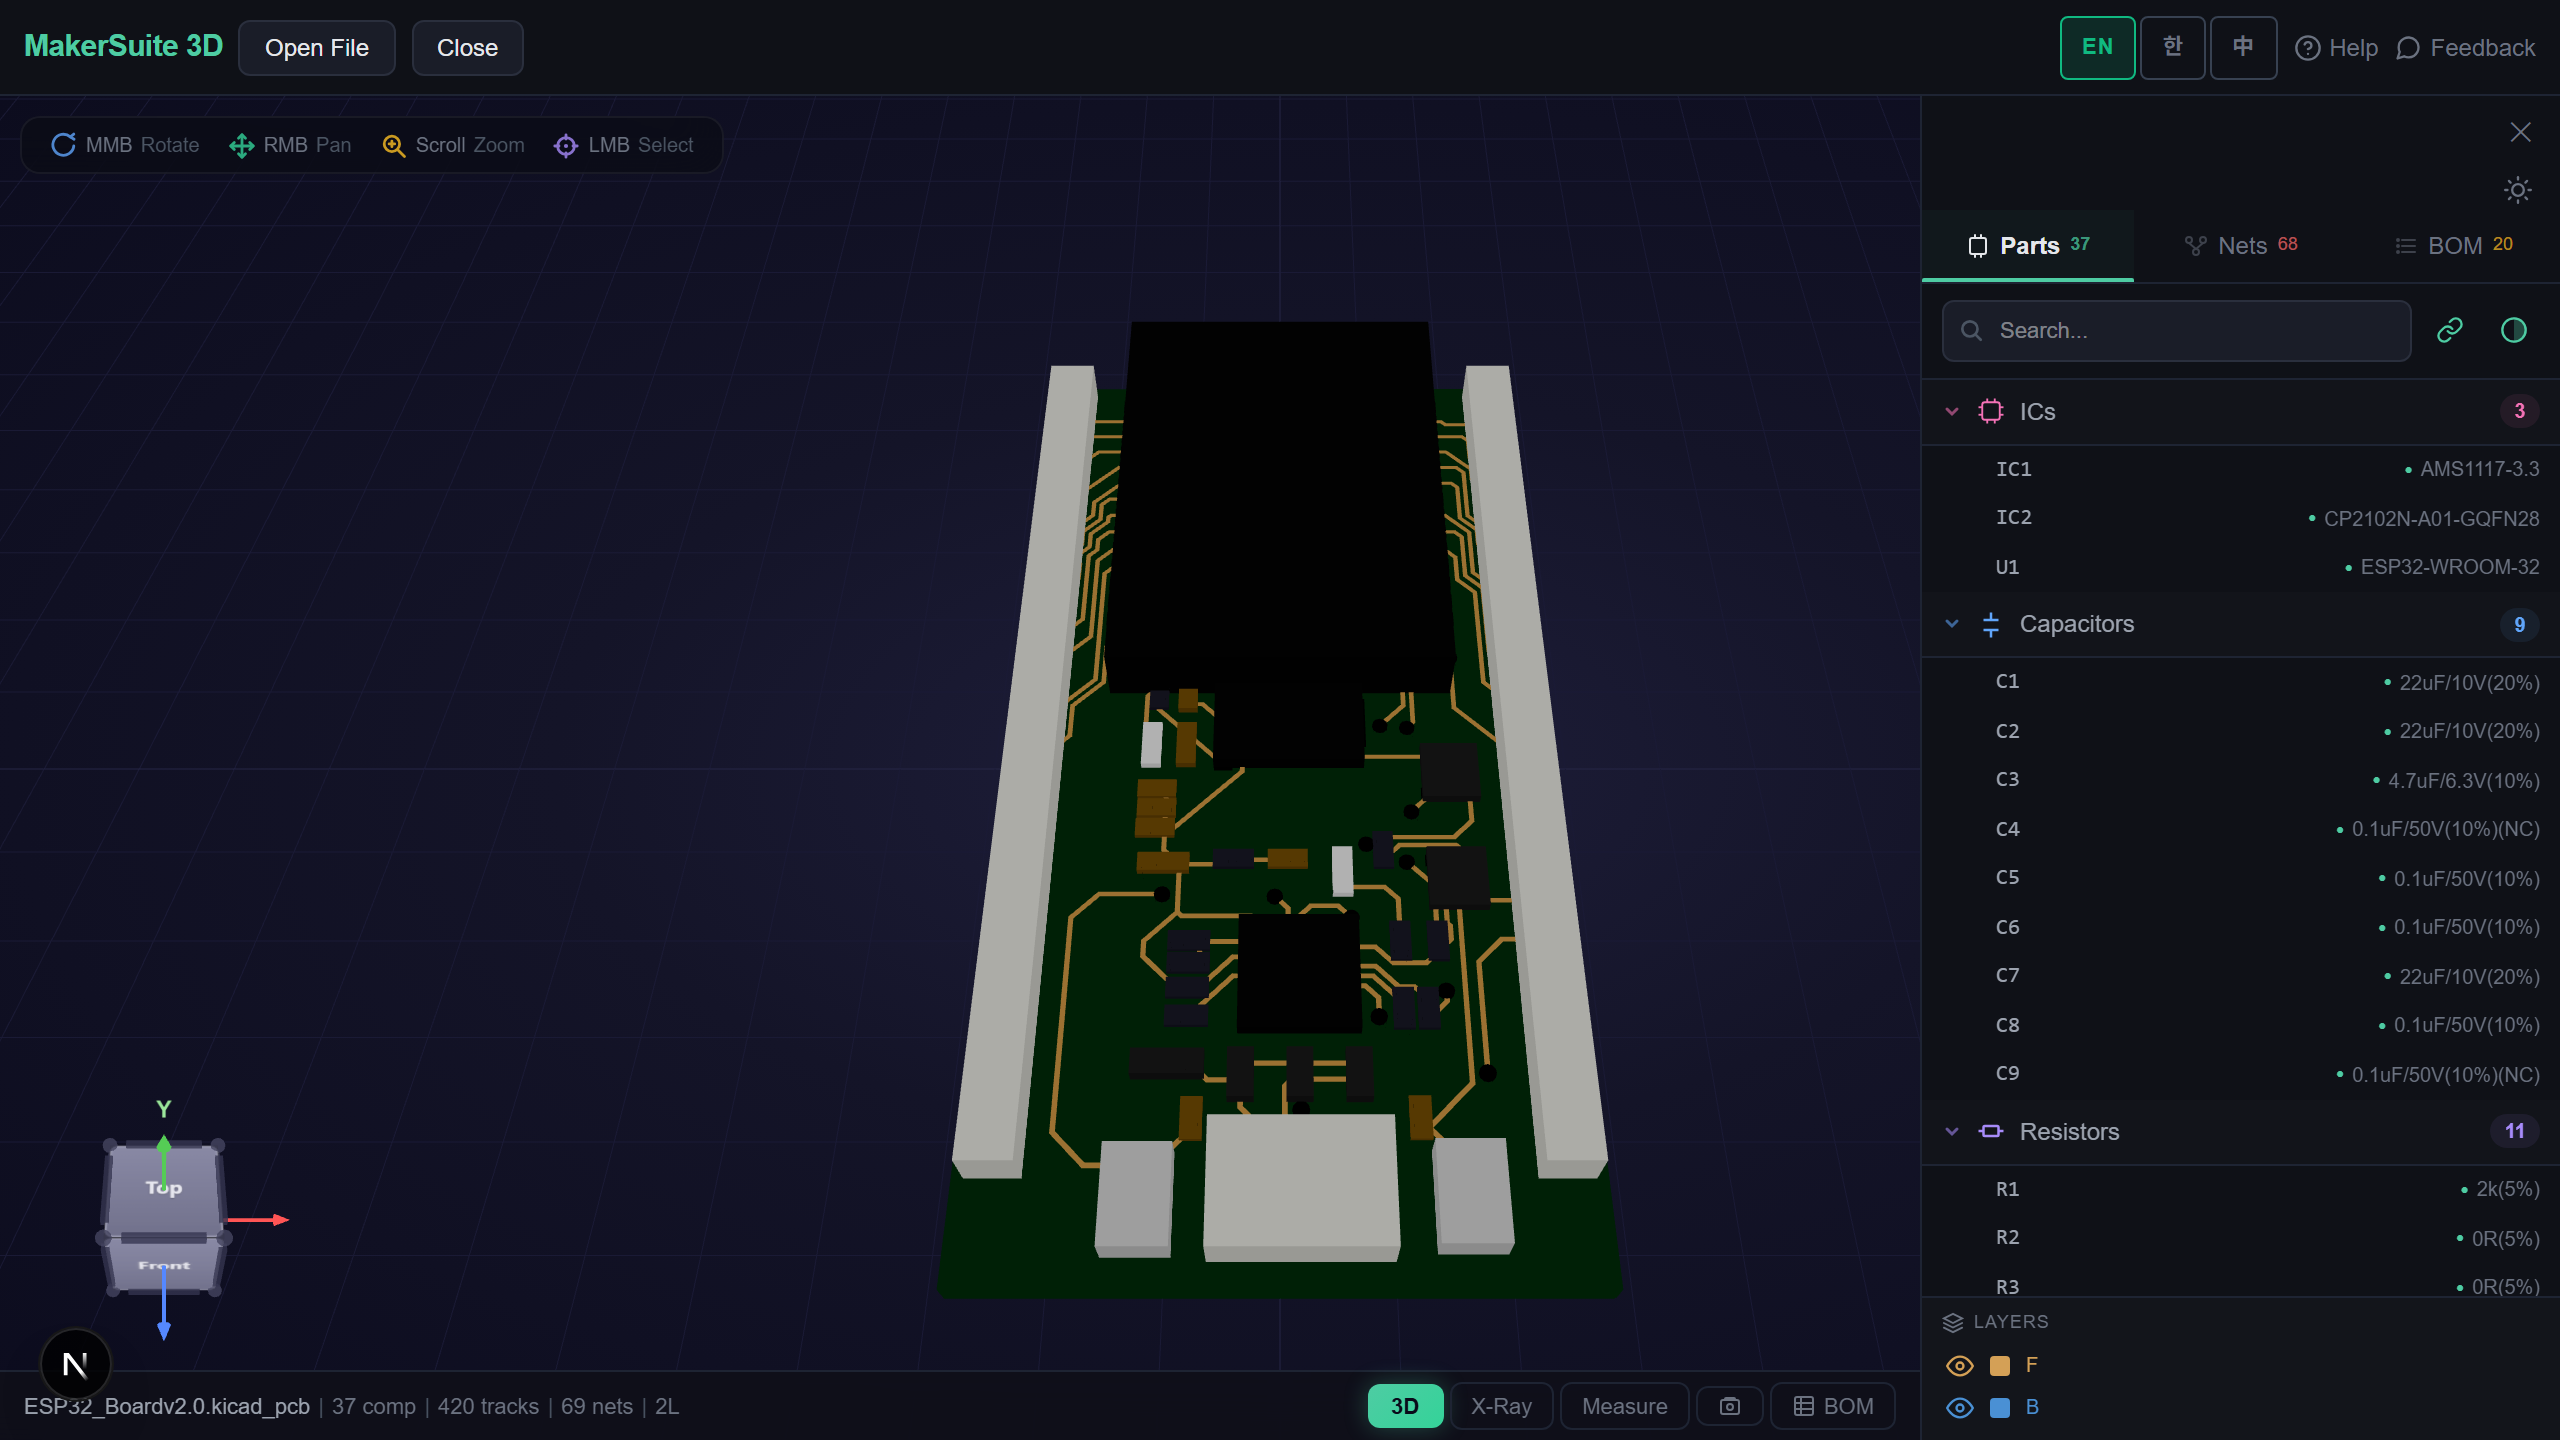
- Open pcbviewer.app 并拖入拼板的 .kicad_pcb 或拼板的 Gerber zip。
- 验证工艺边以预期宽度(一般 5-10mm)出现在预期边上。
- 确认基准点放在三个面板角(不是单块板)。
- 确认定位孔(NPTH,3-4mm)在面板角且远离任何走线或焊盘。
- 检查 v-cut 或 mouse-bite 分离线 — 不应跨过单板的任何走线或元件焊盘。
SMT 提交前验证你的面板 — 拖入拼板文件检查工艺边、基准点、分离线。
免费试用 MakerSuite 3D为什么面板设计错误代价高
面板错误意味整个面板报废。基准点错就 SMT 机对不准 — 重制造。定位孔放在压走线处,整面板就废。V-cut 深度错,要么板分不开要么运输中提前裂。这些故障在单板验证里抓不到,错误在面板层。提交前在 3D 查看器验证面板零成本抓住这些错误;到了厂里才发现就是几天加一笔额外制造费。
何时必须拼板
- 小板 SMT 装配 — 一般 50×50mm 以下需要拼板
- 量产 — 拼板比单件订购单板成本明显下降
- 多设计面板 — 一面板上测多个变体做工程评估
- 压力测试 — 用故意缺陷图样的面板做 IPC 认证
- 运输效率 — 即便业余数量,一面板也比多块松散板更易运输
浏览器端解析,零上传
面板布局透露敏感产品工程 — 每面板板数透露预期产量、拼板风格透露与制造商关系。MakerSuite 3D 在你的浏览器完整解析拼板 PCB 文件;零服务器上传,零缓存。面板几何、基准点位置、单板布局留在你的机器上。
常见问题
Why panelize PCBs?
Three reasons. First, SMT assembly machines need a minimum panel size (typically 50×50mm) for fixturing — small boards must be panelized to be assembled efficiently. Second, panel ordering is cheaper per unit than single-piece ordering at most fabs because the fab's processing cost is per-panel, not per-board. JLCPCB charges $2 for 5 single 100×100mm boards but $5 for 25 panelized 50×50mm boards (5× the count for 2.5× the price). Third, panels survive shipping better — the rigid panel resists bending that would crack solder joints on individual boards.
V-cut vs mouse bites vs tab routing — which to use?
V-cut: best for rectangular boards with straight edges; the fab cuts a V-groove that lets you snap the panel apart by hand. No edge irregularities, but limits panel layout to grid arrangements. Mouse bites: small drilled holes along a routed slot let you snap panels apart; works for any board shape including curves. Leaves small bumps on the edge — sandable but visible. Tab routing: full router cuts with bridge tabs at strategic points; cleanest result but most complex panel design. For rectangular hobby boards, v-cut is fastest. For odd-shaped or production boards needing clean edges, mouse bites or tab routing.
How do I panelize in KiCad?
KiCad doesn't have native panelization, but the kikit plugin (free, open source) handles it. Install via Plugin and Content Manager. Then use Tools > External Plugins > KiKit Panelize. KiKit supports v-cut, mouse bites, tab routing, and frame rails. Output is a separate .kicad_pcb file with the panel that you submit to fab. Alternative tools: PCBNew Panel script, GerberPanelizer (Therac), PcbPanelize (online). For Altium and EasyEDA, panelization is built-in via the Embedded Board feature. For Eagle, use the panel.ulp script.
What about adding fiducials and tooling holes?
Required for SMT assembly. Fiducials: three small round copper-on-soldermask-removed marks (1mm diameter) at three corners of the panel, used by the SMT machine's vision system to align the panel. Place at panel corners, not on individual boards (one set per panel suffices). Tooling holes: 3-4mm diameter NPTH (non-plated through hole) at panel corners, used by the assembly fixture to register the panel. Most fabs require both for SMT panelization. JLCPCB will skip both if you don't include them and instead use board-edge alignment, which is less accurate.
Should I include rails and how wide?
Rails are extra strips of FR4 along the panel edge that don't contain any boards. They're required if the assembly machine clamps the panel by the edge (most do). Standard rail width: 5-10mm on each long edge. Some fabs require rails on all four sides; others only on the two long edges. JLCPCB's panelization service handles rails automatically when you select the panel option during ordering — they add 5mm rails on the appropriate edges. For self-panelized DIY panels submitted as Gerber, include 5mm rails on at least the top and bottom of the panel orientation that will go into the SMT machine.
相关文章
验证你的拼板 — 拖入拼板的 PCB 文件检查工艺边与基准点
打开 MakerSuite 3D