How to Export Gerber Files from KiCad (2026 Guide)
Why Gerber export is the step that breaks boards
Your KiCad design is finished — but the fab house doesn't read .kicad_pcb files, it reads Gerbers. Exporting them wrong is the single most common reason a first PCB order comes back defective: a missing layer, the wrong drill format, or mirrored copper. This guide walks through the exact KiCad 8 Plot settings that produce a clean, fab-ready Gerber set, and how to catch mistakes before you pay for them.
What a Gerber export actually produces
A Gerber export isn't one file — it's a set. KiCad's Plot dialog writes one RS-274X Gerber per layer (copper, solder mask, silkscreen, paste, edge cuts) plus a separate Excellon drill file for the holes. Together these 8–12 files fully describe your board to the fabricator's CAM software. Modern KiCad uses Gerber X2, which embeds layer and netlist attributes so the fab can auto-detect what each file is.
What you can check before ordering
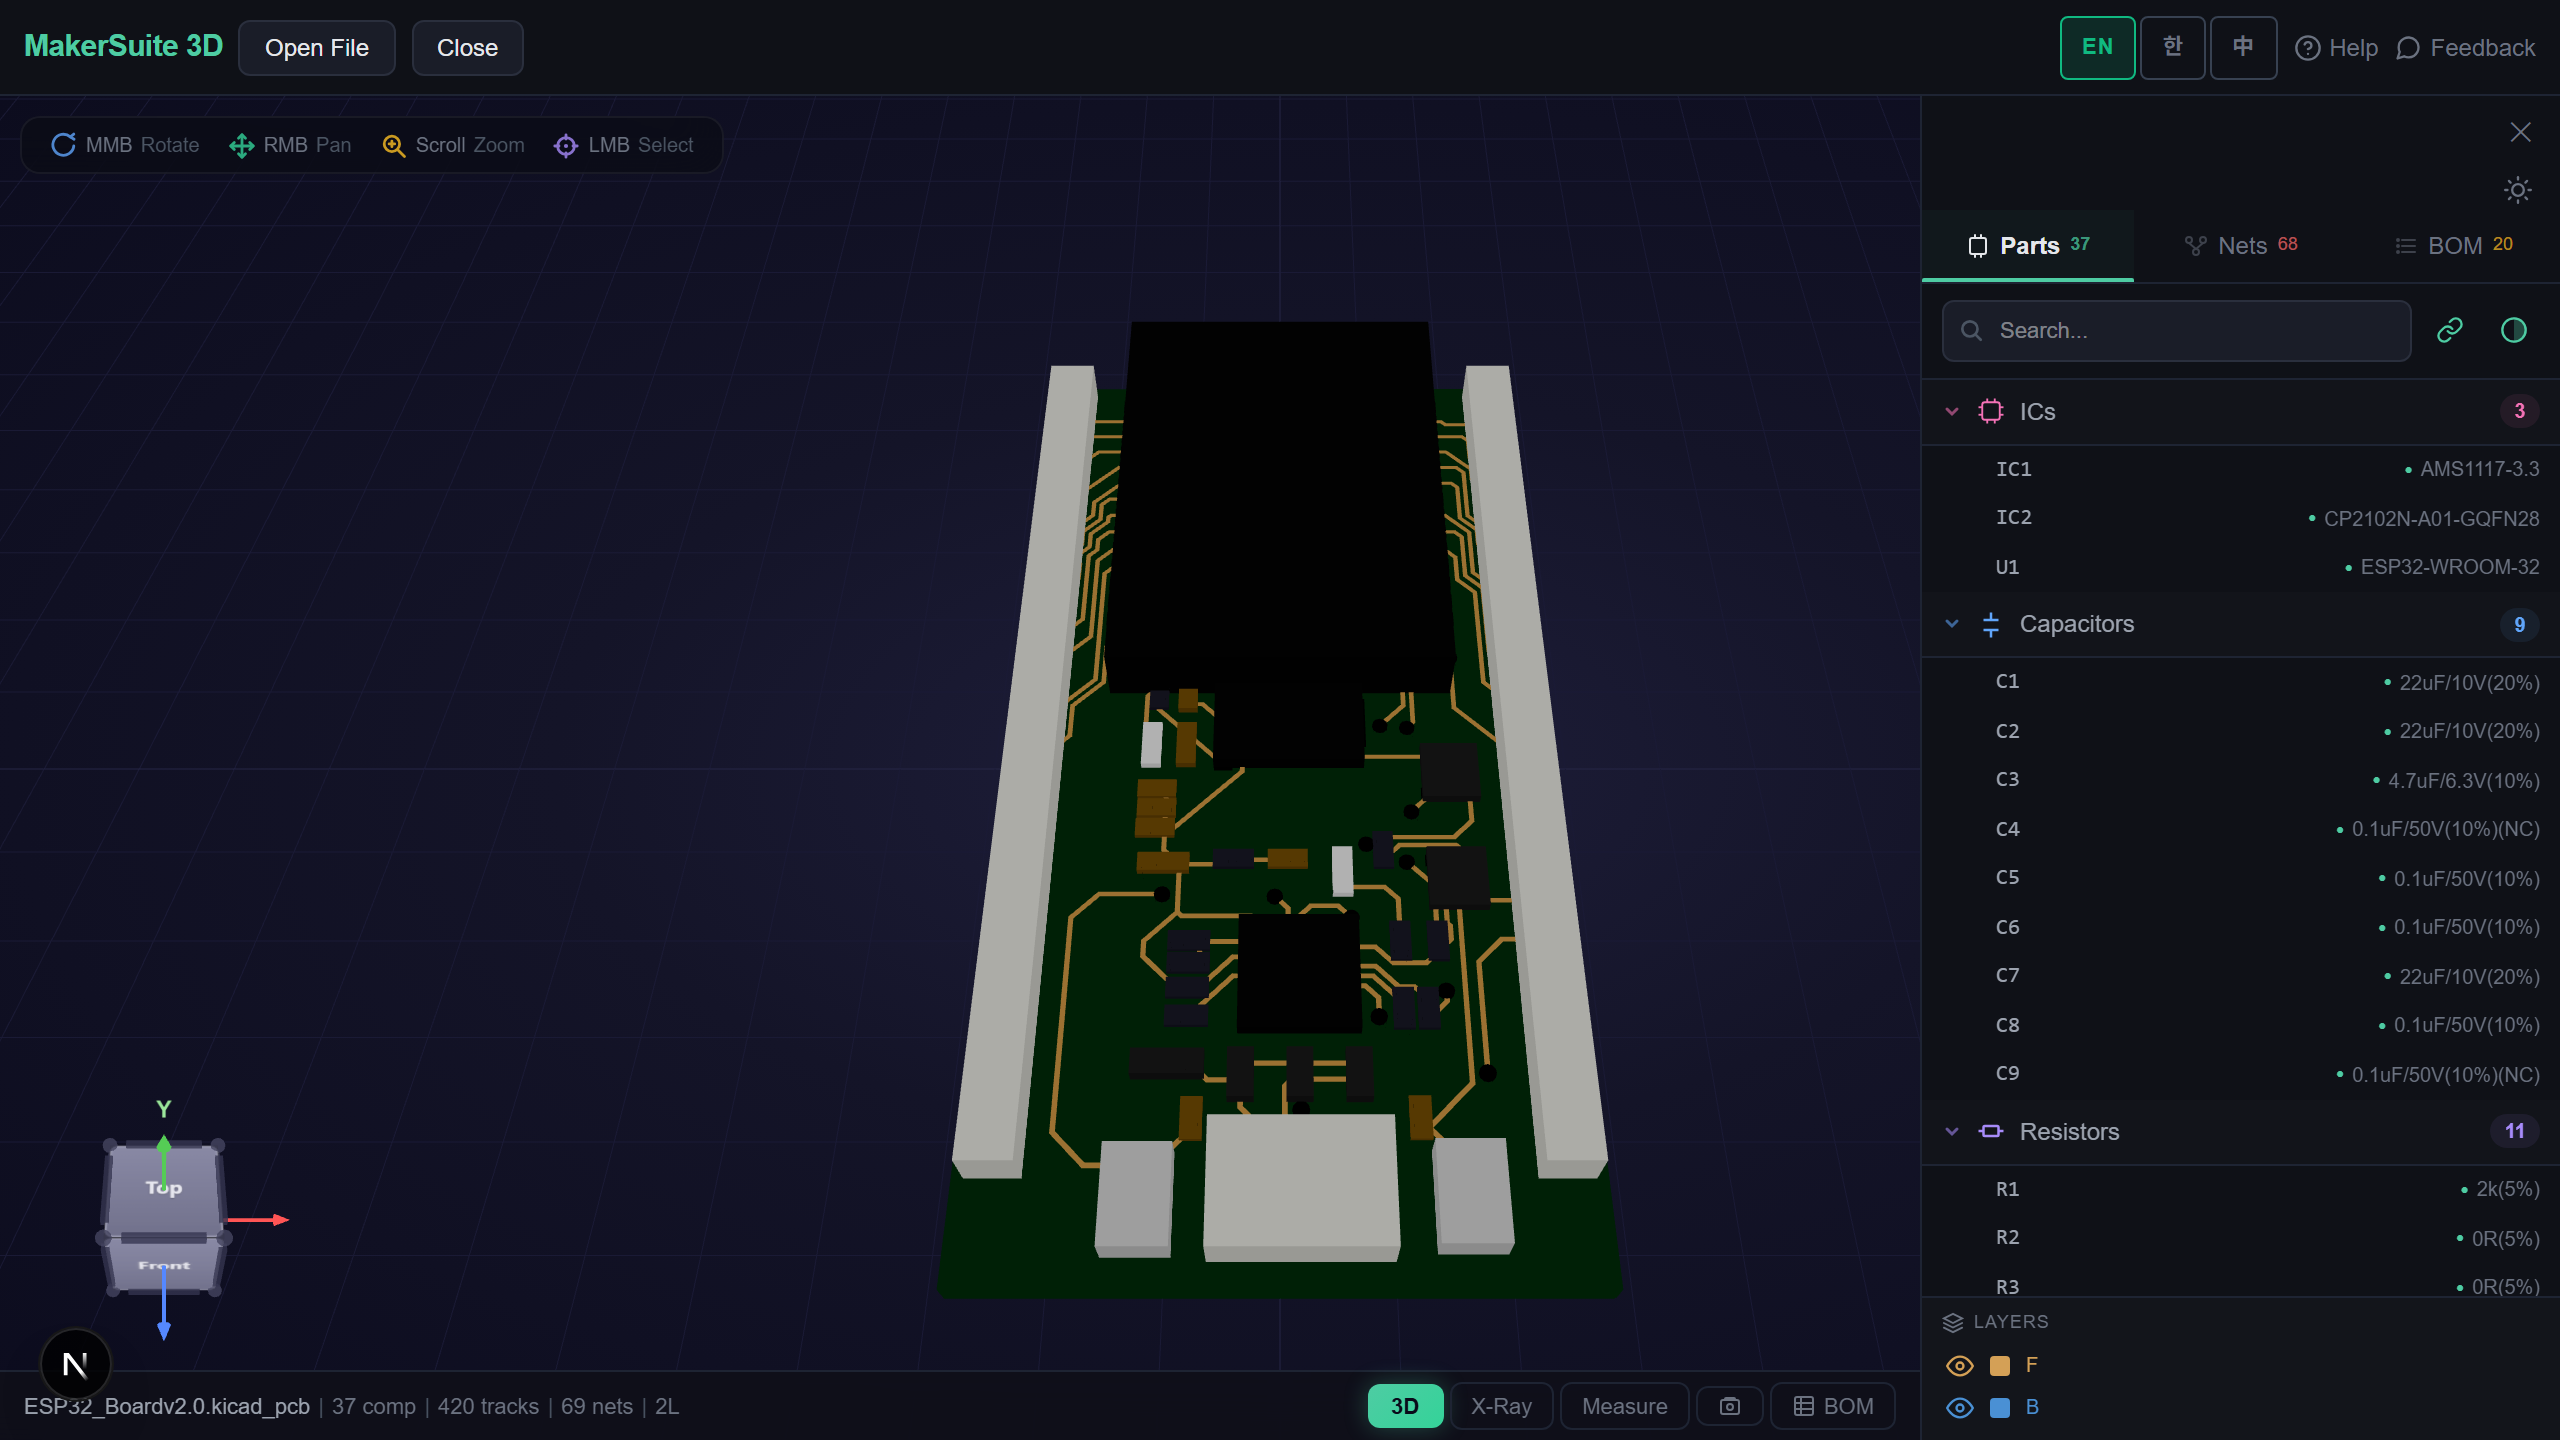
- Instant 3D render — Drop your exported Gerber ZIP and see the assembled board in 3D, exactly as the fab will interpret it.
- Layer-by-layer inspection — Toggle copper, mask, silk, and paste independently to confirm nothing is missing or misaligned.
- Drill verification — The Excellon file is rendered as actual holes, so a missing or misplaced drill is obvious at a glance.
- Copper net analysis — Spot an unconnected pour or a shorted net before the panel is ever etched.
- No install, no upload — Files are parsed in your browser; your design never touches a server.
- Works everywhere — Verify on Windows, Mac, Linux, or a tablet, with no CAD software installed.
Exporting Gerbers from KiCad, step by step
- In KiCad's PCB editor (Pcbnew), open File → Plot. Set the output format to Gerber and choose an output folder.
- Select the layers your fab needs: F.Cu, B.Cu (plus inner copper), F.Mask, B.Mask, F.Silkscreen, B.Silkscreen, Edge.Cuts — and F.Paste / B.Paste only if you're ordering a stencil.
- Keep 'Subtract soldermask from silkscreen' on, leave coordinate format at 4.6 with units in mm, then click Plot to write the Gerbers.
- Still in the Plot dialog, click 'Generate Drill Files'. Choose Excellon, put PTH and NPTH in one file (or split if your fab asks), set units to mm, and click Generate.
- Zip every .gbr and the .drl together, then drop the ZIP into the viewer to confirm the board renders correctly before you upload it to JLCPCB, PCBWay, or your fab of choice.
Verify your exported Gerbers in 3D before you order — free, no upload.
Try MakerSuite 3D FreeWhy verifying before ordering saves money
A PCB order takes days and costs real money. If a Gerber set is missing the Edge.Cuts layer, the fab can't route the board outline; if the drill file is in the wrong format, holes land in the wrong place. These errors are invisible in a text editor but obvious in a 3D render. Catching one bad export before you order saves a full fabrication cycle — typically a week of shipping and a re-spin fee.
Who needs this
- Hobbyists ordering their first board from JLCPCB or PCBWay who want to confirm the Gerbers are complete.
- Engineers handing a design to a contract manufacturer that needs a clean, attribute-tagged Gerber X2 set.
- Students verifying coursework boards without a paid fab account.
- Anyone reviewing a Gerber set received from a colleague before approving the order.
- Makers comparing a re-exported Gerber against the original to confirm a fix actually took effect.
Your design stays private
MakerSuite 3D parses Gerber and drill files entirely in your browser. Nothing is uploaded, stored, or sent to a server, so proprietary board designs and client work stay on your machine — which matters when you're verifying boards under NDA.
Common Gerber export mistakes (and how to spot them)
The most frequent failure is a missing Edge.Cuts layer — without it the fab has to guess your board outline, or rejects the order outright. The second is drill format: some fabs expect a specific Excellon zero-suppression, and a mismatch shifts every hole. The third is forgetting the paste layers when you also ordered a stencil, leaving the assembler with no paste apertures. All three are immediately visible in a 3D render: no outline, holes in the wrong place, or no paste openings.
A subtler trap is plotting from a board you haven't refilled — KiCad plots exactly what's on the canvas, including unrouted ratsnest and stale copper pours. Always run DRC and 'Fill all zones' (the B shortcut) before plotting, then confirm the rendered copper matches your intent. If a pour looks fragmented in the viewer, it wasn't refilled before export.
Frequently Asked Questions
Which layers do I actually need for a 2-layer board?
For a standard 2-layer board, export F.Cu, B.Cu, F.Mask, B.Mask, F.Silkscreen, B.Silkscreen, and Edge.Cuts — seven Gerbers — plus one Excellon drill file. Add F.Paste and B.Paste only if you're also ordering an SMT stencil. JLCPCB and PCBWay both auto-detect Gerber X2 files, so you usually don't need to rename anything.
Should I use Protel filename extensions?
Only if your fab explicitly asks. Modern fabs read Gerber X2 attributes and don't care about extensions. The old Protel-style extensions (.GTL, .GBL, .GTS, etc.) exist for legacy CAM tools. KiCad's default .gbr names with X2 attributes work fine at JLCPCB, PCBWay, OSH Park, and most others.
Do I need to zip the Gerbers?
Yes — almost every online fab wants a single ZIP containing all the .gbr layer files plus the .drl drill file(s). Select them all and compress into one archive. Don't nest them in a subfolder unless the fab's instructions say to, because some uploaders choke on nested ZIPs.
Can I check the Gerbers without installing KiCad?
Yes. MakerSuite 3D opens a Gerber ZIP directly in the browser and renders the board in 3D, with per-layer toggles and drill holes shown as real geometry. It's the fastest way to confirm a set is complete and correctly aligned before you upload it to a fab — no KiCad, no CAM software, no install.
Why does my board outline not show up at the fab?
Almost always a missing or mis-assigned Edge.Cuts layer. The board outline must be drawn on Edge.Cuts (not a copper or silkscreen layer) and that layer must be included in the export. If the outline is on the wrong layer, the fab sees no board shape. Render the ZIP in a viewer — if there's no clean outline, fix the layer assignment in KiCad and re-plot.
Related Articles
Ready to check your Gerber export?
Open MakerSuite 3D