PCB Panelization Guide — Stencil-Ready Panels for SMT
From Single Boards to Production Panels
Single-board PCBs work fine for hobby projects, but production runs and SMT assembly need panelization — multiple boards arranged on a single panel that the assembly machine can fixture and place efficiently. Panelization touches v-cut vs mouse bite decisions, fiducial placement, tooling hole convention, rail width, and per-fab idiosyncrasies. This guide covers the standard techniques for KiCad, Altium, EasyEDA, and direct fab-side panelization at JLCPCB and PCBWay.
What Panelization Solves
SMT machines have minimum panel size requirements (typically 50×50mm) for reliable fixturing. Below that, panels need to be ganged. Panelization also amortizes per-panel processing costs across multiple boards — JLCPCB charges a fixed fee per panel, not per board, so a panel of 25 boards costs about 2.5× the price of 5 single boards even though it contains 5× the count. Add in shipping efficiency (one big package vs many small ones) and panelization is the standard for any PCB beyond hobby quantity. Panelization also makes SMT assembly more efficient — the machine doesn't lose time fixturing each board separately.
What This Guide Covers
- V-cut panels — when to use, depth conventions, snap-apart vs guillotine separation.
- Mouse bites — drill pattern spacing, residue cleanup, edge irregularity.
- Tab routing — bridge tab placement, router width, edge cleanliness.
- Fiducials and tooling — three-corner placement, NPTH hole specs, SMT machine vision alignment.
- Rail width — 5-10mm rails, when needed, all-edge vs two-edge convention.
- Tools — KiKit (KiCad), Altium native, EasyEDA Embedded Board, GerberPanelizer.
How to Verify a Panelized Design
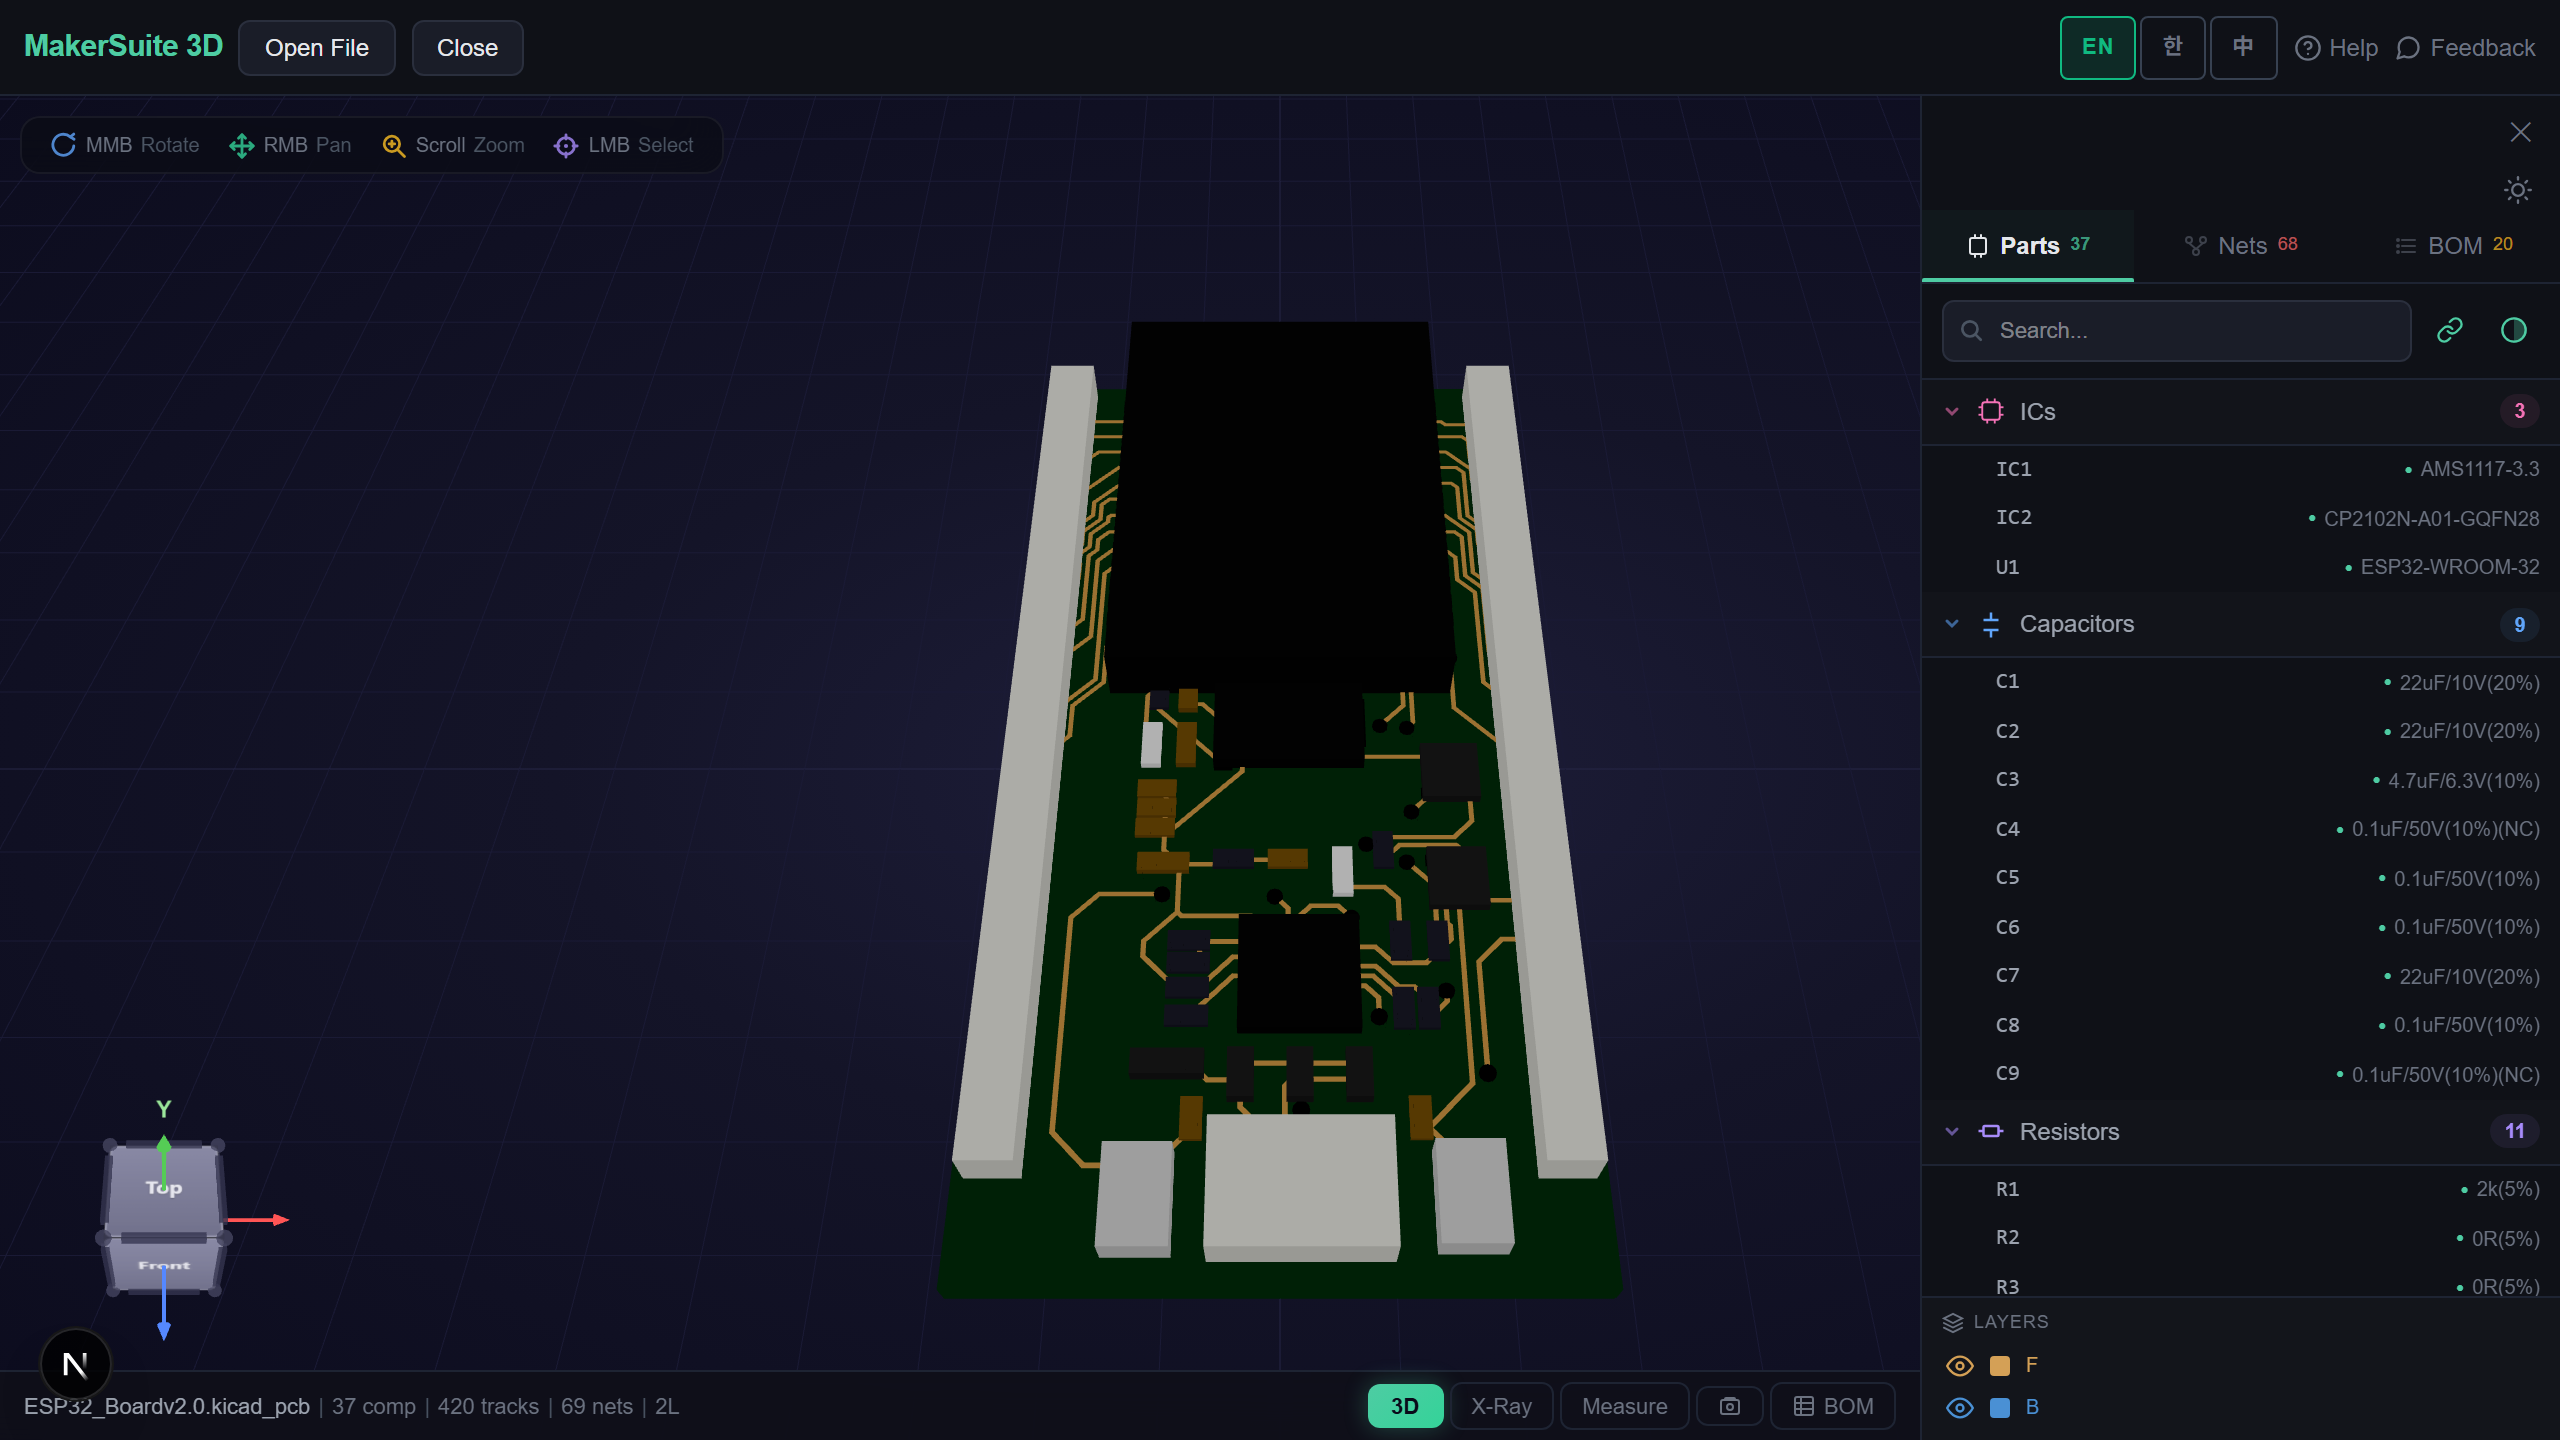
- Open pcbviewer.app and drop your panelized .kicad_pcb or panelized Gerber zip.
- Verify rails are present at the expected width (5-10mm typical) and on the expected edges.
- Confirm fiducials are placed on three panel corners (not on individual boards).
- Confirm tooling holes (NPTH, 3-4mm) are at the panel corners and clear of any traces or pads.
- Inspect the v-cut or mouse-bite breakaway lines — they should not cross any traces or component pads on individual boards.
Verify your panel before SMT submission — drop the panelized file and inspect rails, fiducials, and breakaways.
Try MakerSuite 3D FreeWhy Panel Design Errors Are Expensive
A panel error means the entire panel scraps. If your fiducials are wrong, the SMT machine can't align — re-fabrication. If your tooling holes are placed where they hit a trace, the entire panel is a dud. If v-cut depths are wrong, the panel either doesn't snap apart or pre-snaps in shipping. These failures aren't catchable in single-board verification because the error is at the panel level. Verifying panels in a 3D viewer before submission catches these errors at zero cost; finding them at the fab adds days and an additional fabrication cost.
When Panelization Is Required
- SMT assembly on small boards — anything under 50×50mm typically needs panelization
- Production runs — cost per board drops dramatically with panelization vs single-piece
- Multi-design panels — testing several variants on one panel for engineering evaluation
- Stress testing — panels with intentional defect patterns for IPC certification
- Shipping efficiency — one panel ships easier than many loose boards even at hobby quantity
Browser-Side Parsing, No Upload
Panel layouts disclose sensitive product engineering — board count per panel reveals expected production volume, panelization style reveals manufacturer relationship. MakerSuite 3D parses panelized PCB files entirely in your browser; no server upload, no cached copy. Panel geometry, fiducial positions, and individual board layouts stay on your machine.
Frequently Asked Questions
Why panelize PCBs?
Three reasons. First, SMT assembly machines need a minimum panel size (typically 50×50mm) for fixturing — small boards must be panelized to be assembled efficiently. Second, panel ordering is cheaper per unit than single-piece ordering at most fabs because the fab's processing cost is per-panel, not per-board. JLCPCB charges $2 for 5 single 100×100mm boards but $5 for 25 panelized 50×50mm boards (5× the count for 2.5× the price). Third, panels survive shipping better — the rigid panel resists bending that would crack solder joints on individual boards.
V-cut vs mouse bites vs tab routing — which to use?
V-cut: best for rectangular boards with straight edges; the fab cuts a V-groove that lets you snap the panel apart by hand. No edge irregularities, but limits panel layout to grid arrangements. Mouse bites: small drilled holes along a routed slot let you snap panels apart; works for any board shape including curves. Leaves small bumps on the edge — sandable but visible. Tab routing: full router cuts with bridge tabs at strategic points; cleanest result but most complex panel design. For rectangular hobby boards, v-cut is fastest. For odd-shaped or production boards needing clean edges, mouse bites or tab routing.
How do I panelize in KiCad?
KiCad doesn't have native panelization, but the kikit plugin (free, open source) handles it. Install via Plugin and Content Manager. Then use Tools > External Plugins > KiKit Panelize. KiKit supports v-cut, mouse bites, tab routing, and frame rails. Output is a separate .kicad_pcb file with the panel that you submit to fab. Alternative tools: PCBNew Panel script, GerberPanelizer (Therac), PcbPanelize (online). For Altium and EasyEDA, panelization is built-in via the Embedded Board feature. For Eagle, use the panel.ulp script.
What about adding fiducials and tooling holes?
Required for SMT assembly. Fiducials: three small round copper-on-soldermask-removed marks (1mm diameter) at three corners of the panel, used by the SMT machine's vision system to align the panel. Place at panel corners, not on individual boards (one set per panel suffices). Tooling holes: 3-4mm diameter NPTH (non-plated through hole) at panel corners, used by the assembly fixture to register the panel. Most fabs require both for SMT panelization. JLCPCB will skip both if you don't include them and instead use board-edge alignment, which is less accurate.
Should I include rails and how wide?
Rails are extra strips of FR4 along the panel edge that don't contain any boards. They're required if the assembly machine clamps the panel by the edge (most do). Standard rail width: 5-10mm on each long edge. Some fabs require rails on all four sides; others only on the two long edges. JLCPCB's panelization service handles rails automatically when you select the panel option during ordering — they add 5mm rails on the appropriate edges. For self-panelized DIY panels submitted as Gerber, include 5mm rails on at least the top and bottom of the panel orientation that will go into the SMT machine.
Related Articles
Verify your panelization — drop the panelized PCB file and inspect rails and fiducials
Open MakerSuite 3D