차동 페어 라우팅 가이드 — 길이 매칭과 임피던스
시행착오 없는 고속 라우팅
USB 3·PCIe·HDMI·이더넷·MIPI·DDR — 모든 현대 인터페이스가 차동 페어 사용, 차동 신호가 공통 모드 노이즈 거부하고 싱글 엔드 시그널링 못하는 데이터 레이트 지원. 그러나 차동 라우팅은 싱글 엔드에 없는 규칙: 매칭된 길이·컨트롤된 차동 임피던스·타이트한 인트라 페어 스큐 한계. 이 가이드는 인터페이스별 규칙과 라우팅이 팹 전 스펙 부합 검증 방법 다룸.
차동 페어를 만드는 것
차동 페어는 동등 반대 신호로 가까이 라우팅된 두 트레이스. 리시버가 (Pos − Neg) 빼서 신호 복구, 두 트레이스 동등 친 노이즈 캔슬. 페어는 두 임피던스 중요: Zdiff(차동 임피던스, 인터페이스에 따라 ~85~100Ω)와 Zcm(공통 모드 임피던스, 덜 중요). Zdiff는 트레이스 폭·트레이스 간격·유전체 Dk·기준 플레인 거리로 설정. 팹 스택업 스펙이 선택한 S/W 비율에서 목표 Zdiff 히트하는 지오메트리 정의.
이 가이드 다루는 것
- 인터페이스별 Zdiff — 85Ω PCIe·90Ω USB 2/3·100Ω HDMI/DisplayPort/이더넷/MIPI/LVDS/SATA.
- 인트라 페어 스큐 — 인터페이스별 한계(USB 3 5 mil·PCIe Gen4 2 mil)와 미언더 매칭 방법.
- 인터 페어 스큐 — 더 느슨한 톨러런스, 리시버가 보정하는 이유(PCIe LTSSM·DDR write leveling).
- 레이어 전환 — + ·− 트레이스 간 비아 카운트 매칭 방법; 그라운드 스티칭 비아.
- 타이트 vs 루즈 커플링 — S ≤ W vs S > 2W 트레이드오프, 노이즈 면역 vs 유연성.
- 길이 매칭 라우팅 — KiCad·Altium·EasyEDA 튜닝 미언더, 어디 배치하나.
차동 페어 라우팅 검증 방법
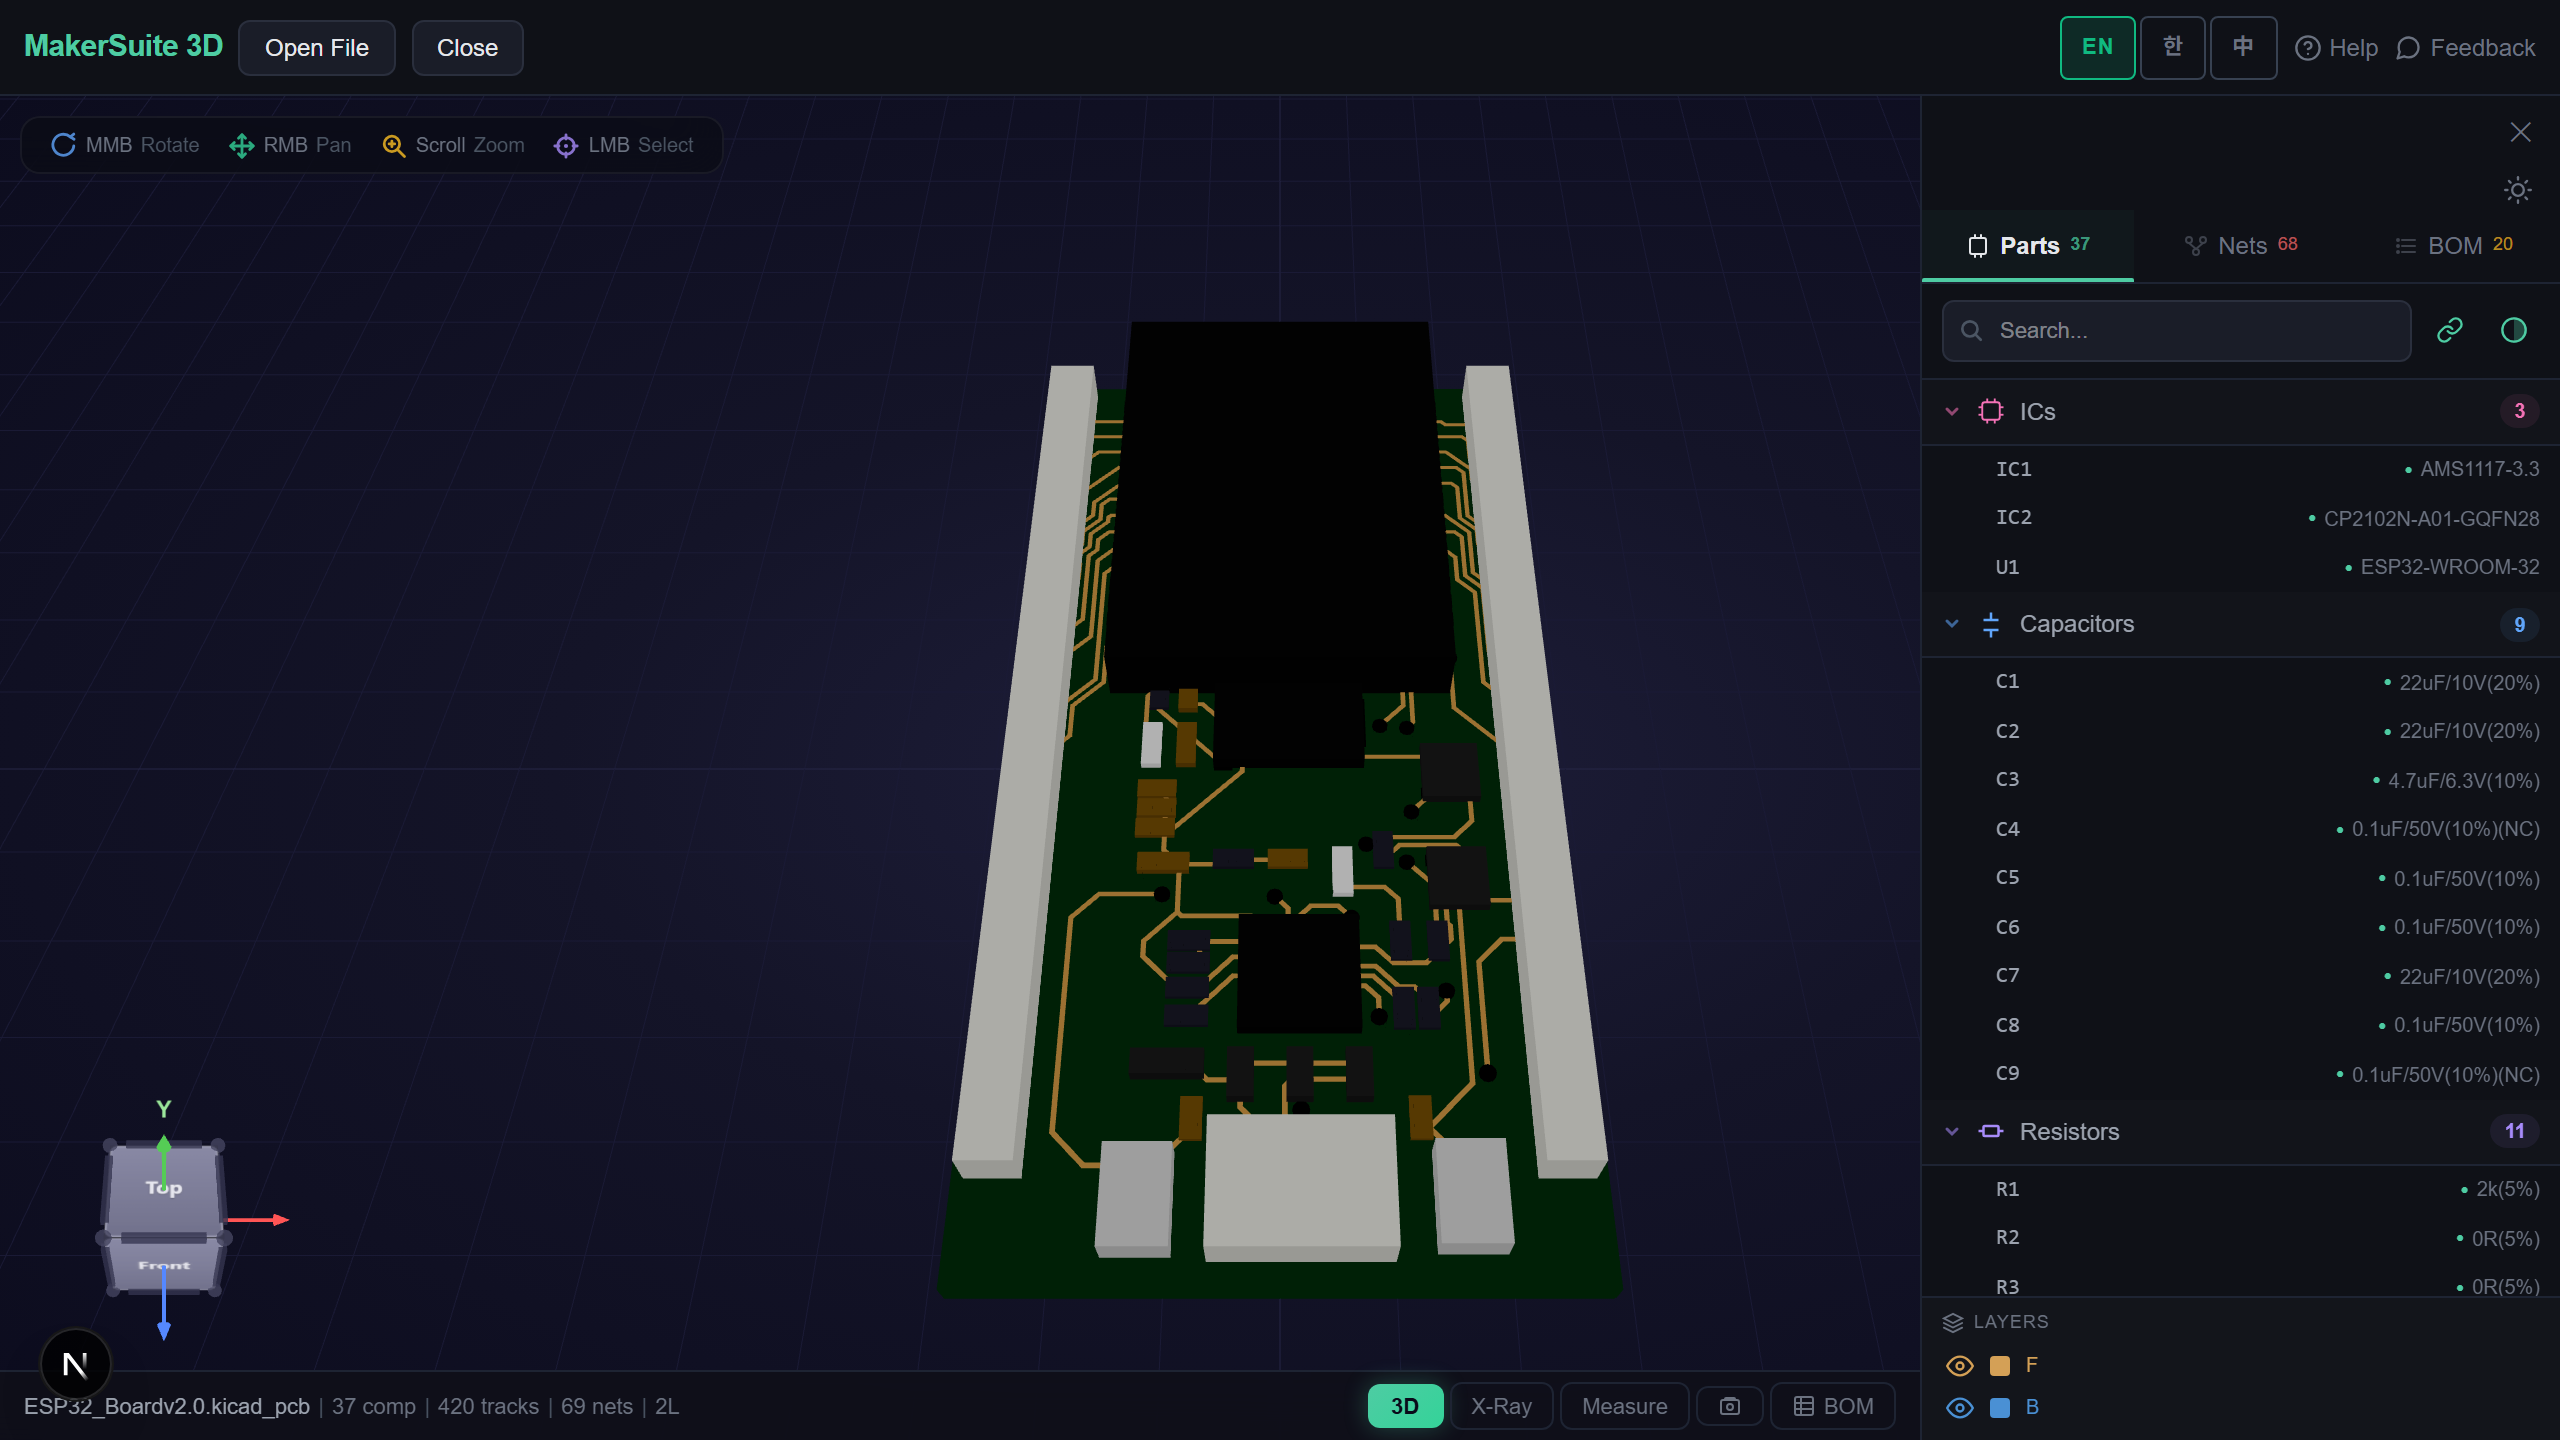
- Open pcbviewer.app 하고 PCB 파일 드롭. 파서가 넷 이름 추출 — 차동 페어가 보통 _P/_N 또는 +/-로 접미.
- Net 검색으로 페어 멤버 찾기. 두 트레이스 하이라이트; 뷰어가 매칭 컬러로 표시.
- 측정 도구로 + ·− 트레이스 길이 비교. 인터페이스 한계(예 USB 3 5 mil) 아래 스큐?
- 각 페어의 두 트레이스가 대부분 길이에서 같은 레이어 공유 검증. 레이어 전환은 + ·− 간 비아 카운트 매칭해야.
- Zdiff 검증은 트레이스 폭·간격을 팹 스택업 스펙과 비교. 지오메트리 미스매치 = 임피던스 미스 = 신호 무결성 리스크.
차동 페어 검증 — PCB 파일 드롭하고 모든 페어의 길이 매칭·레이어 배치·비아 카운트 검사.
MakerSuite 3D 무료로 써보기왜 차동 라우팅 규율이 중요한가
차동 라우팅 실패가 미묘. USB 3.0 링크의 10 mil 인트라 페어 스큐는 enumeration 실패 안 함 — 최대 케이블 길이·특정 호스트·간헐적·호스트나 케이블 문제처럼 보이는 방식으로 실패. 보드로 좁힐 때까지 제품 출시. 올바르게 라우팅된 페어가 이 미묘한 실패에 영구 보험. 작업이 분석 아닌 규율 — 규칙 가지면 모든 프로젝트가 자동 적용.
차동 라우팅이 무는 때
- USB 3 허브·전면 패널 케이블 — 이미 타이트한 예산에 스큐 추가하는 모든 익스텐션
- PCIe 라이저·엣지 커넥터 — 모든 커넥터가 매칭해야 하는 레이어 전환 추가
- DDR4/DDR5 — 스트로브 페어가 2 mil 인트라 페어 필요, 바이트 레인이 바이트 내 길이 매칭 필요
- 이더넷 1000BASE-T — 100Ω 4 페어 각각, PHY 이퀄라이제이션 위해 페어 간 엄격한 길이 매칭
- MIPI CSI/DSI — 클록·데이터 레인 둘 다 길이 매칭과 신호 대 클록 스큐 컨트롤 필요
브라우저 측 파싱, 업로드 없음
고속 라우팅 디테일이 민감 엔지니어링 공개 — 인터페이스 선택·성능 목표·스택업 결정 모두 경쟁 정보. MakerSuite 3D는 PCB 파일을 브라우저에서 완전 파싱. 넷 이름·트레이스 길이·레이어 할당·비아 위치가 머신에 남음. NDA 리뷰·국방 응용·프리릴리스 제품 리뷰에 안전.
자주 묻는 질문
What's the right differential impedance for my interface?
USB 2.0: 90Ω ±10% differential. USB 3.x / USB-C SuperSpeed: 90Ω ±10% differential. Ethernet (100BASE-TX, 1000BASE-T, 10GBASE-T): 100Ω ±10% differential. PCIe Gen1–Gen5: 85Ω ±10% (note: not 100Ω). HDMI/DisplayPort: 100Ω ±10%. MIPI CSI/DSI: 100Ω. LVDS: 100Ω. SATA: 100Ω. The PCIe 85Ω is the common surprise — it's lower than other interfaces because of historical chipset driver design. Always check the specific interface spec, not generic 'high-speed = 100Ω' assumptions.
What is intra-pair skew and how do I measure it?
Intra-pair skew is the length difference between the + and − traces of one differential pair. Recommended limits: USB 2.0 — 150 mil. USB 3 — 5 mil. PCIe Gen3 — 5 mil. PCIe Gen4/5 — 2 mil. DDR4 strobe pairs — 2 mil. The cause: any length mismatch converts differential signal into common-mode signal, which radiates EMI and reduces eye height. Measure intra-pair skew at the same reference plane (vias don't count toward length until both ends use them). KiCad's length-tuning meander tool, Altium's xSignals, and EasyEDA's pair-routing assistant all report this number directly.
What about inter-pair (between-pair) skew?
Inter-pair skew is the length difference between separate pairs in the same group (e.g. four PCIe lanes, eight DDR data byte lanes). Limits are looser than intra-pair: PCIe lanes — 200 mil, DDR4 byte-to-byte — 100 mil, DDR4 within byte — 25 mil. The reason: inter-pair skew is corrected by the receiver's per-lane equalizer/training (PCIe LTSSM, DDR write leveling), so longer mismatch is tolerated. Intra-pair skew has no equivalent correction — the signal is already corrupted by the time it arrives. Match intra tightly, inter loosely.
Should differential pairs always be on the same layer?
Strongly preferred but not strict. Both traces of a pair on the same layer share the same reference plane and the same dielectric, which keeps Zdiff stable and intra-pair skew predictable. When pairs must change layers (BGA escape, connector breakouts), match the via count for both traces (one via on + and one via on − at the same point) and place ground stitching vias adjacent to maintain the return path. Avoid splitting one trace through inner layers and one through outer layers — the propagation velocity differs by 5–10% and you'll never match the skew.
How close together do the two traces need to be?
Tightly coupled pairs run with edge-to-edge spacing equal to or less than the trace width (S ≤ W). This makes the pair's coupling field dominate over external noise. Loosely coupled pairs (S > 2W) rely more on the ground plane reference and tolerate small spacing variations better, but pick up more external noise. Most modern interfaces (USB 3, PCIe, HDMI) use tightly coupled pairs because the routing density and EMI requirements favor it. The fab's stackup spec defines the trace width to hit your target Zdiff at your chosen S/W ratio — use what they recommend, don't deviate.
관련 글
PCB 파일 드롭 — 모든 차동 페어 길이 매칭·레이어 배치 검증
MakerSuite 3D 열기