PCB 스택업 가이드 — 레이어·재료·임피던스 선택
스택업 결정이 다른 모든 것을 좌우
스택업 결정이 트레이스 임피던스·라우팅 밀도·EMI 거동·제조 비용 상당 부분 결정. 진정 비가역인 첫 결정 — 다른 모든 선택(부품 배치·트레이스 라우팅·플레인 분할)이 그것에 제약. 이 가이드는 표준 2·4·6·8 레이어 스택업·각 사용 시기·JLCPCB·PCBWay·OSH Park에 임피던스 컨트롤 스택업 스펙 방법 다룸.
스택업의 내용
PCB 스택업은 구리 레이어 순서·레이어 간 유전체(FR4 또는 고스펙 재료)·각 레이어 두께·구리 무게(0.5oz·1oz·2oz)·특수 피처(임피던스 컨트롤·블라인드/베리드 비아·금 도금) 지정. FR4는 1GHz에서 Dk≈4.5, 비용 중심 설계 표준. 고속 설계는 Megtron 6·Rogers 4350B 또는 유사 저-Dk·저-Df 재료 사용. 총 보드 두께 일반 1.6mm(0.062"), 0.8mm·2.0mm도 흔함.
이 가이드 다루는 것
- 2 레이어 스택업 — 사용 시기·구리 무게 선택·고속 신호에 2 레이어 실패 시기.
- 4 레이어 표준 — Signal/GND/PWR/Signal·FR4 두께·JLCPCB 기본·EMI 함의.
- 임피던스 컨트롤 — 50Ω 싱글 엔드·90Ω/100Ω 차동·팹 스펙 워크플로우·가격.
- 6 레이어 라우팅 밀도 — 4 레이어 부족 시·BGA 이스케이프 패턴·이너 레이어 신호 배치.
- 8 레이어 믹스드 시그널 — 아날로그·디지털 분리 다중 그라운드 플레인·RF 통합·FPGA 이스케이프.
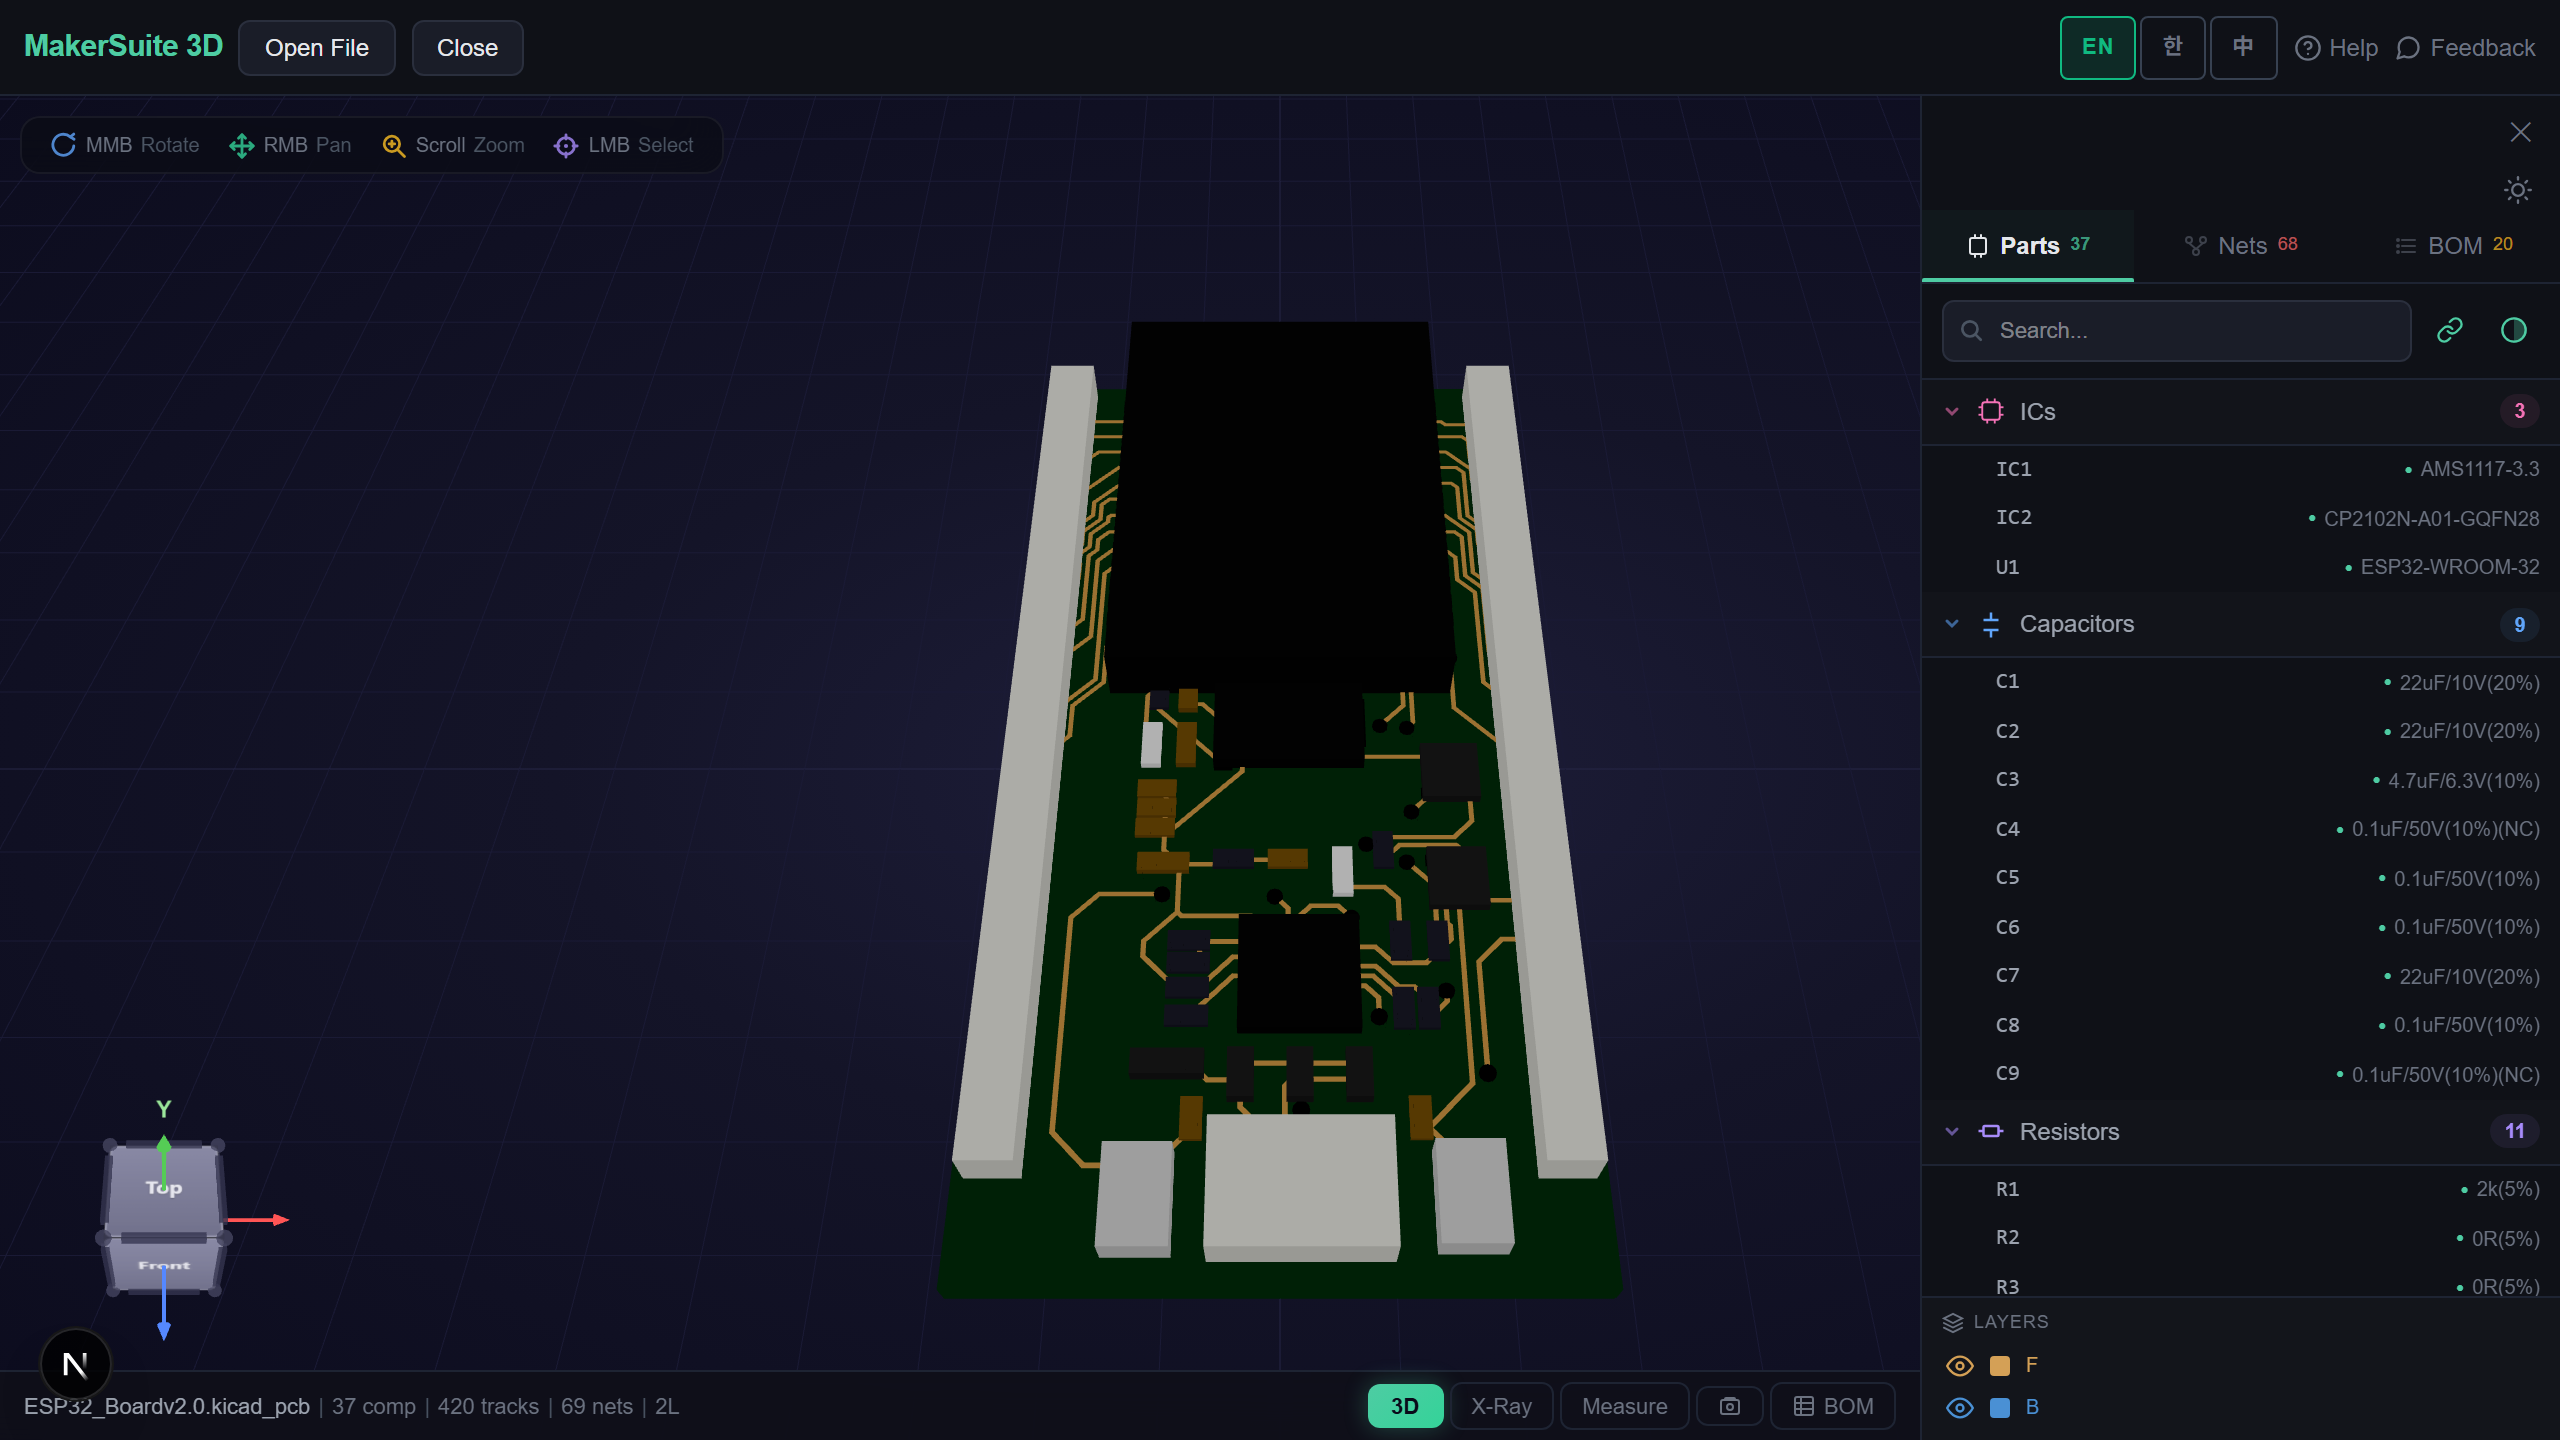
- 레이어별 리뷰 — MakerSuite 3D에서 파싱된 PCB 열고 각 레이어 토글로 스택업 의도 검증.
스택업 검증 방법
- Open pcbviewer.app 하고 KiCad·Altium·Eagle·Gerber 파일 드롭. 파서가 레이어 할당과 스택업 메타데이터 읽음.
- 레이어 패널 열기. 각 레이어(상단 구리·GND·PWR·하단 구리) 토글로 스택업 의도 검증.
- 단면 뷰로 비아·도금 홀·레이어 전환 보기. 신호가 파워 도메인 분할 통과하지 않는지 검증.
- 임피던스 컨트롤 트레이스는 임피던스 계산기 확인(관련 글: PCB 임피던스 계산기 가이드).
- 스택업 스펙을 PDF 익스포트 또는 JLCPCB·PCBWay·선호 제조사 팹 아웃 패키지에 포함.
PCB 스택업 레이어별 시각화 — 파일 드롭하고 각 구리·마스크·실크스크린 레이어 토글.
MakerSuite 3D 무료로 써보기왜 스택업 선택이 보드 정의하나
스택업 결정이 캐스케이드. GND가 레이어 2인 4 레이어 스택업은 리턴 경로 걱정 없이 레이어 1에 어떤 고속 신호든 라우팅 가능. PWR이 레이어 2인 4 레이어 스택업은 신호 따라 리턴 라우팅 또는 임피던스 불연속 수용 강제. 4 레이어 비용 차이는 JLCPCB에서 100×100mm 보드당 $2 vs $5 — 그러나 설계 노력 차이 거대. 신규 디자이너는 Signal/GND/PWR/Signal 기본, 특정 라우팅 밀도 이유 있을 때만 이탈.
각 스택업 승리 시기
- 2 레이어 — 50 부품 미만·고속 신호 없음·비용 중심(서브 $1 제조)
- 4 레이어 — 일반 마이크로컨트롤러 보드·USB 2.0·간단 I/O — 현대 기본 선택
- 6 레이어 — BGA 중심 설계·200+ 부품·USB 3.x·DDR3·간단 FPGA 보드
- 8 레이어 — 믹스드 시그널(RF + 디지털)·큰 FPGA(Xilinx Artix·Kintex)·DDR4/DDR5·자동차 ECU
- 10+ 레이어 — 고밀도 서버·전문 RF·자동차 레이더·100+ Gbps 네트워킹 — 프리미엄 팹만
브라우저 측 파싱, 업로드 없음
스택업 세부는 종종 민감한 제품 엔지니어링 선택 공개 — 임피던스 컨트롤 스펙·레이어 할당·재료 선택 모두 경쟁 정보. MakerSuite 3D 스택업 뷰어는 파일을 브라우저에서 완전 파싱; 서버 업로드 없음, 캐시 사본 없음. 파싱된 스택업 메타데이터가 머신에 남음. NDA 리뷰·고객 핸드오프·레이어별 공개 중요한 민감 보드에 안전.
자주 묻는 질문
Do I need 4 layers or can I do 2?
Use 2 layers if: total component count under ~50, no high-speed signals (USB, HDMI, DDR), and you have enough surface area to route everything without crossings. Use 4 layers if: you need a continuous ground reference for any signal trace (improves EMC and impedance), more than 50 components, or any signal above 50 MHz. The cost difference at JLCPCB is minor — a 4-layer 100×100mm board is ~$2 vs $5 in single-piece pricing — and the design effort drops significantly because you don't need to route returns alongside signals on a 2-layer board.
What's the standard 4-layer stackup?
Signal — Ground — Power — Signal. Top is signal+components, then a continuous ground plane, then power plane, then signals on bottom. Total thickness typically 1.6mm with each layer ~0.36mm prepreg between copper. JLCPCB's default stackup uses this arrangement with FR4 dielectric (Dk≈4.5 at 1 GHz). High-speed boards reverse the inner pair (Signal — Power — Ground — Signal) when the dominant nets reference the upper inner layer, but for general purpose, GND-as-second-layer is the convention because it's easier to route returns to the top signals through nearby vias.
Why does the inner layer matter for high-speed?
The return current of a signal flows on the nearest reference plane underneath. If the layer 2 reference is solid GND, your signal's return path is solid; if it's split (a power plane with cuts for different domains), the return current has to detour around the cut, which radiates EMI and creates impedance discontinuities. Rule: keep your high-speed signal layer adjacent to a continuous reference plane. For DDR3 and faster, this rule is non-negotiable.
What's a controlled-impedance stackup?
A stackup where you've calculated the trace width and dielectric thickness to produce specific impedances (typically 50Ω single-ended for USB/HDMI, 90Ω differential for USB 2.0, 100Ω differential for USB 3+ and Ethernet). The fab needs to know: target impedance, layer of the trace, copper weight (1oz typical for outer, 0.5oz typical for inner), dielectric Dk and thickness. JLCPCB and PCBWay both offer impedance-controlled stackups for $20-50 surcharge. Provide your stackup spec in the order notes; they'll tweak prepreg thickness to hit the impedance target.
How do 6-layer and 8-layer stackups differ?
6 layers: Signal — Ground — Signal — Signal — Power — Signal. The middle two layers absorb the routing density that 4 layers can't handle. 8 layers: Signal — Ground — Signal — Power — Ground — Signal — Ground — Signal, providing two separate ground planes (digital + analog or noisy + quiet). Use 6 layers for typical microcontroller boards with 200+ components and BGA escape routing. Use 8 layers for mixed-signal designs (RF + digital), large BGAs (FPGA, SoC), or high-speed differential pairs that need their own dedicated reference layers. Cost scales roughly 1.5x per added layer pair.
관련 글
PCB 스택업 시각화 — 파일 드롭하고 브라우저에서 모든 레이어 검사
MakerSuite 3D 열기