PCB 트레이스 폭 계산기 — IPC-2152·IPC-2221
트레이스가 얼마나 넓어야 하는가
트레이스 폭 사이징이 신규 PCB 디자이너의 가장 흔한 '어떻게 하나' 질문. 답은 의존: 목표 전류·구리 무게·허용 온도 상승·인터널 vs 익스터널 트레이스 배치·따르는 IPC 표준(1998 IPC-2221 vs 2009 IPC-2152). 이 가이드는 두 공식·각 적용 시기·계산된 폭이 라우팅 제약 부합 검증 방법 다룸.
IPC-2152 vs IPC-2221
IPC-2221(1998)이 전류·트레이스 폭·온도 상승 관련 단일 노모그래프 — 인터널·익스터널 트레이스 별도 곡선과 인터널 배치 고정 50% 디레이팅. IPC-2152(2009)는 실제 열 측정 기반, 다음 고려: 유전체 열 전도도·근처 구리 플레인 근접·보드 두께·비아 스티칭 효과·주변 공기 흐름. IPC-2152가 일반 IPC-2221보다 더 좁은 트레이스(더 효율) 허용 — 옛 표준 과보수. 신규 설계는 IPC-2152 사용 권장, 계약·자격 스펙으로 IPC-2221 강제 아닐 때.
이 가이드 다루는 것
- IPC-2221 공식 — 폭 × 두께 vs 전류 vs 온도 상승, 인터널 트레이스 디레이팅 포함.
- IPC-2152 보정 — 보드 두께·플레인 근접·유전체 Dk, 각각 답을 어떻게 이동하나.
- 구리 무게 — 0.5oz·1oz·2oz·3oz 선택 로직과 JLCPCB 가격 영향.
- 온도 상승 목표 — 고신뢰 10°C·컨슈머 기본 20°C·비용 중심 30°C.
- 라우팅 제약 체크 — 계산된 폭이 스택업 피치·부품 간격에 부합 검증.
- 임피던스 vs 전류 용량 — 두 제약 겹칠 때와 둘 다 만족 방법.
트레이스 폭 검증 방법
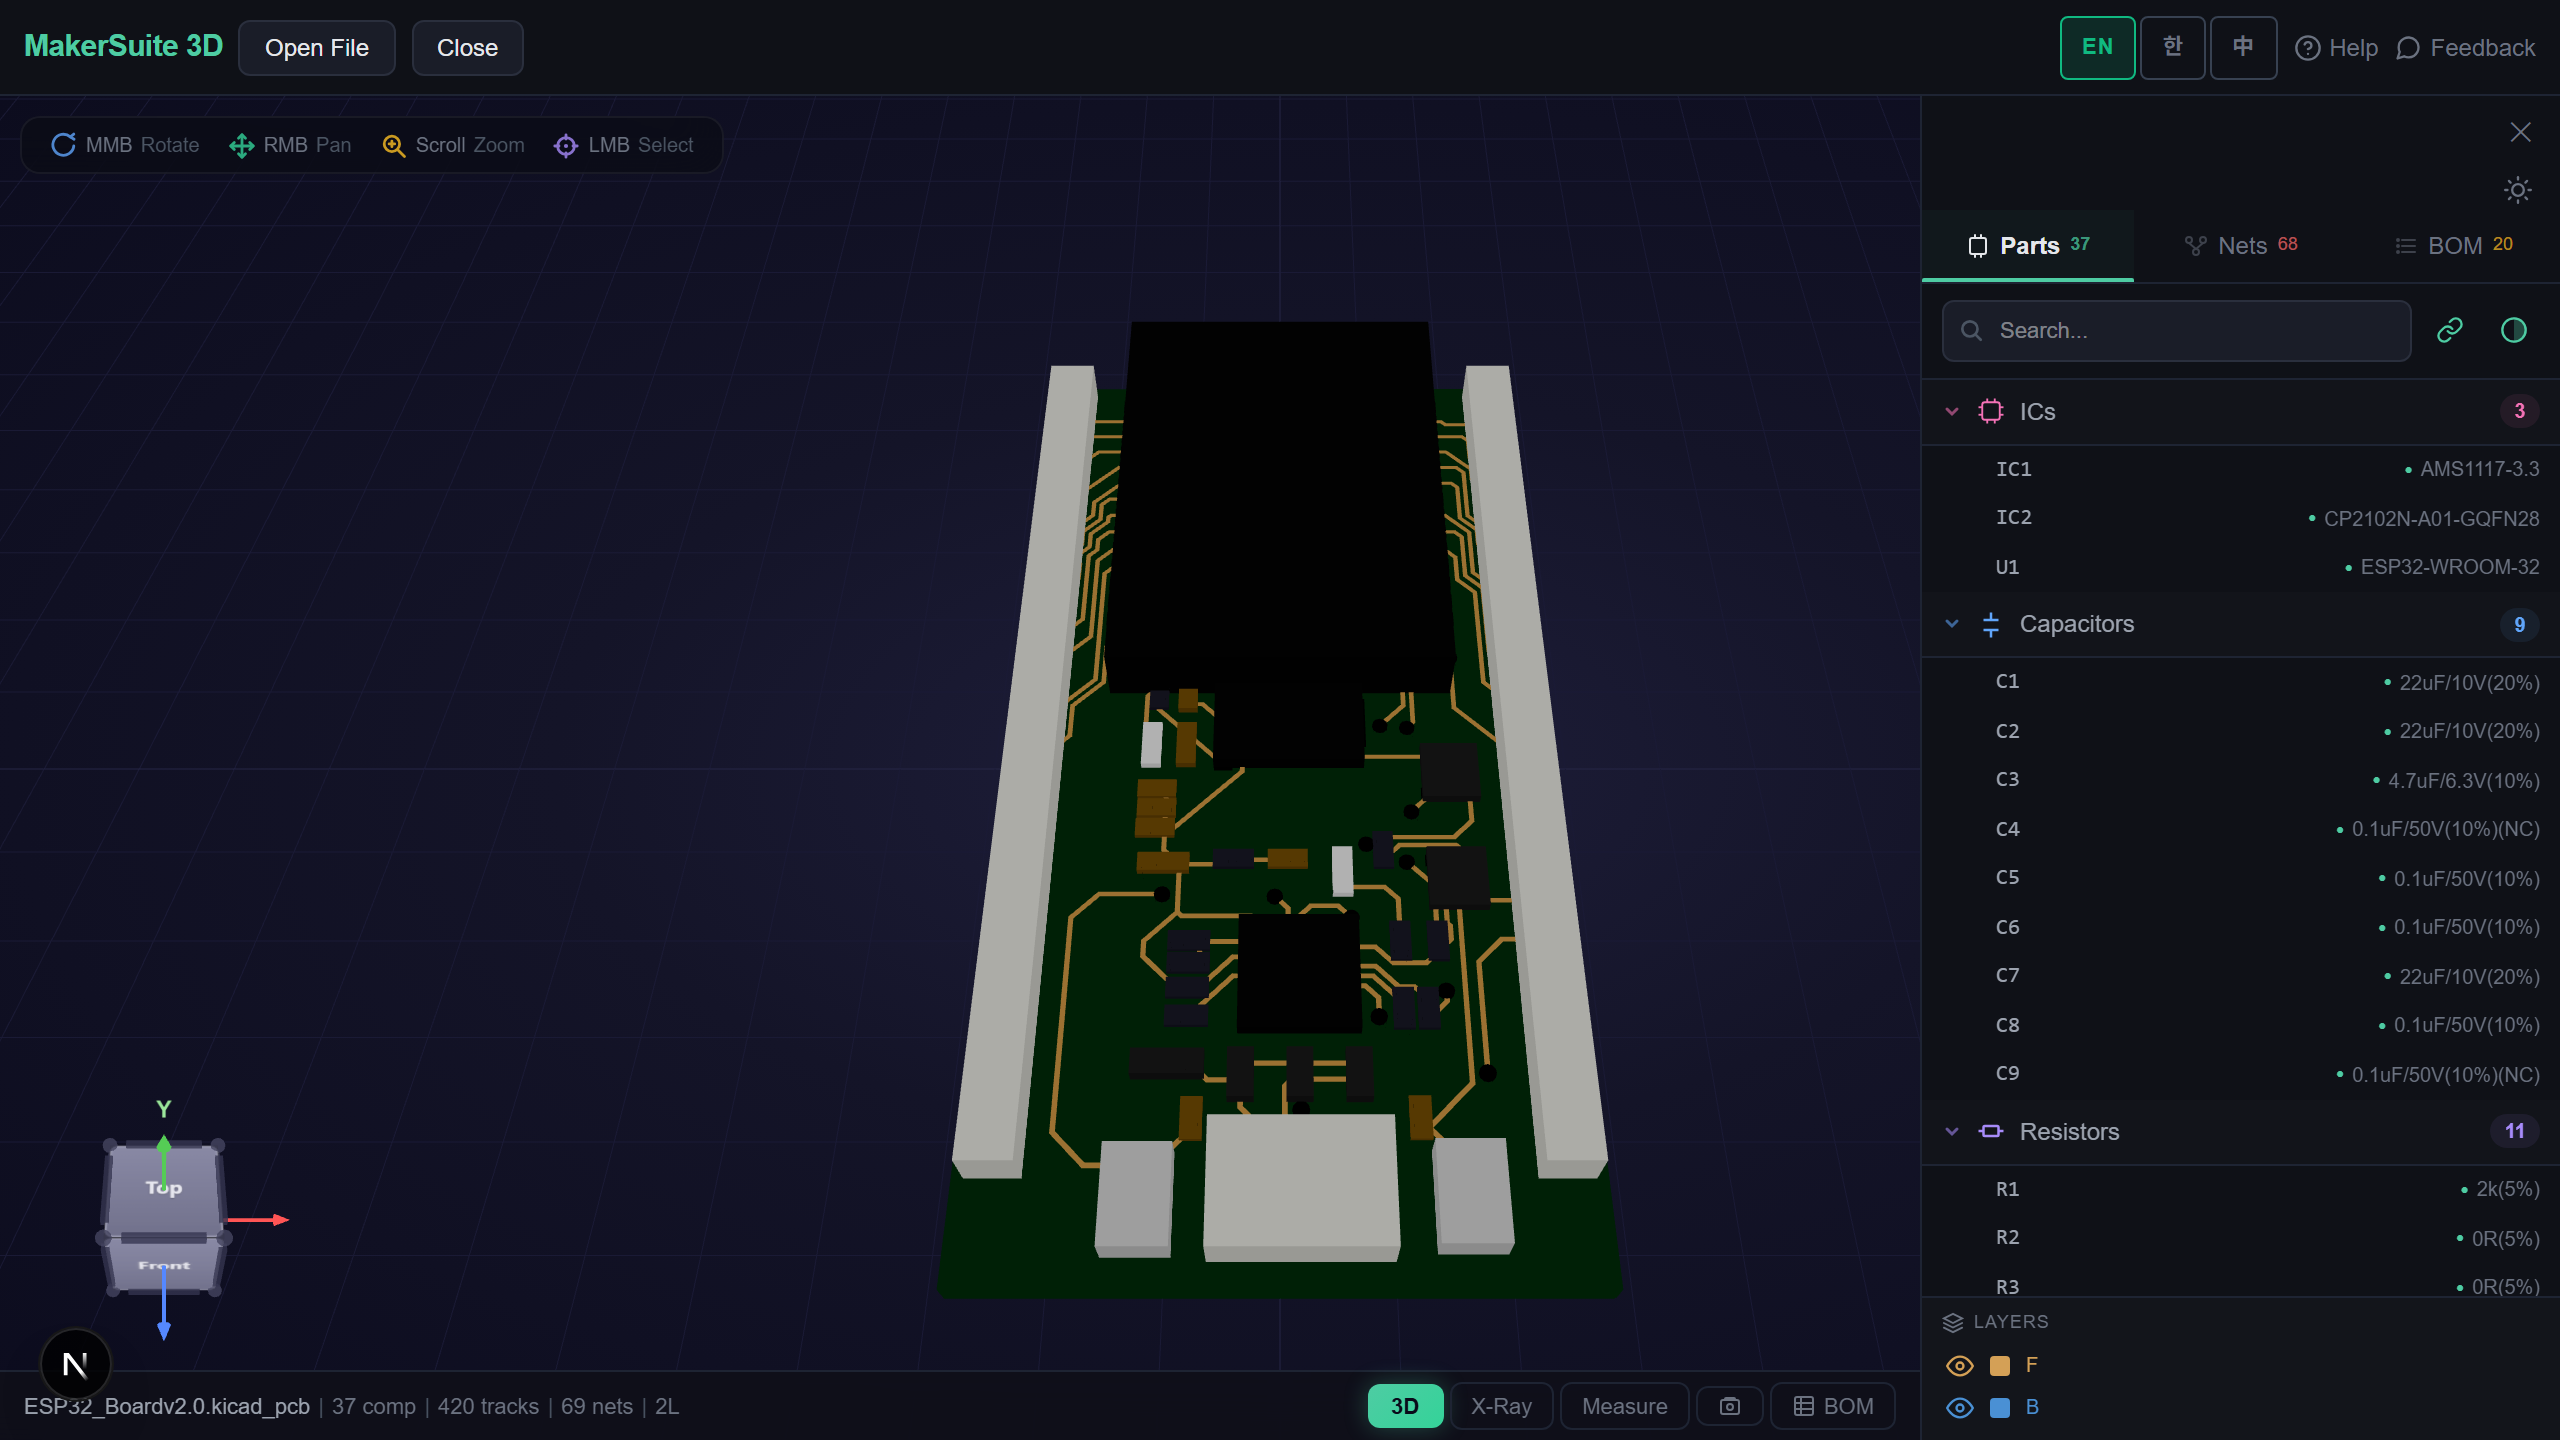
- Open pcbviewer.app 하고 PCB 파일 드롭. 파싱된 트랙이 폭 메타데이터 포함.
- Net 인스펙터로 최고 전류 넷 찾기(일반 VCC·3V3·5V 파워 레일).
- 각 고전류 넷에 대해 트레이스 폭을 계산기와 비교: 1oz 구리 1A에서 20°C 상승은 IPC-2221 익스터널 ~12 mil 필요.
- 인터널 레이어 파워 트레이스는 폭 목표 두 배(또는 더 정확한 IPC-2152 사용).
- Net 패널에서 넷·트레이스 폭 리스트 익스포트. 파워 예산과 크로스 체크로 언더 스펙 없음 검증.
트레이스 폭 검증 — PCB 파일 드롭하고 모든 트랙 폭을 파워 예산 목표에 검사.
MakerSuite 3D 무료로 써보기왜 트레이스 폭 사이징이 중요한가
언더사이즈 파워 트레이스가 보드 레벨 열 실패의 가장 흔한 원인. 정상 작동 중 온도 상승 한계의 트레이스가 마진 0: 주변 온도 증가·트랜지언트 오버 전류·제조 구리 두께 변동·다른 열원(레귤레이터·프로세서) 근접. 배송 제품의 블론 트레이스가 반품률 문제. 추가 5 mil 트레이스 폭은 대부분 라우팅 밀도에 비용 0이고 열 실패 모드에 영구 보험.
트레이스 폭 계산이 무는 때
- 파워 레일 설계 — VCC·3V3·5V 레일이 암페어 전달, 라우팅 전 IPC-2152 검증 필요
- 모터 드라이버·FET — 정상 상태 계산 제안보다 와이드 트레이스 필요한 고전류 트랜지언트 경로
- LED 어레이 — 적당 개별 전류의 큰 LED 수가 트레이스당 놀라운 총 전류로 합산
- 배터리 관리 — 충전·방전 경로가 노미널 초과하는 패스트 차지 피크 전류 보임
- 산업 24V 부하 — 릴레이·솔레노이드·스테퍼 모터 모두 IPC-2152 전류 용량 검증 필요
브라우저 측 파싱, 업로드 없음
트레이스 폭·전류 정보가 시스템 파워 아키텍처 공개 — 많은 제품 카테고리에서 민감 엔지니어링 디테일. MakerSuite 3D는 PCB 파일을 브라우저에서 완전 파싱; 서버 업로드 없음, 캐시 사본 없음. 트랙 메타데이터·넷 이름·폭 값이 머신에 남음. NDA 리뷰·국방 응용·파워 아키텍처가 경쟁 정보인 보드에 안전.
자주 묻는 질문
What's the difference between IPC-2152 and IPC-2221?
IPC-2221 is the older (1998) standard that gives a single nomograph for current vs. trace width vs. temperature rise, with a conservative 50% derating between external and internal traces. IPC-2152 (2009 update) is based on actual thermal measurements and accounts for: dielectric thermal conductivity, copper plane proximity, board thickness, and via stitching effects. For most modern designs, IPC-2152 produces narrower (more efficient) traces because IPC-2221 was over-conservative. Most online calculators still default to IPC-2221 because the formulas are simpler — but IPC-2152 is the current standard for new designs.
External vs internal trace — why does it matter?
External (top/bottom) traces dissipate heat to ambient air via convection. Internal (mid-layer) traces are surrounded by FR4 dielectric, which has thermal conductivity around 0.3 W/m·K — about 100× lower than copper. Same current, internal traces run hotter, so IPC standards require internal traces to be wider for the same temperature rise. IPC-2221 rule of thumb: internal traces need ~2× the cross-section of external traces for the same current. IPC-2152 refines this by also considering nearby copper planes (which act as heat sinks).
What temperature rise should I target?
Common targets: 10°C rise for high-reliability or thermally tight designs, 20°C rise for general consumer electronics, 30°C rise for cost-driven designs with margin. Higher rise = narrower trace = less copper but more heat. Critical: temperature rise is on top of ambient and the rest of the board's thermal load. A board running at 60°C ambient with 30°C trace rise puts the trace at 90°C — close to FR4's Tg (typically 130–170°C). For automotive or industrial (high ambient), use 10°C rise. For desktop electronics, 20°C is standard.
How does copper weight affect trace width?
Copper weight is specified in oz/ft² and translates to thickness: 0.5oz ≈ 17.5μm, 1oz ≈ 35μm, 2oz ≈ 70μm, 3oz ≈ 105μm. Doubling copper weight roughly halves the required trace width for a given current (the cross-sectional area drives ampacity). Standard JLCPCB external is 1oz, internal is 0.5oz. For higher-current designs (>3A), upgrade to 2oz outer (~$5 surcharge) before widening traces, because wider traces eat routing density faster than copper weight upgrades cost.
What about high-frequency (impedance) vs current (ampacity)?
These are independent constraints. Impedance-controlled traces (50Ω single-ended, 90Ω/100Ω differential) are sized by: dielectric thickness, Dk, and reference plane distance — not by current. Power traces are sized by ampacity: current, copper weight, temperature rise. They never compete because high-speed signal traces carry milliamps (no thermal issue) and power traces carry amps (no impedance issue at DC). The only overlap is when a single trace carries both, which is rare. Calculate impedance first if signal integrity matters, then verify ampacity is satisfied at the calculated width.
관련 글
PCB 파일 드롭 — 브라우저에서 모든 트레이스 폭을 IPC-2152에 검증
MakerSuite 3D 열기