How to Convert Gerber to PDF — PCB Documentation Workflow
Why Gerber to PDF Still Matters
Gerber RS-274X is the universal PCB fab handoff format — every fabricator on earth accepts it. But Gerber is a CAM format meant for laser plotters and machines, not humans. PDF is what you send to a hardware reviewer, attach to a fab approval email, or print at 1:1 scale to verify solder mask openings against a physical part. Converting Gerber to PDF preserves the layer artwork as a vector PDF (one page per layer or all layers stacked), which prints crisply at any scale and stays editable in Acrobat or Illustrator. This guide covers the four real conversion paths — KiCad's built-in plot-to-PDF, gerbv command line, online viewers, and MakerSuite 3D — plus the pitfalls (line width inflation, color mapping, drill alignment) that catch teams off guard.
What Gerber and PDF Actually Store
Gerber RS-274X (Ucamco spec) is a 2D vector format describing PCB layer artwork — apertures (shapes), draws (lines), flashes (single shape placements), and polygon regions. One Gerber file per layer (top copper, bottom copper, top mask, bottom mask, top silk, bottom silk, board outline, plus an Excellon drill file). PDF is a paginated vector document format with text, images, and vector graphics — flexible enough to represent Gerber artwork as filled vector regions on each page. The conversion takes Gerber's apertures and draws, rasterizes or vectorizes them, and writes them into PDF as filled paths. Done well, the PDF preserves the exact geometry; done poorly, line widths come out wrong because the converter forgot Gerber's stroked draws need width-aware rendering.
What Each Conversion Path Handles
- KiCad PCB Editor — File > Plot, output format PDF, one PDF per layer or single PDF with all layers. Honors line widths, drill marks, and component outlines correctly. Best path if you have the .kicad_pcb source.
- gerbv command line — gerbv -x pdf -o out.pdf top_copper.gbr bottom_copper.gbr drill.drl. Open-source (gEDA project), works with any Gerber regardless of source CAD. Linux/macOS native, Windows via WSL.
- GerbView (free Ucamco viewer) — File > Print to PDF. Reference implementation from the Gerber spec authors, so the rendering is canonical. Windows only.
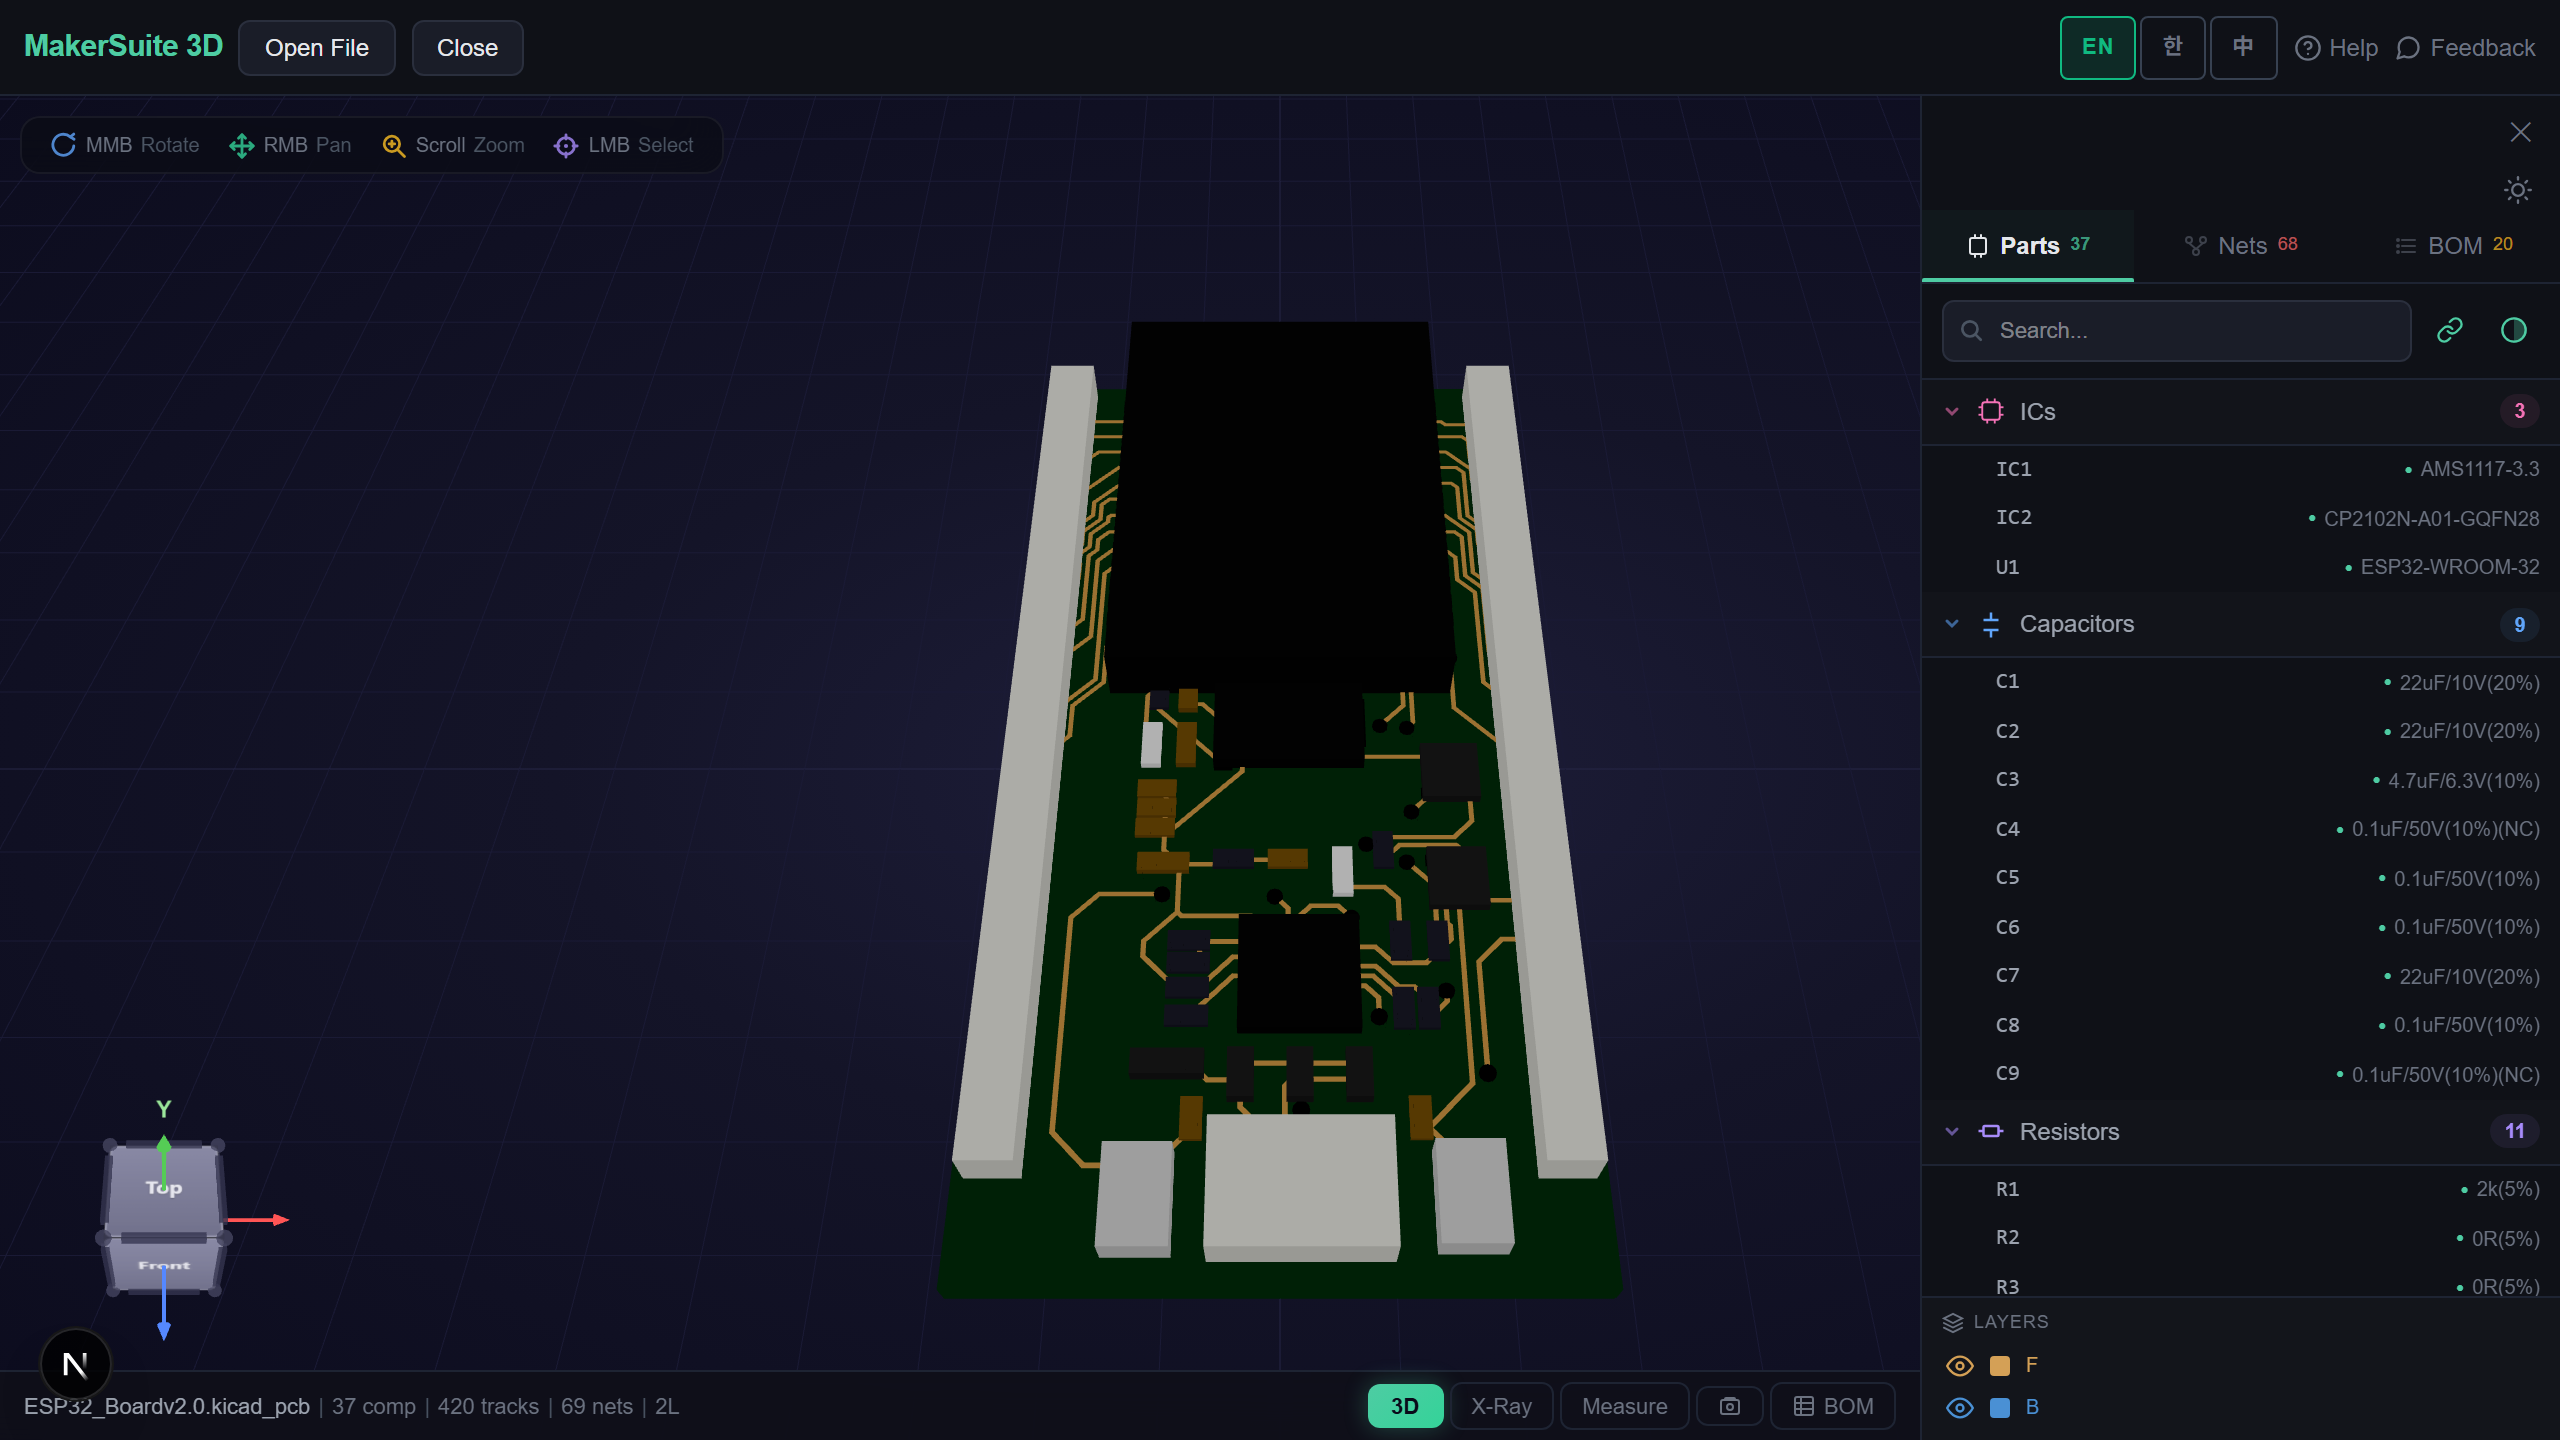
- MakerSuite 3D — drop a Gerber zip, click Print/Save in browser, choose Print to PDF. Browser-side rendering using the same parser that powers the 3D view, so layer alignment is automatic.
- Layer choice — for design review, typically you want top copper + top silk + outline on one page, bottom copper + bottom silk + outline on another. For fab approval, all layers individually for sign-off.
- Scale and resolution — print at 1:1 (100% scale) when verifying physical part fitment by holding the printout against a soldered part. PDF is vector so it stays sharp at any scale, but the print dialog must not auto-fit-to-page.
How to Convert Gerber to PDF in Five Steps
- Open pcbviewer.app — drop the Gerber zip on MakerSuite 3D first. Verify all layers parse cleanly and align correctly. If MakerSuite renders the board, the PDF will too.
- Toggle layer visibility — turn off the layers you don't want in the PDF. Typical design review: top copper, top silk, top mask, board outline, drill. Turn off bottom layers and inner planes.
- Use the browser's Print dialog (Ctrl+P / Cmd+P), choose Save as PDF as the destination. Set scale to 100% (not 'fit to page' — that breaks 1:1 verification). Margins None for full-bleed.
- For separate-layer PDFs (fab approval workflow), use KiCad or gerbv. KiCad's File > Plot writes one PDF per layer with consistent line weights — the standard for fab signoff documents.
- Verify the PDF on screen and on paper. Print at 100% scale, hold a real connector or BGA over the footprint, confirm pad alignment. Catches solder mask opening errors before $500 fab runs.
Inspect Gerber layers visually before exporting PDF — drop the Gerber zip in MakerSuite 3D, toggle layers, catch issues before they end up in the PDF approval document.
Try MakerSuite 3D FreeWhy Gerber to PDF Is in Every PCB Workflow
PCB fabrication runs on signed PDF approvals — the fab sends back a stack of layer plots, the engineer signs each one, fabrication starts. This workflow is unchanged since the 1990s and not going away because PDF is universally readable, archivable, and signable. Internally, design reviews work the same way: hardware lead reviews a PDF of the board, marks up issues, hands it back. Gerber alone is too low-level for review; KiCad/Altium native files require everyone to install the source CAD. PDF is the lingua franca, and converting Gerber to PDF correctly (right line weights, right colors, right alignment) is what keeps the approval loop fast. A bad PDF (rasterized at 72 DPI, off-scale, missing layers) triggers an email round-trip that adds days to the fab schedule.
When Gerber to PDF Is the Right Move
- Fab approval — fabricator returns layer plots as PDF for sign-off before tooling, every PCB shop runs this loop
- Design review — hardware lead reviews layer-by-layer markup in PDF without installing KiCad/Altium
- 1:1 fitment check — print top copper + top silk at 100%, hold against soldered connector or BGA to verify pad alignment
- Archive deliverable — project handoff bundle includes Gerber zip + signed-off PDFs as the human-readable record
- Vendor RFQ — quoting fab work requires a board image, PDF is the universal attachment that works in every email client and procurement portal
Convert in the Browser Without Uploading
Gerber files are PCB IP. Online Gerber viewers (Gerblook, PCBWay viewer, EasyEDA online) let you generate PDFs but require uploading the Gerber zip to their servers, where it sits cached. For NDA boards or unreleased products, that's a non-starter. MakerSuite 3D parses Gerber entirely in your browser via JavaScript and the browser's native Print dialog handles PDF generation locally — no server, no upload, no third-party copy. Generate the PDF, save it, share it through whatever channel you trust.
Vector vs Raster: Why Approval PDFs Need Both
Most cheap converters output rasterized PDFs — flatten the Gerber to a 300 DPI bitmap, embed in a PDF wrapper, ship. That's fine for a quick visual review but useless for the 1:1 fitment check, where you print a top-copper layer at 100% scale and hold it against a physical connector. Rasterized PDFs lose precision at every zoom step. The right tool path is gerbv → vector PDF or KiCad → Plot to PDF, both of which preserve the original shape outlines as PDF vector commands. The PDF prints crisply at any scale and stays readable in Acrobat at 1000% zoom.
Layer color mapping is the other recurring trap. Fabricators expect a specific color convention — top copper red, bottom copper blue, silk white, mask green or transparent. Generic Gerber-to-PDF converters often output a default rainbow palette that's unreadable to the fab inspector. KiCad's plot dialog lets you set per-layer colors before export, and the standard color set is documented in the IPC-D-356 reference. Use it. A correctly colored PDF gets approved on first review; a rainbow-colored one comes back with confused questions.
Frequently Asked Questions
Can I print a Gerber PDF at 1:1 scale?
Yes, and you should — for fitment checks, this is the whole point. Open the PDF in any reader, hit Print, set Scale to 100% (Acrobat: Actual Size; browser: 100%, NOT 'Fit to Page'). Margin settings should be None or Custom: 0 to avoid auto-shrinking. Print on a normal sheet, then hold a real connector or BGA over the printed footprint — pad alignment will match exactly. Off-by-1mm errors caught here cost you a printer cartridge; off-by-1mm errors caught at fab cost a respin.
Why does my Gerber PDF have wrong line widths?
Bad rasterizer. Gerber's draws are stroked lines with a defined aperture (width). A correct converter renders the line as a filled path with the aperture's geometry. A naive converter rasterizes to a hairline, ignoring the aperture, which makes every trace look as thin as the printer's minimum stroke width. Use KiCad's File > Plot > PDF or gerbv's PDF export — both honor aperture widths correctly. Avoid converters that show 'lines' in the output preview; you want filled regions.
Do I need a PDF for every layer or all layers on one page?
Both, for different audiences. Fab approval workflow uses one PDF per layer — top copper, bottom copper, top mask, bottom mask, top silk, bottom silk, plus drill — because the fabricator signs off each layer separately. Internal design review uses combined views — top copper + top silk + outline on one page, bottom equivalent on another — because the engineer needs to see the relationship between layers, not isolated artwork. KiCad's Plot dialog has checkboxes for both modes.
How do I add color to a Gerber PDF?
Color the layers when generating the PDF. KiCad's Plot dialog lets you set a color per layer (red top copper, blue bottom copper, white silk on dark background — the standard 'PCB review' look). gerbv stores layer colors in its UI; print to PDF preserves them. Black-on-white is the canonical fab approval look (matches a print plot). Dark background with bright traces is the canonical screen review look. Pick whichever matches your audience's expectation; your team has a convention even if nobody wrote it down.
Should I include the drill file in the PDF?
Yes, as a separate page or merged into a copper layer view. Drills go on the same coordinate system as copper, but Excellon (.drl) is a separate file from Gerber. Most converters merge the drill hits onto a designated layer — typically rendered as small circles on the copper PDF — which lets the reviewer see drill alignment relative to pads. KiCad's Plot dialog has a 'Plot drill marks' checkbox that overlays drill positions onto each layer PDF.
Related Articles
Drop your Gerber zip — generate PDF in your browser, no upload
Launch PCB Viewer