PCB Impedance Calculator — Microstrip, Stripline & CPW Guide
Why Controlled Impedance Exists
Once your signal edge rate gets fast enough — roughly anything above 100 MHz or a rise time under 1 ns — a PCB trace stops behaving like a copper wire and starts behaving like a transmission line. If the trace's characteristic impedance doesn't match what the driver and receiver expect, you get reflections, EMI, crosstalk, and eventually eye-diagram closure. Controlled impedance is how you keep all three honest: trace width, dielectric stackup, and copper weight tuned so a 50Ω driver sees a 50Ω trace. This guide walks through the three most common geometries, which standards expect which impedance target, and how to use the free calculator at pcbviewer.app/tools/impedance to size traces in seconds.
What the Calculator Actually Computes
Trace impedance is the ratio of voltage to current along a transmission line at steady state. For a microstrip (signal trace over a reference plane with the top side exposed to air), the impedance depends on trace width W, copper thickness T, dielectric height H between trace and plane, and the dielectric constant Er of the PCB substrate. Stripline sandwiches the signal between two reference planes, so air doesn't contribute and the effective Er equals the substrate Er. Coplanar waveguide (CPW) adds ground pours on either side of the trace, with the trace-to-ground spacing S as an extra variable. The calculator solves the IPC-2141/Wadell closed-form equations for each geometry, returns the impedance in ohms, and also reports propagation delay, effective dielectric constant, and loss — so you can size a trace for 50Ω and immediately see whether the delay fits your timing budget.
What This Calculator Handles
- Three geometries — microstrip, stripline, and coplanar waveguide (grounded CPW). Switch between them in one dropdown; the input fields auto-relabel (microstrip needs H only, CPW adds trace-to-ground spacing S, stripline uses two H values).
- Single-ended and differential — solve for Zo (50Ω typical) or Zdiff (90Ω for USB 2.0, 100Ω for Ethernet/HDMI/PCIe/DDR). Differential mode shares trace width but lets you set gap spacing independently.
- Material presets — FR-4 (Er 4.3), Rogers RO4350B (Er 3.48), Megtron 6 (Er 3.4), Isola I-Tera (Er 3.45), plus a custom Er field. Loss tangent factors into the reported attenuation so you can compare materials head-to-head.
- Copper weight aware — 0.5 oz, 1 oz, and 2 oz options adjust trace thickness T automatically. Heavier copper widens the effective trace (trapezoidal etch factor) and nudges impedance down by 2–4Ω.
- Frequency-aware loss — enter your signal frequency and the calculator reports dielectric loss (dB/in) plus conductor loss from skin effect. Useful when comparing 1 GHz USB 3 against 10 GHz PCIe 4 on the same stackup.
- Instant — no login, no WASM download, no server round-trip. Formula evaluates on every input change; a full sweep of 10 width values takes milliseconds. Works offline once the page loads.
How to Size a Trace in Five Steps
- Open the impedance calculator — open the tool and pick the geometry that matches your stackup (microstrip for outer signal layers with air above, stripline for internal layers between planes, CPW for RF or when you have aggressive ground pours).
- Enter the dielectric height H. This is the prepreg or core thickness between the signal trace and the nearest reference plane, from your fab's stackup document. For a typical 4-layer board on 1.6 mm FR-4, inner-layer H is around 0.2 mm; outer-layer H is whatever prepreg you specified (often 0.15–0.25 mm).
- Pick the dielectric constant (material preset or custom Er). Real FR-4 ranges from 4.1 to 4.7 depending on resin content and glass weave — use the value your fab specifies rather than a textbook 4.5. For Rogers or Megtron stackups, the fab gives you the exact Er at your operating frequency.
- Adjust the trace width W until the impedance field reads your target (50Ω for most single-ended signals, 100Ω differential for Ethernet/PCIe/HDMI). For differential pairs, also set the gap; tighter gaps mean wider traces for the same Zdiff. Note the reported effective Er and propagation delay — that tells you the electrical length of the trace.
- Give your fab the final W, S, H, and target Z; a good fabricator will re-run their own solver with their actual glass weave and copper plating and suggest small adjustments. For critical nets (PCIe Gen4+, DDR5, RF), spec a controlled-impedance stackup and request a TDR report with the boards.
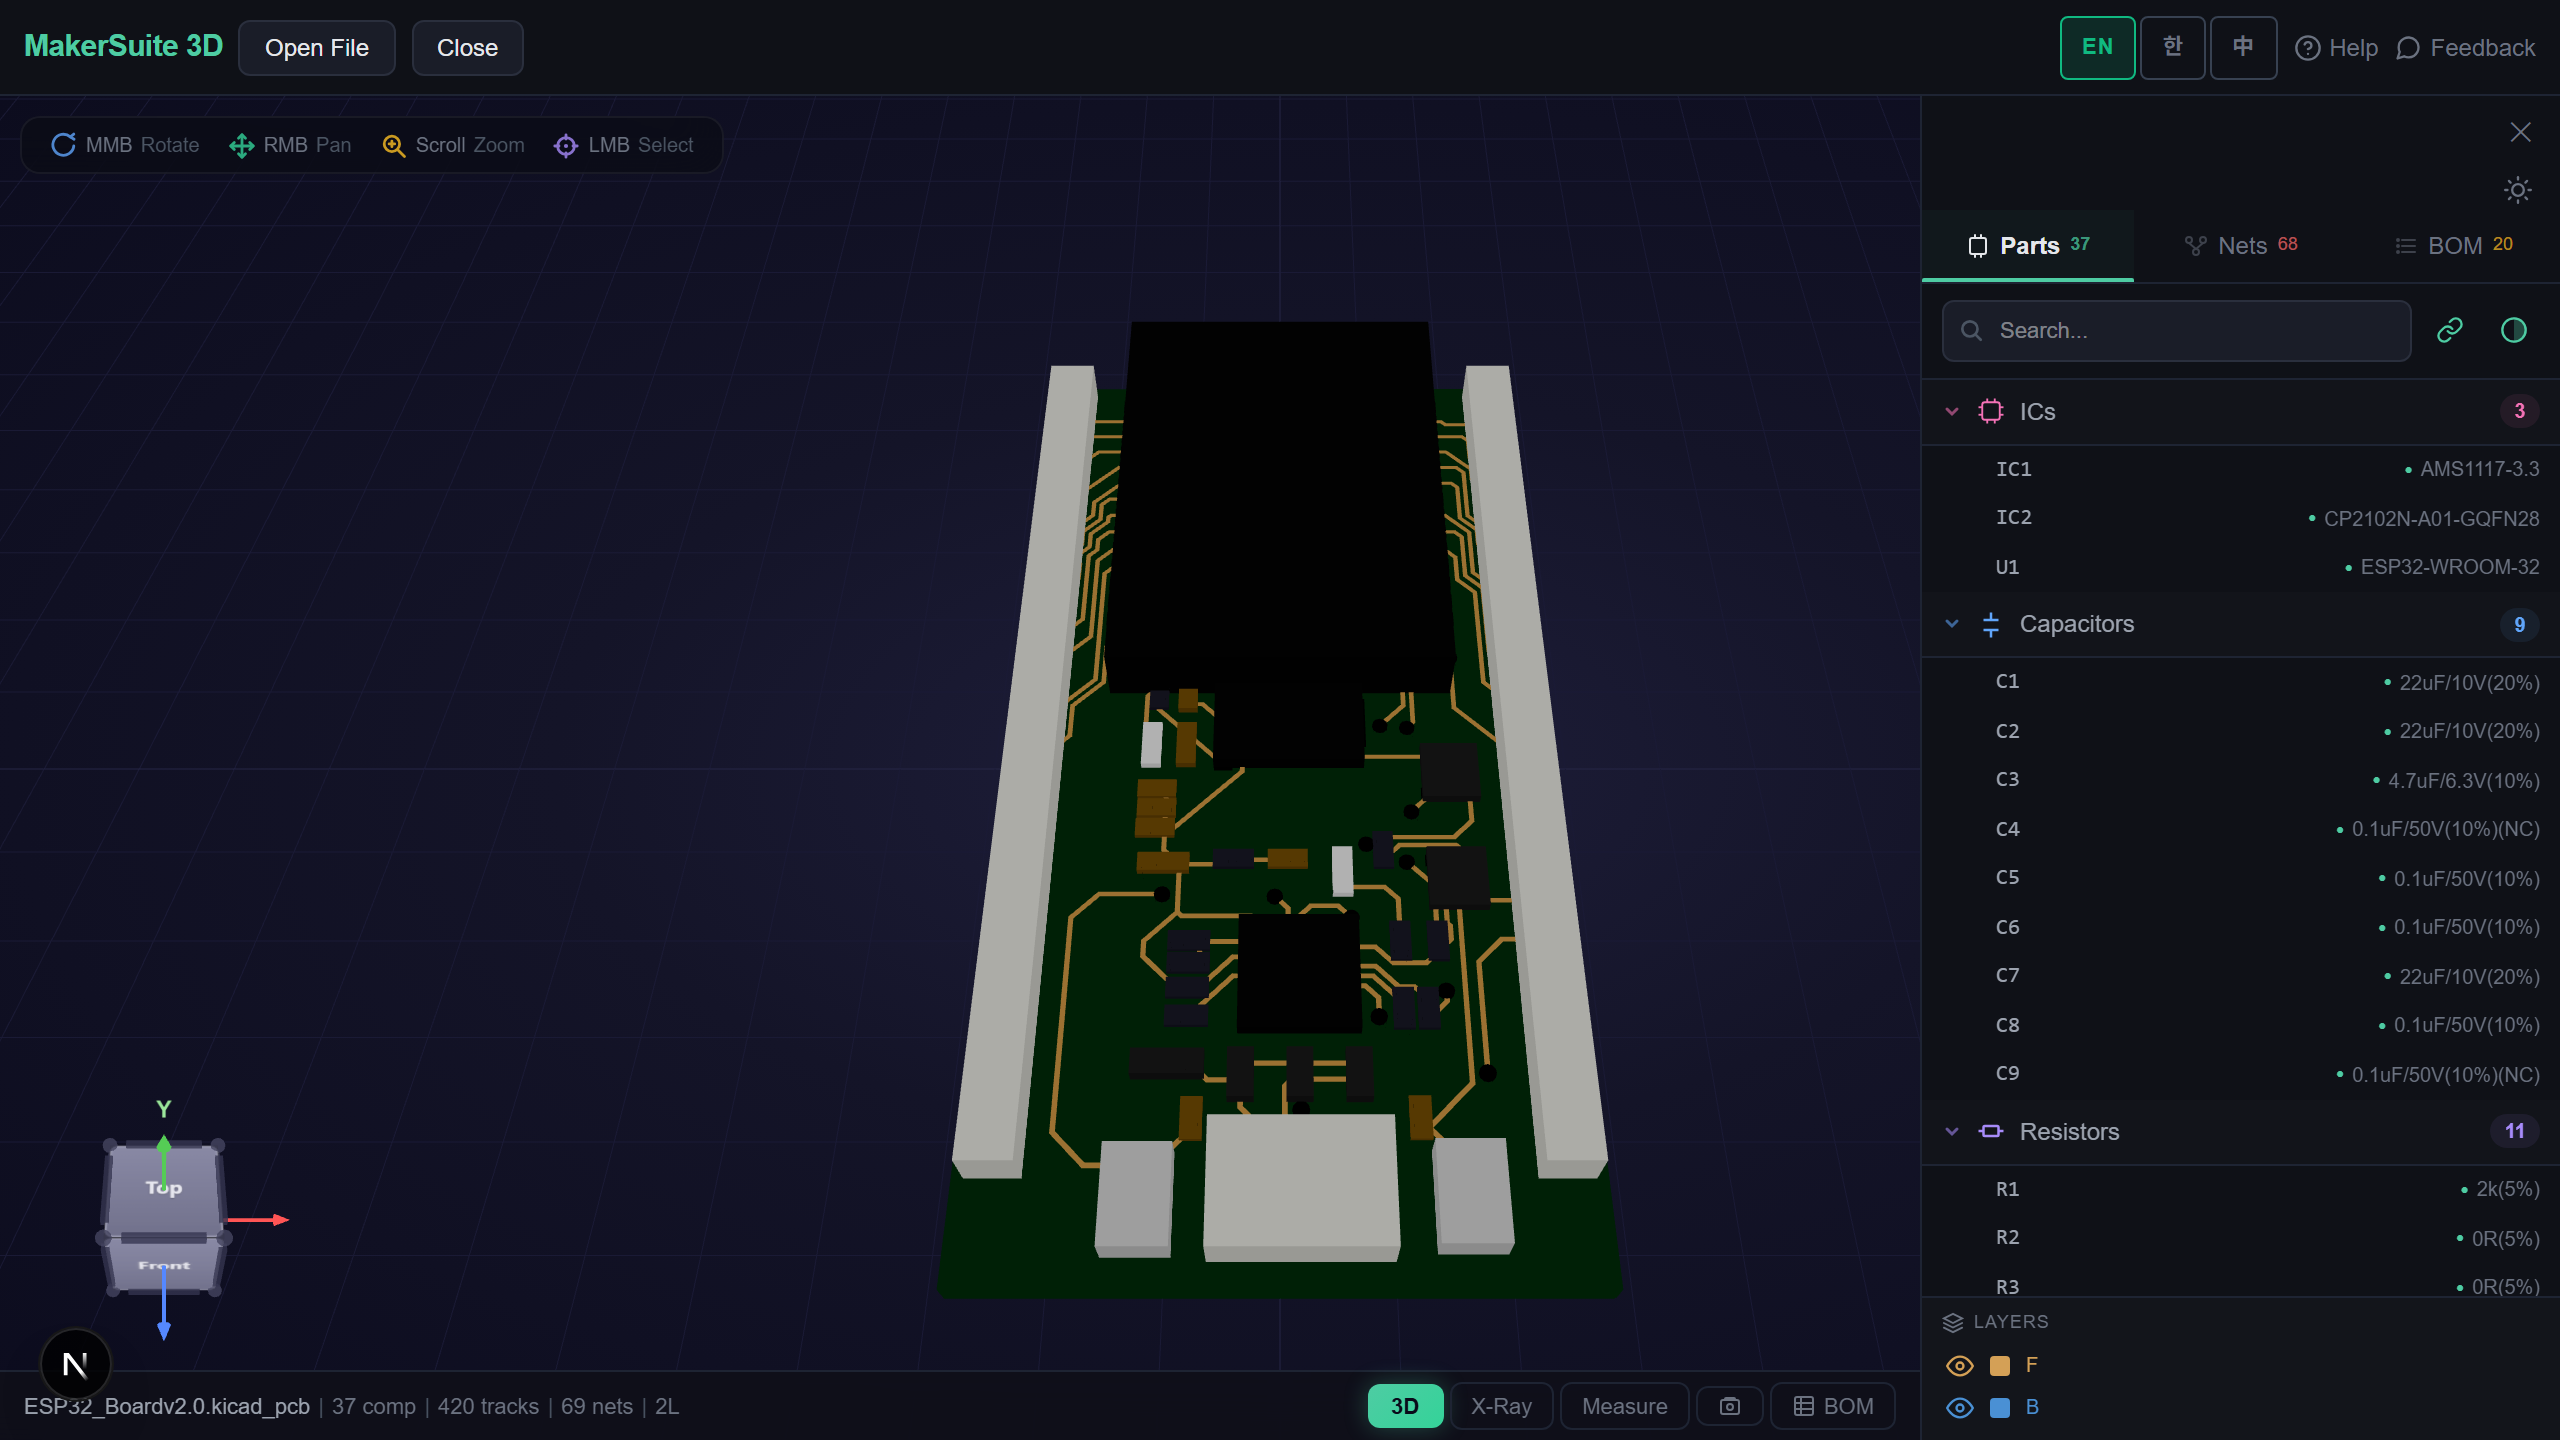
Once you have trace widths, verify them on your actual board — drop your KiCad or Gerber file on MakerSuite 3D to confirm the router kept those widths everywhere, including on fanouts and around vias.
Try MakerSuite 3D FreeWhy Getting Impedance Wrong Costs Money
A 10% impedance mismatch — say 55Ω instead of 50Ω — turns into roughly 5% reflection by voltage. That's enough to push an eye diagram into violation for USB 3.2 Gen 2 (10 Gbps), kill DDR4 write margin on a fast SO-DIMM, or fail FCC Class B radiated emissions. Worse, impedance errors rarely show up in prototype testing; they show up on the second or third manufacturing batch when the fab's glass weave shifts. A ten-minute session with this calculator before sending the board to fab costs nothing; a respin to fix a 52Ω USB trace costs a month of schedule plus the NRE. Controlled impedance isn't optional for anything above about 500 Mbps, and the calculator removes the excuse.
Typical Target Impedances by Standard
- USB 2.0 — 90Ω differential (D+/D- pair), microstrip or stripline, trace mismatch budget tight because the ±15% tolerance has to cover cable + connector + board
- USB 3.x / HDMI 2.x / PCIe Gen3+ — 100Ω differential, stripline strongly preferred above 5 Gbps to avoid mode conversion from the open microstrip top surface
- Ethernet 10/100/1000BASE-T — 100Ω differential, microstrip fine for 1 Gbps, stripline for 10G SFP+
- DDR3/DDR4/DDR5 — 40Ω to 50Ω single-ended (vendor-specific), 80Ω to 100Ω differential for strobes; tight length-matching within ±5 mils on modern standards
- RF (Wi-Fi, Bluetooth, cellular) — 50Ω single-ended microstrip or CPW; Rogers or low-loss FR-4 above 2.4 GHz to keep dielectric loss under 0.5 dB/inch
Verify on the Board Before You Ship
Calculator math is only as good as your assumption that the router actually used those widths everywhere. Routers sometimes neck down at vias, pad fanouts, and through dense BGA breakout areas. Drop your .kicad_pcb or Gerber .zip on MakerSuite 3D, toggle copper layer visibility, and zoom into every differential pair — any visible width change means a handoff to the fab's TDR report is mandatory, not optional. The whole verification runs in the browser, so no one's proprietary stackup leaves your machine.
Frequently Asked Questions
What trace impedance do I need for USB 2.0 vs USB 3.0?
USB 2.0 uses 90Ω differential for the D+/D- pair at 480 Mbps. USB 3.x (SuperSpeed at 5 Gbps and above) moves to 100Ω differential because the higher data rate is more sensitive to return-path discontinuities and the 100Ω standard matches the rest of the high-speed ecosystem (PCIe, HDMI, DisplayPort). If your design needs both, route each pair to its own target — the board can't share a single trace width between them and still pass eye-diagram testing.
Do I really need controlled impedance on every board?
No. Controlled impedance only matters when the signal's electrical length becomes comparable to its rise time — roughly when the trace length exceeds 1/10 of the wavelength at the highest frequency of interest. For slow signals (I2C, SPI under 10 MHz, UART, button GPIO), the trace behaves as a lumped wire and impedance doesn't affect signal integrity. The cutoff is roughly 500 Mbps or a rise time faster than 2 ns — below that, use normal routing rules; above that, spec controlled impedance with your fab and run the calculator.
Microstrip or stripline — when should I pick which?
Microstrip wins for cost and debuggability — it's on an outer layer, so you can probe it, solder on test points, and see it in a 3D viewer. It's the default for one- to four-layer boards. Stripline wins for signal integrity — the return path is defined on both sides, there's no air-gap variation, and EMI radiation is dramatically lower. For anything above 5 Gbps or any board that has to pass Class B emissions tightly, push the critical traces to internal stripline layers and use outer layers for slow control signals. Cost difference is usually just two extra layers, which is often already needed for dense boards.
Why is my measured impedance different from the calculator's prediction?
Three common reasons. First, actual Er of FR-4 varies from the spec value — glass weave direction, resin content, and moisture can shift Er by 5–10%. Your fab's TDR measurement is the real number. Second, copper etching is trapezoidal, not rectangular — real trace cross-section is narrower at the top than the bottom, and calculators vary in how they model this. Third, plating adds copper thickness unevenly, especially on fine pitch. For 5% accuracy you need your fab's actual stackup parameters. For 10% accuracy the calculator is usually fine.
Can I trust an online calculator versus paid tools like Polar SI9000?
For standard geometries (microstrip, stripline, coplanar waveguide) at typical PCB frequencies, the Wadell-family equations all online calculators use produce identical results to within 1–2%. Polar and similar paid tools add value in three areas: 2D field-solver accuracy for asymmetric or unusual geometries, vendor-calibrated material libraries with measured Er curves over frequency, and auditable reports that satisfy customer compliance requirements. For hobbyist and small-team work, an online calculator plus your fab's TDR report is enough. For high-speed production work under tight SLAs, the paid solver pays for itself in one avoided respin.
Related Articles
Size your next board's traces — free, in your browser
Open Impedance Calculator