PCB Stackup Guide — Choosing Layers, Materials, and Impedance
Stackup Decisions Drive Everything Else
Your stackup decision determines your trace impedance, your routing density, your EMI behavior, and a significant fraction of your fabrication cost. It's the first decision you make that's genuinely irreversible — every other choice (component placement, trace routing, plane partitioning) is constrained by it. This guide covers the standard 2-, 4-, 6-, and 8-layer stackups, when to use each, and how to specify a controlled-impedance stackup with JLCPCB, PCBWay, or OSH Park.
What's in a Stackup
A PCB stackup specifies the order of copper layers, the dielectric (FR4 or higher-spec material) between them, the thickness of each layer, the copper weight (0.5oz/1oz/2oz), and any special features (controlled impedance, blind/buried vias, gold plating). FR4 has Dk≈4.5 at 1 GHz and is the standard for cost-driven designs. High-speed designs use Megtron 6, Rogers 4350B, or similar low-Dk/low-Df materials. The total board thickness is typically 1.6mm (0.062"), but 0.8mm and 2.0mm are also common.
What This Guide Covers
- 2-layer stackup — when to use, copper weight choice, when 2 layers fail you for high-speed signals.
- 4-layer standard — Signal/GND/PWR/Signal, FR4 thickness, JLCPCB defaults, and EMI implications.
- Controlled impedance — 50Ω single-ended, 90Ω/100Ω differential, fab spec workflow, and pricing.
- 6-layer routing density — when 4 layers run out, BGA escape patterns, and inner-layer signal placement.
- 8-layer mixed-signal — multiple ground planes for analog/digital separation, RF integration, FPGA escape.
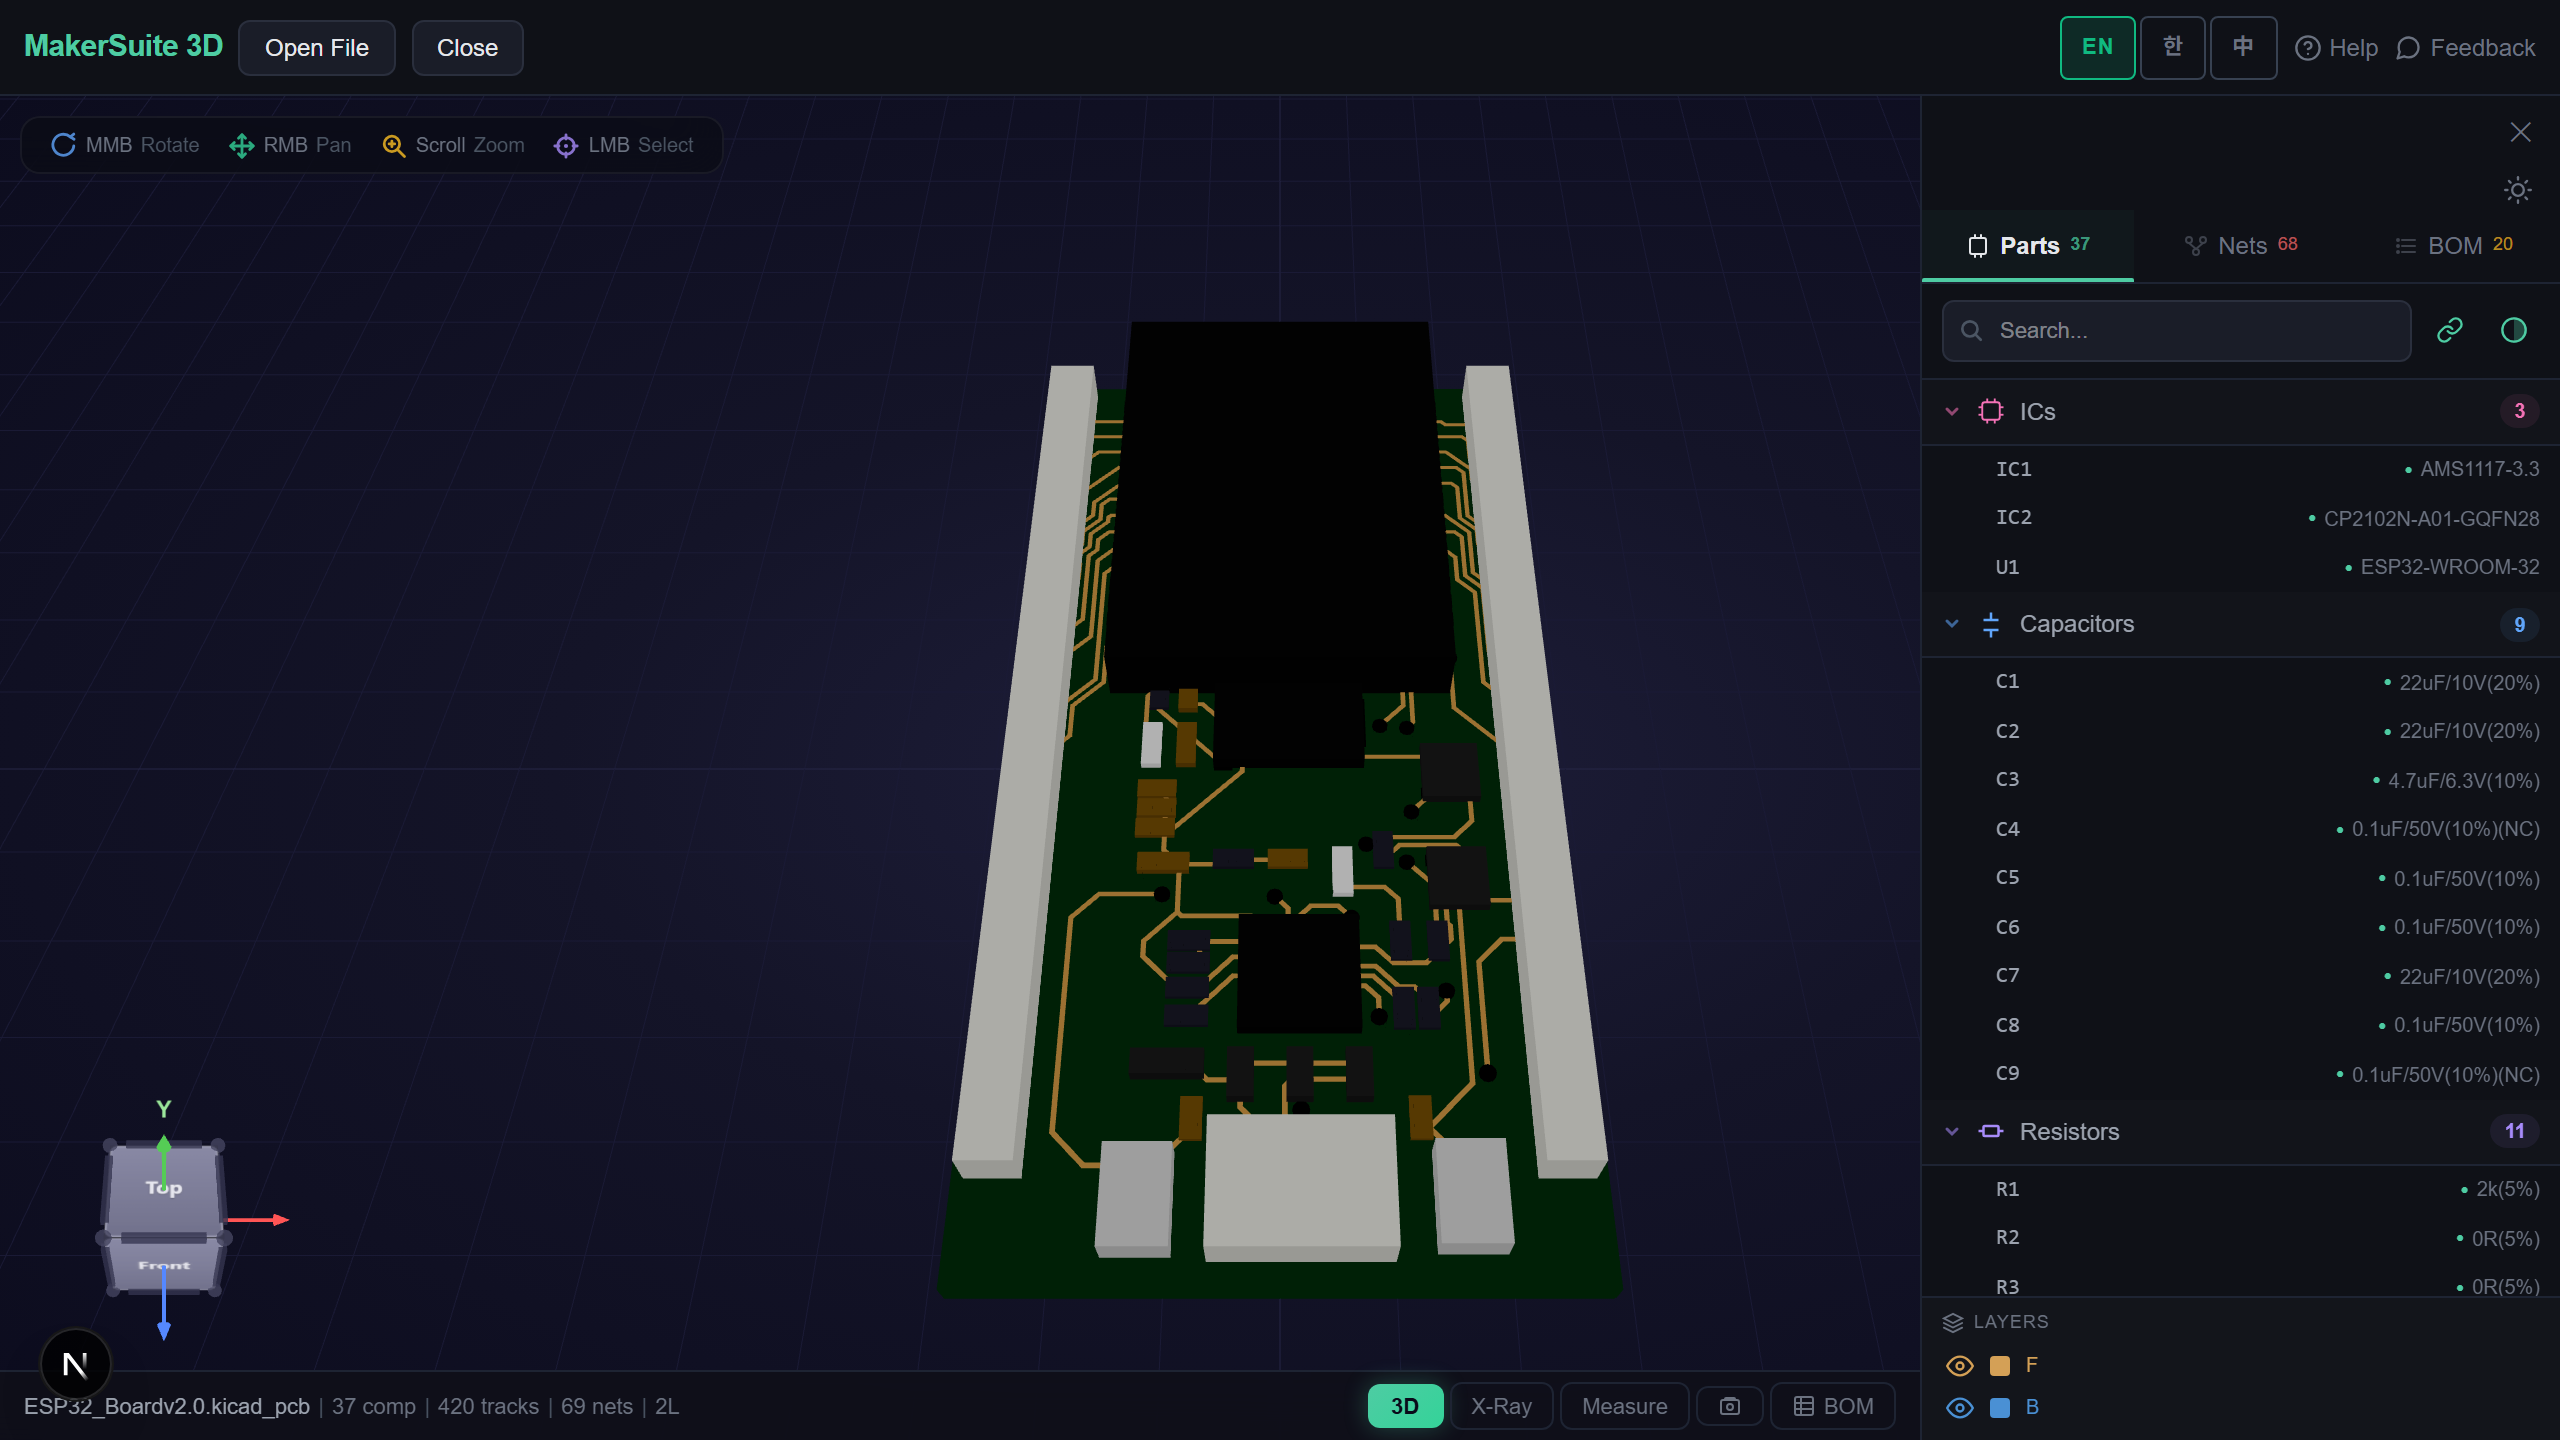
- Layer-by-layer review — open the parsed PCB in MakerSuite 3D and toggle each layer to verify your stackup intent.
How to Verify Your Stackup
- Open pcbviewer.app and drop your KiCad, Altium, Eagle, or Gerber file. The parser reads layer assignments and stackup metadata.
- Open the layer panel. Toggle each layer (top copper, GND, PWR, bottom copper) to verify your stackup intent.
- Use the cross-section view to see vias, plated holes, and layer transitions. Verify that no signals route through power-domain splits.
- For controlled-impedance traces, check the impedance calculator (related post: PCB Impedance Calculator Guide).
- Export the stackup spec as a PDF or include it in your fab-out package for JLCPCB, PCBWay, or your preferred fabricator.
Visualize your PCB stackup layer by layer — drop your file and toggle each copper, mask, and silkscreen layer.
Try MakerSuite 3D FreeWhy Stackup Choice Defines Your Board
Stackup decisions cascade. A 4-layer stackup with GND on layer 2 lets you route any high-speed signal on layer 1 without worrying about return paths. A 4-layer stackup with PWR on layer 2 forces you to route returns alongside signals or accept impedance discontinuities. The 4-layer cost difference is $2 vs $5 per 100×100mm board at JLCPCB — but the design effort difference is enormous. For new designers, default to Signal/GND/PWR/Signal and only deviate when you have a specific routing-density reason.
When Each Stackup Wins
- 2-layer — under 50 components, no high-speed signals, cost-critical boards (sub-$1 fabrication)
- 4-layer — general-purpose microcontroller boards, USB 2.0, simple I/O — the default modern choice
- 6-layer — BGA-heavy designs, 200+ components, USB 3.x, DDR3, simple FPGA boards
- 8-layer — mixed-signal (RF + digital), large FPGAs (Xilinx Artix/Kintex), DDR4/DDR5, automotive ECU
- 10+ layer — high-density servers, specialized RF, automotive radar, 100+ Gbps networking — premium fab only
Browser-Side Parsing, No Upload
Stackup details often disclose sensitive product engineering choices — controlled-impedance specs, layer assignments, and material selection are all competitive intel. MakerSuite 3D's stackup viewer parses files entirely in your browser; no server upload, no cached copy. The parsed stackup metadata stays on your machine. Safe for NDA reviews, customer handoff, and any sensitive board where layer-by-layer disclosure matters.
Frequently Asked Questions
Do I need 4 layers or can I do 2?
Use 2 layers if: total component count under ~50, no high-speed signals (USB, HDMI, DDR), and you have enough surface area to route everything without crossings. Use 4 layers if: you need a continuous ground reference for any signal trace (improves EMC and impedance), more than 50 components, or any signal above 50 MHz. The cost difference at JLCPCB is minor — a 4-layer 100×100mm board is ~$2 vs $5 in single-piece pricing — and the design effort drops significantly because you don't need to route returns alongside signals on a 2-layer board.
What's the standard 4-layer stackup?
Signal — Ground — Power — Signal. Top is signal+components, then a continuous ground plane, then power plane, then signals on bottom. Total thickness typically 1.6mm with each layer ~0.36mm prepreg between copper. JLCPCB's default stackup uses this arrangement with FR4 dielectric (Dk≈4.5 at 1 GHz). High-speed boards reverse the inner pair (Signal — Power — Ground — Signal) when the dominant nets reference the upper inner layer, but for general purpose, GND-as-second-layer is the convention because it's easier to route returns to the top signals through nearby vias.
Why does the inner layer matter for high-speed?
The return current of a signal flows on the nearest reference plane underneath. If the layer 2 reference is solid GND, your signal's return path is solid; if it's split (a power plane with cuts for different domains), the return current has to detour around the cut, which radiates EMI and creates impedance discontinuities. Rule: keep your high-speed signal layer adjacent to a continuous reference plane. For DDR3 and faster, this rule is non-negotiable.
What's a controlled-impedance stackup?
A stackup where you've calculated the trace width and dielectric thickness to produce specific impedances (typically 50Ω single-ended for USB/HDMI, 90Ω differential for USB 2.0, 100Ω differential for USB 3+ and Ethernet). The fab needs to know: target impedance, layer of the trace, copper weight (1oz typical for outer, 0.5oz typical for inner), dielectric Dk and thickness. JLCPCB and PCBWay both offer impedance-controlled stackups for $20-50 surcharge. Provide your stackup spec in the order notes; they'll tweak prepreg thickness to hit the impedance target.
How do 6-layer and 8-layer stackups differ?
6 layers: Signal — Ground — Signal — Signal — Power — Signal. The middle two layers absorb the routing density that 4 layers can't handle. 8 layers: Signal — Ground — Signal — Power — Ground — Signal — Ground — Signal, providing two separate ground planes (digital + analog or noisy + quiet). Use 6 layers for typical microcontroller boards with 200+ components and BGA escape routing. Use 8 layers for mixed-signal designs (RF + digital), large BGAs (FPGA, SoC), or high-speed differential pairs that need their own dedicated reference layers. Cost scales roughly 1.5x per added layer pair.
Related Articles
Visualize your PCB stackup — drop a file and inspect every layer in your browser
Open MakerSuite 3D