PCB Trace Width Calculator — IPC-2152 and IPC-2221
How Wide Should the Trace Be
Trace width sizing is the most common 'how do I do this' question for new PCB designers. The answer depends on: target current, copper weight, allowable temperature rise, internal vs external trace placement, and which IPC standard you're following (IPC-2221 from 1998 vs IPC-2152 from 2009). This guide covers both formulas, when each applies, and how to verify the calculated width matches your routing constraints.
IPC-2152 vs IPC-2221
IPC-2221 (1998) gives a single nomograph relating current, trace width, and temperature rise — with separate curves for internal and external traces and a fixed 50% derating for internal placement. IPC-2152 (2009) is based on actual thermal measurements and accounts for: dielectric thermal conductivity, nearby copper plane proximity, board thickness, via stitching effects, and ambient airflow. IPC-2152 typically allows narrower traces (more efficient) than IPC-2221 because the older standard was over-conservative. New designs should use IPC-2152 unless you're constrained by a contract or qualification spec to IPC-2221.
What This Guide Covers
- IPC-2221 formula — width × thickness vs current vs temperature rise, with internal-trace derating.
- IPC-2152 corrections — board thickness, plane proximity, dielectric Dk, and how each shifts the answer.
- Copper weight — 0.5oz/1oz/2oz/3oz selection logic and JLCPCB pricing impact.
- Temperature rise targets — 10°C for high-reliability, 20°C consumer default, 30°C cost-driven.
- Routing-constraint check — verifying calculated width fits your stackup pitch and component spacing.
- Impedance vs ampacity — when these constraints overlap and how to satisfy both.
How to Verify Your Trace Width
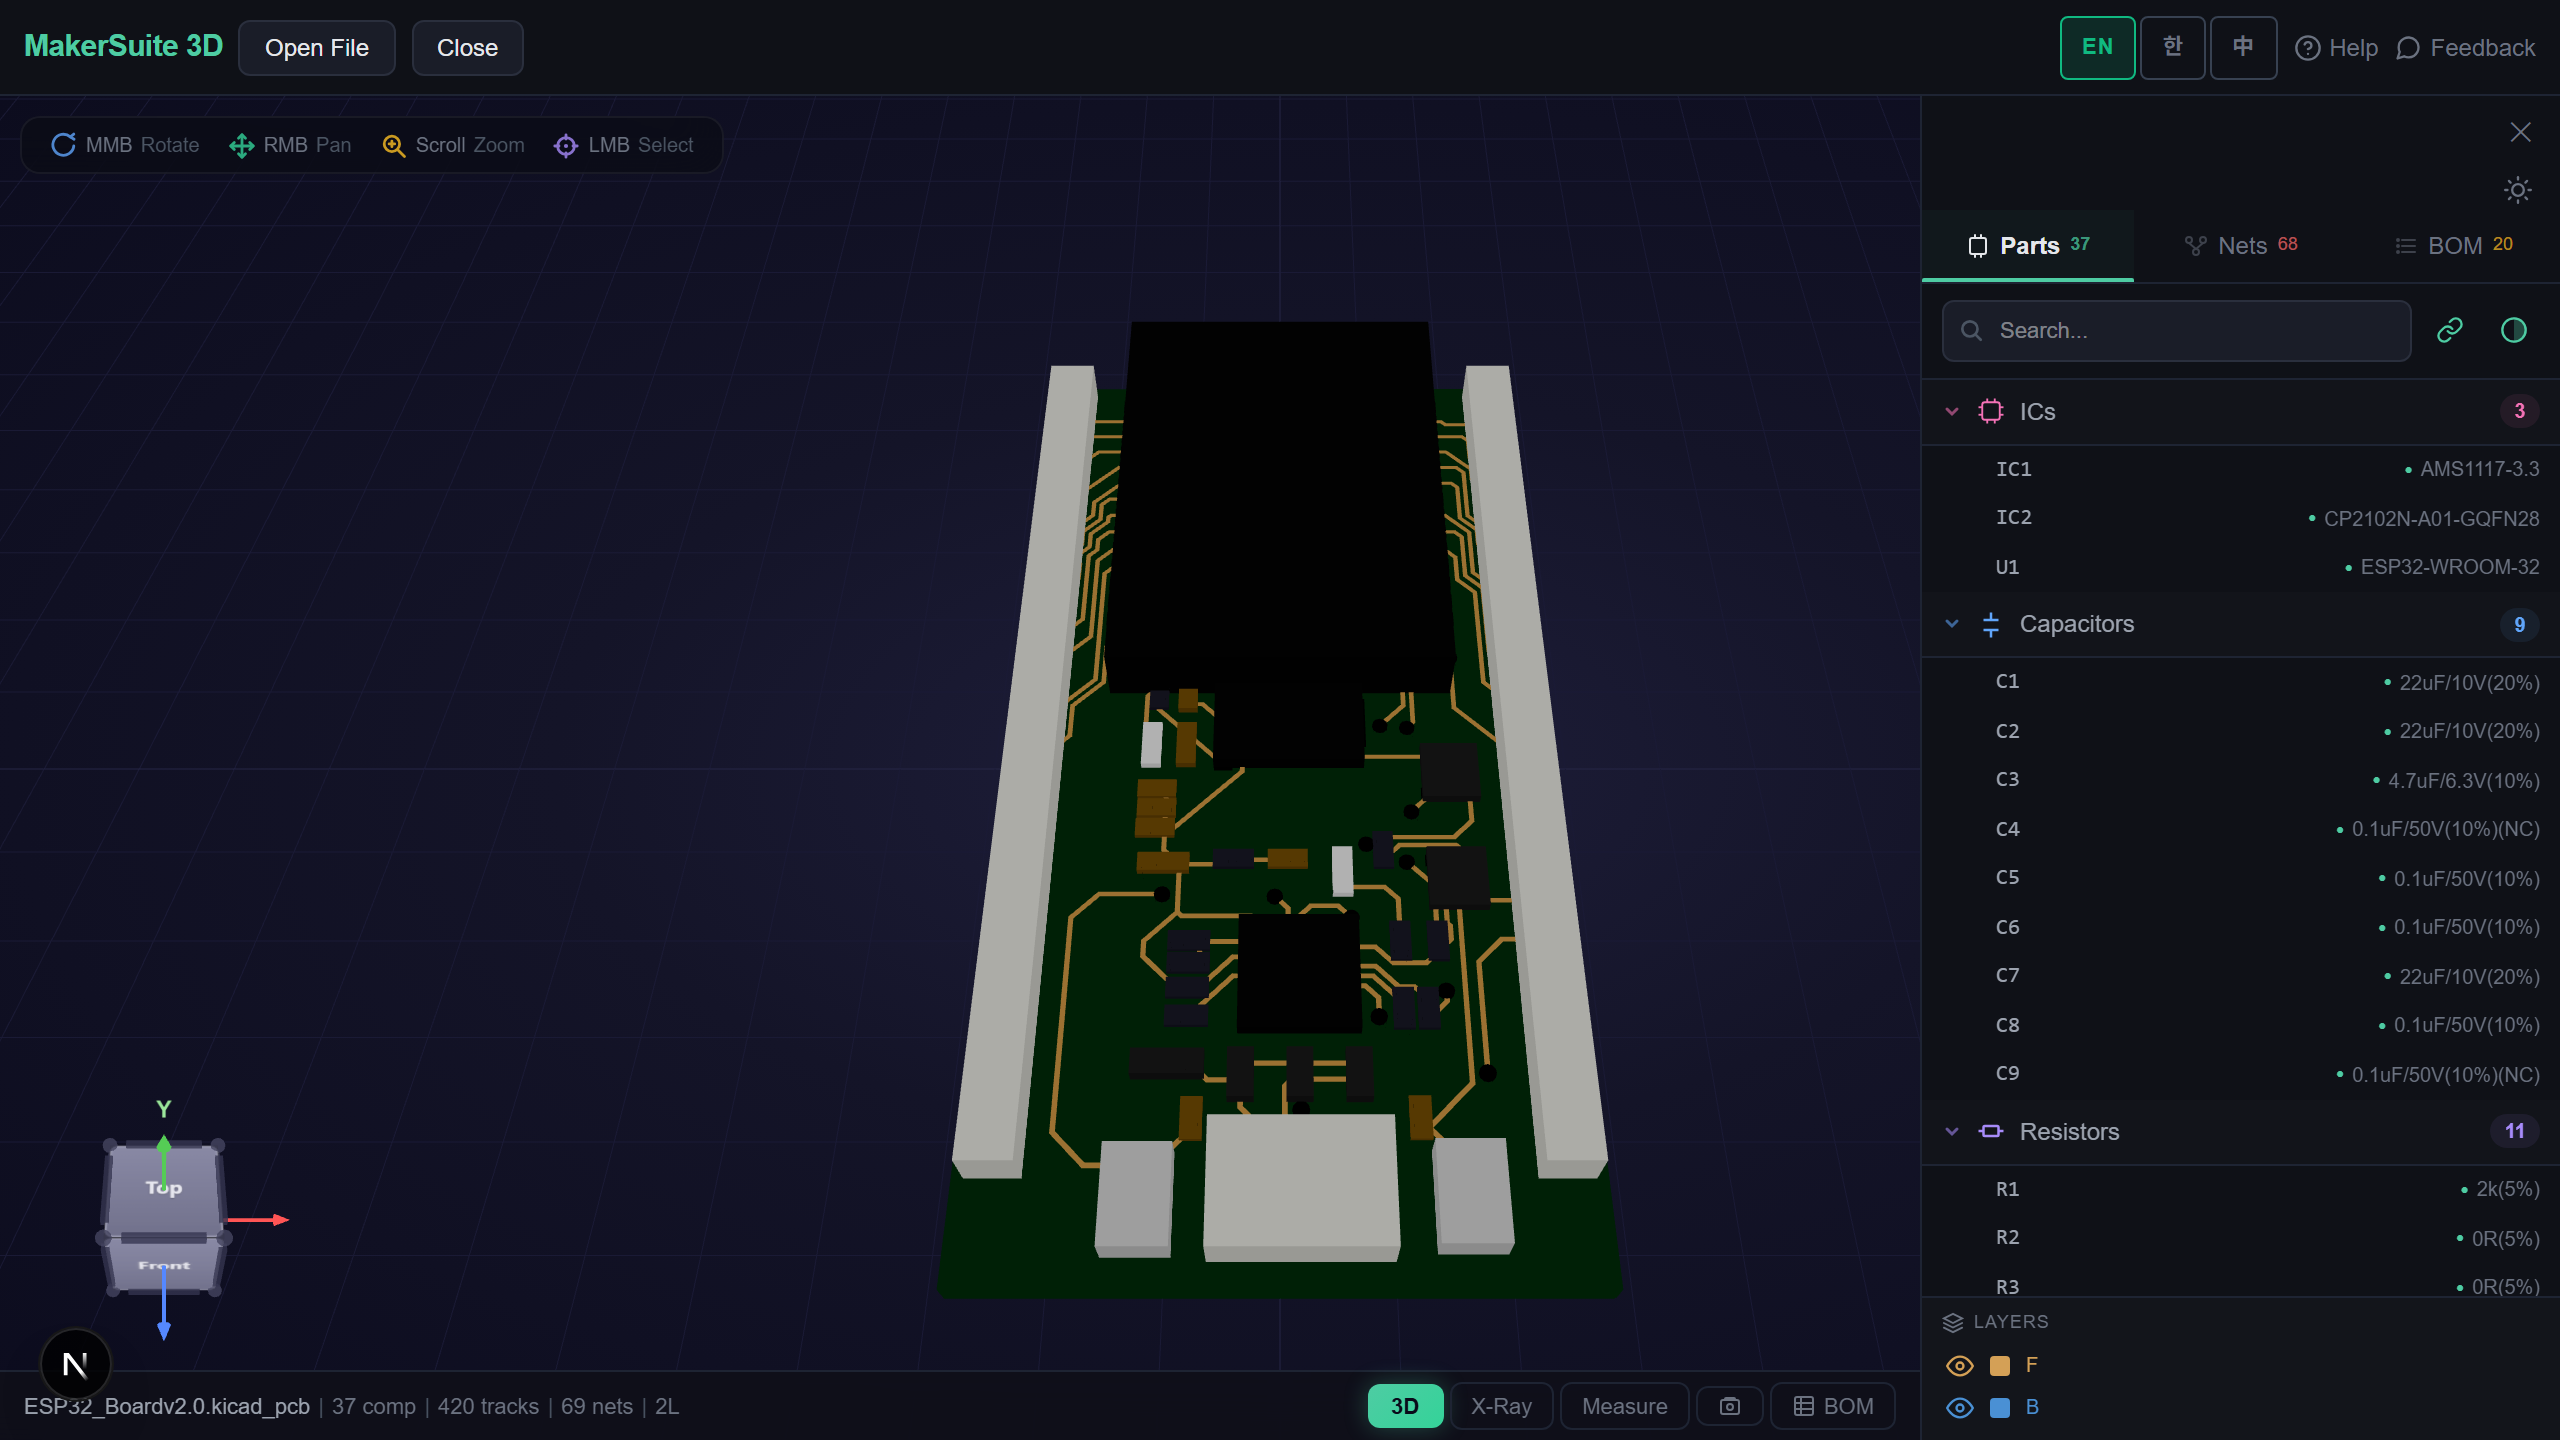
- Open pcbviewer.app and drop your PCB file. Parsed tracks include their width metadata.
- Use the Net inspector to find the highest-current nets (typically VCC/3V3/5V power rails).
- For each high-current net, check the trace width against the calculator: 1A through 1oz copper at 20°C rise needs ~12 mil per IPC-2221 external.
- For internal-layer power traces, double the width target (or use IPC-2152 for the more accurate result).
- Export a list of nets and trace widths from the Net panel. Cross-check against your power budget to verify nothing's under-spec'd.
Verify your trace widths — drop your PCB file and inspect every track's width against your power-budget target.
Try MakerSuite 3D FreeWhy Trace Width Sizing Matters
Under-sized power traces are the most common cause of board-level thermal failure. A trace at its temperature-rise limit during normal operation has zero margin for: ambient temperature increase, transient over-current, manufacturing copper-thickness variation, and proximity to other heat sources (regulators, processors). A blown trace on a delivered product is a returns-rate problem. Five extra mil of trace width costs nothing in routing density most of the time and is permanent insurance against thermal failure modes.
When Trace Width Calculations Bite
- Power rail design — VCC, 3V3, 5V rails carry amps and need IPC-2152 verification before routing
- Motor drivers and FETs — high-current transient paths need wider traces than the steady-state calculation suggests
- LED arrays — large counts of LEDs at modest individual current sum to surprising total current per trace
- Battery management — charge and discharge paths see peak currents during fast charge that exceed nominal
- Industrial 24V loads — relays, solenoids, and stepper motors all need ampacity verification per IPC-2152
Browser-Side Parsing, No Upload
Trace width and current information reveals system power architecture — sensitive engineering detail in many product categories. MakerSuite 3D parses your PCB file entirely in your browser; no server upload, no cached copy. Track metadata, net names, and width values stay on your machine. Safe for NDA reviews, defense applications, and any board where power architecture is competitive intel.
Frequently Asked Questions
What's the difference between IPC-2152 and IPC-2221?
IPC-2221 is the older (1998) standard that gives a single nomograph for current vs. trace width vs. temperature rise, with a conservative 50% derating between external and internal traces. IPC-2152 (2009 update) is based on actual thermal measurements and accounts for: dielectric thermal conductivity, copper plane proximity, board thickness, and via stitching effects. For most modern designs, IPC-2152 produces narrower (more efficient) traces because IPC-2221 was over-conservative. Most online calculators still default to IPC-2221 because the formulas are simpler — but IPC-2152 is the current standard for new designs.
External vs internal trace — why does it matter?
External (top/bottom) traces dissipate heat to ambient air via convection. Internal (mid-layer) traces are surrounded by FR4 dielectric, which has thermal conductivity around 0.3 W/m·K — about 100× lower than copper. Same current, internal traces run hotter, so IPC standards require internal traces to be wider for the same temperature rise. IPC-2221 rule of thumb: internal traces need ~2× the cross-section of external traces for the same current. IPC-2152 refines this by also considering nearby copper planes (which act as heat sinks).
What temperature rise should I target?
Common targets: 10°C rise for high-reliability or thermally tight designs, 20°C rise for general consumer electronics, 30°C rise for cost-driven designs with margin. Higher rise = narrower trace = less copper but more heat. Critical: temperature rise is on top of ambient and the rest of the board's thermal load. A board running at 60°C ambient with 30°C trace rise puts the trace at 90°C — close to FR4's Tg (typically 130–170°C). For automotive or industrial (high ambient), use 10°C rise. For desktop electronics, 20°C is standard.
How does copper weight affect trace width?
Copper weight is specified in oz/ft² and translates to thickness: 0.5oz ≈ 17.5μm, 1oz ≈ 35μm, 2oz ≈ 70μm, 3oz ≈ 105μm. Doubling copper weight roughly halves the required trace width for a given current (the cross-sectional area drives ampacity). Standard JLCPCB external is 1oz, internal is 0.5oz. For higher-current designs (>3A), upgrade to 2oz outer (~$5 surcharge) before widening traces, because wider traces eat routing density faster than copper weight upgrades cost.
What about high-frequency (impedance) vs current (ampacity)?
These are independent constraints. Impedance-controlled traces (50Ω single-ended, 90Ω/100Ω differential) are sized by: dielectric thickness, Dk, and reference plane distance — not by current. Power traces are sized by ampacity: current, copper weight, temperature rise. They never compete because high-speed signal traces carry milliamps (no thermal issue) and power traces carry amps (no impedance issue at DC). The only overlap is when a single trace carries both, which is rare. Calculate impedance first if signal integrity matters, then verify ampacity is satisfied at the calculated width.
Related Articles
Drop your PCB file — verify every trace width against IPC-2152 in your browser
Open MakerSuite 3D